Plant Profiles dive deep on one plant variety each month. They are meant to provide you with enough information to make good growing decisions. A desire to grow gorgeous flowers is one thing. However, discerning if a particular plant is right for you and your climate is a whole other ballgame.
My intention here is to give you as much practical information to make these decisions. However, I’m going one step further and taking you completely behind the scenes to share exactly what has worked for us as well. For this reason, Plant Profiles are broken up into what I’m calling the “Nuts and Bolts (N&B)” and “Behind the Scenes (BTS).”
If you haven’t already, please be sure to read the FFY Introduction to learn more about how Plant Profiles are organized.
Primary Sources
The primary sources for the N&B portion come from:
- Postharvest Handling of Cut Flowers and Greens: A Practical Guide for Commercial Growers, Wholesalers & Retailers (Dole, Stamps, Carlson, et al).
- Specialty Cut Flowers, 2nd Edition, Revised & Enlarged (SCF): Industry standard for both new and experienced growers on the production of annuals, perennials, bulbs, and woody plants for fresh and dried cut flowers (Allan M. Amritage and Judy M. Laushman)
- Rauter S, Stock M, Black B, Drost D, Dai X, Ward R. Overwintering Improves Ranunculus Cut Flower Production in the US Intermountain West. Horticulturae. 2022; 8(12):1128. https://doi.org/10.3390/horticulturae8121128
- BOSTON Ornamental Terminal Prices. Specialty Crops Market News Federal – State Market News Service, USDA (as of 14-FEB-2023
- The Everything Ranunculus Episode with Dave Dowling of Ball Colorlink. The No-Till Flowers Podcast.
- Rauter, S.; Stock, M.; Black, B.; Drost, D.; Dai, X.; Ward, R. Overwintering Improves Ranunculus Cut Flower Production in the US Intermountain West. Horticulturae 2022, 8, 1128. https://doi.org/10.3390/horticulturae8121128
Zone Considerations
- Jennie Love’s farm, Love n Fresh Flowers, is located in Zone 6B/7 Philadelphia
- USU Trials were conducted in Zone 4/5 Utah
- My farm, Petal Back Farm, is located in Zone 4b Wisconsin
General Information: N&B
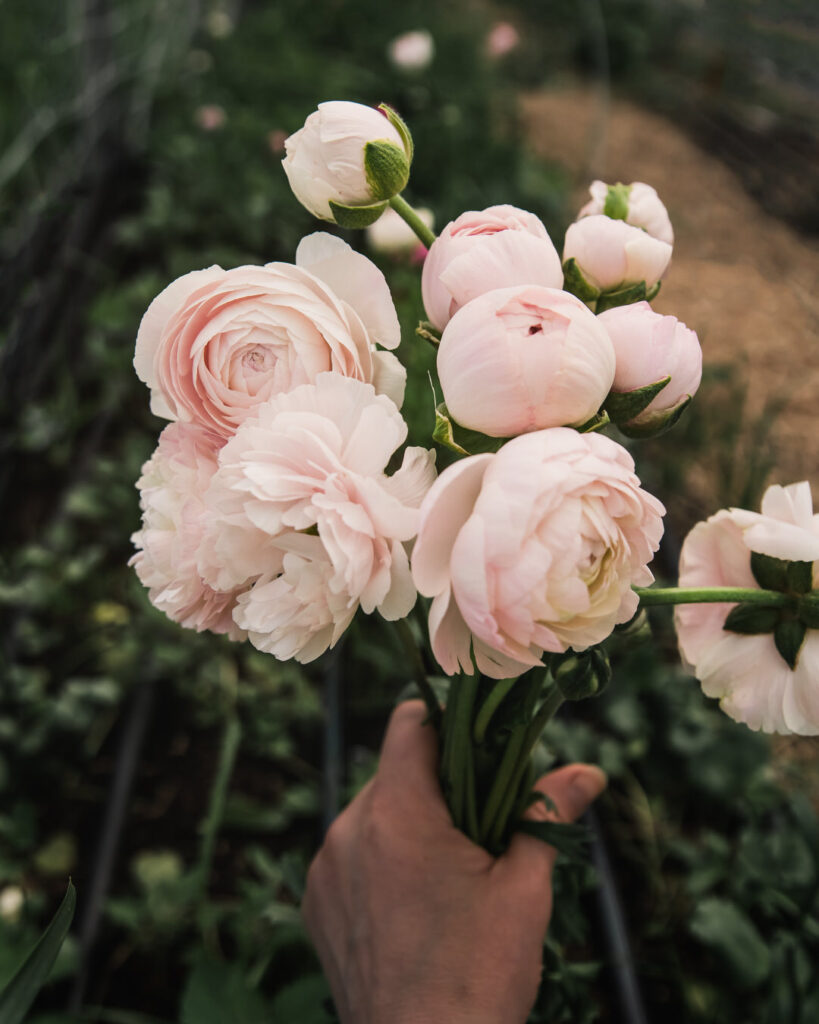
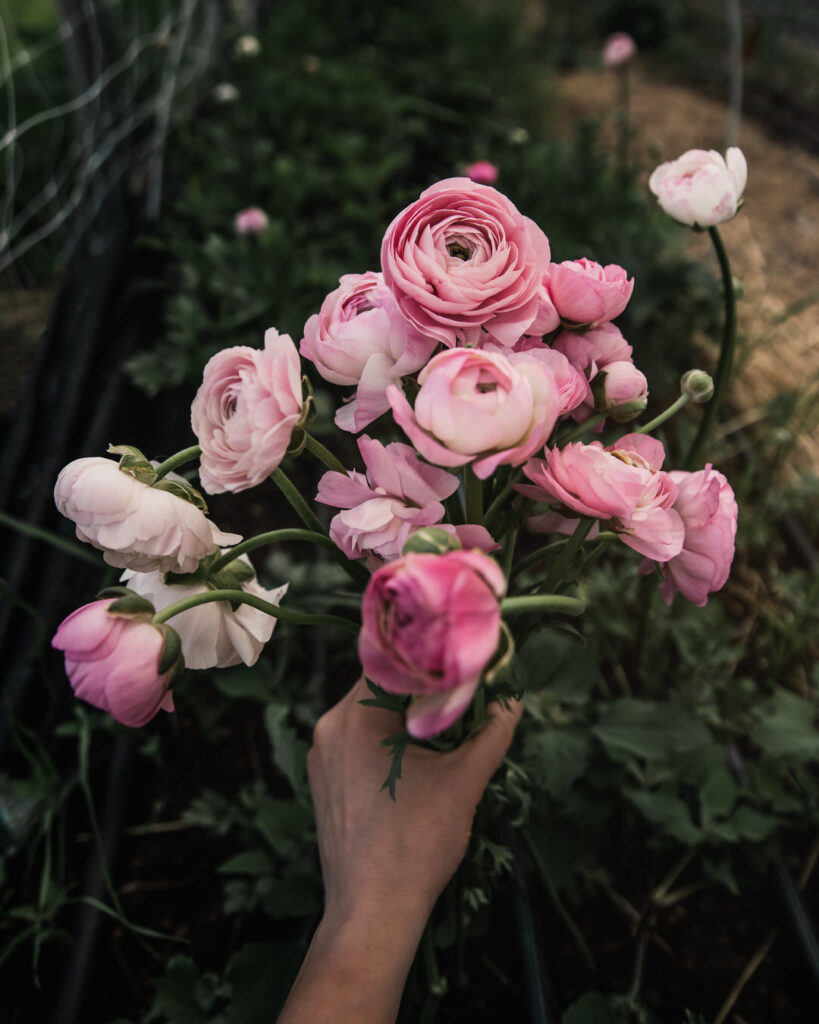
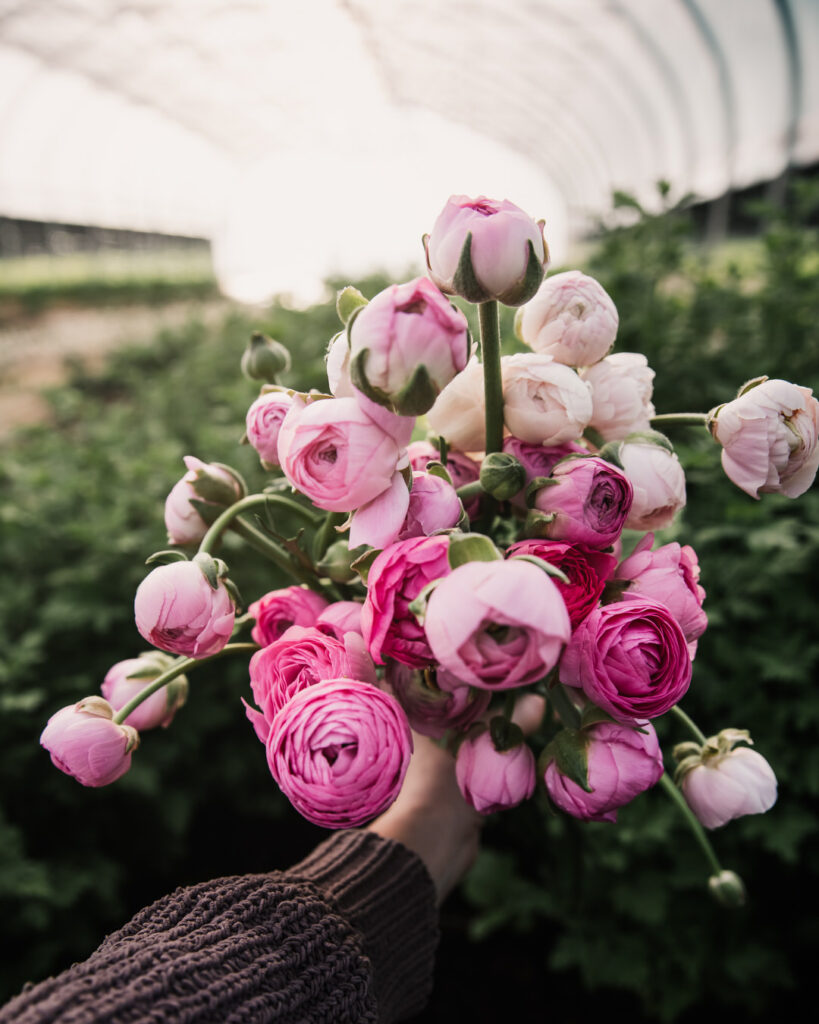
Latin Name Name: Ranunculus asiaticus (most cultivars are hybrids)
Common Name: Ranunculus
Origin: Mediterranean
Days to Maturity: 90+
Spacing: 6–9″
Height: 1–2.5 feet
Ranunculus concentrate growth and flowering when the weather is cool and wet. This makes sense when we consider their natural environment of the Mediterranean, where the winters are cold and wet and the summers are dry. Ranunculus plants go dormant when it’s warm and dry and reawaken in the fall when the moisture picks up and the temperatures fall. When growing ranunculus for cut flowers, we want to mimic these conditions. For this reason, they are typically forced from corms that are brought out of dormancy by soaking and then planted when temperatures are cool. Typically, corms are replaced annually for small farm production and flower approximately three months after planting (USU).
General Information: BTS
I’m a sucker for ranunculus, despite the fact that they are not ideally suited for our geographic location. In fact, many locations (like the US Midwest and Intermountain West) are limited by a narrow window of optimal temperature ranges in the spring, making ranunculus a tricky crop to successfully grow. Over the years, I’ve gone down just about every rabbit hole, from university trials to anecdotal experience on the internet and social media.
Almost every resource I came across advised fall planting for ranunculus in USDA hardiness zones 7 and above and spring planting for USDA hardiness zones 6 and below (while many growers in zone 6 reported successfully overwintering ranunculus in high or low tunnels). The problem for those of us in zone 5 or below is that by the time we can plant in spring, the high temps of summer are not far behind.
Then, I came across research that showed great success overwintering ranunculus in Utah Zone 4/5 (funded by the ASCFG). Perhaps even more shockingly, they trialed BOTH high tunnel and field production systems. Similarly, trials in New York showed successful overwintering in Zone 5, but there was less data. So, I decided to put this to the test in my own Zone 4 Wisconsin.
This season was the first season that I felt like I *finally* began to crack the code on ranunculus. I still have a way to go, but I only hope to improve year after year to make this a more profitable and viable option for our farm. While we only grow ranunculus in our high tunnel, I’ll be sharing the findings on field production as well.
Similarly, this plant profile will share optimal conditions for growing ranunculus regardless of growing zone, but I’ll definitely dive deep on my personal experience for those of you located in tricky zones like me. While the jury is still out on overwintering in our climate, I’ll share what I’ve learned along the way. Perhaps most importantly, though, I’ve found that we *can* grow great ranunculus here, even from spring plantings!
Fall planting, frost protection, pre-sprouting corms, and cultivar selection are all potential ways to advance the growing season and optimize production. We’ll be discussing all of these and more below.
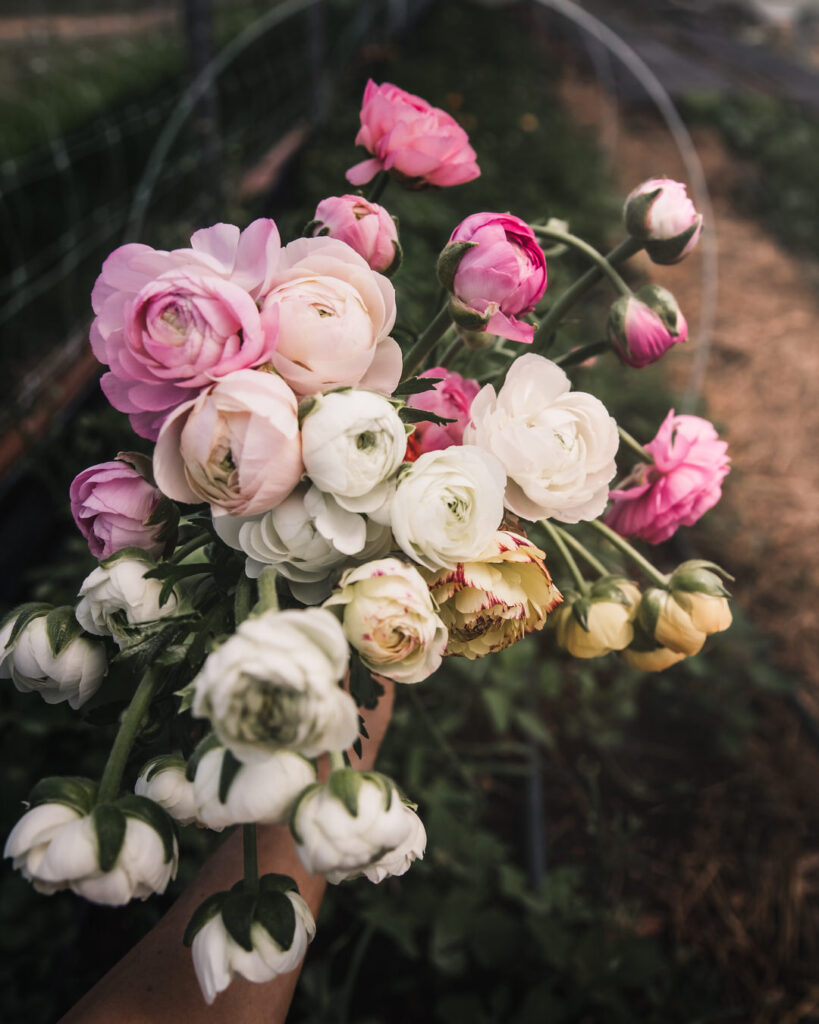
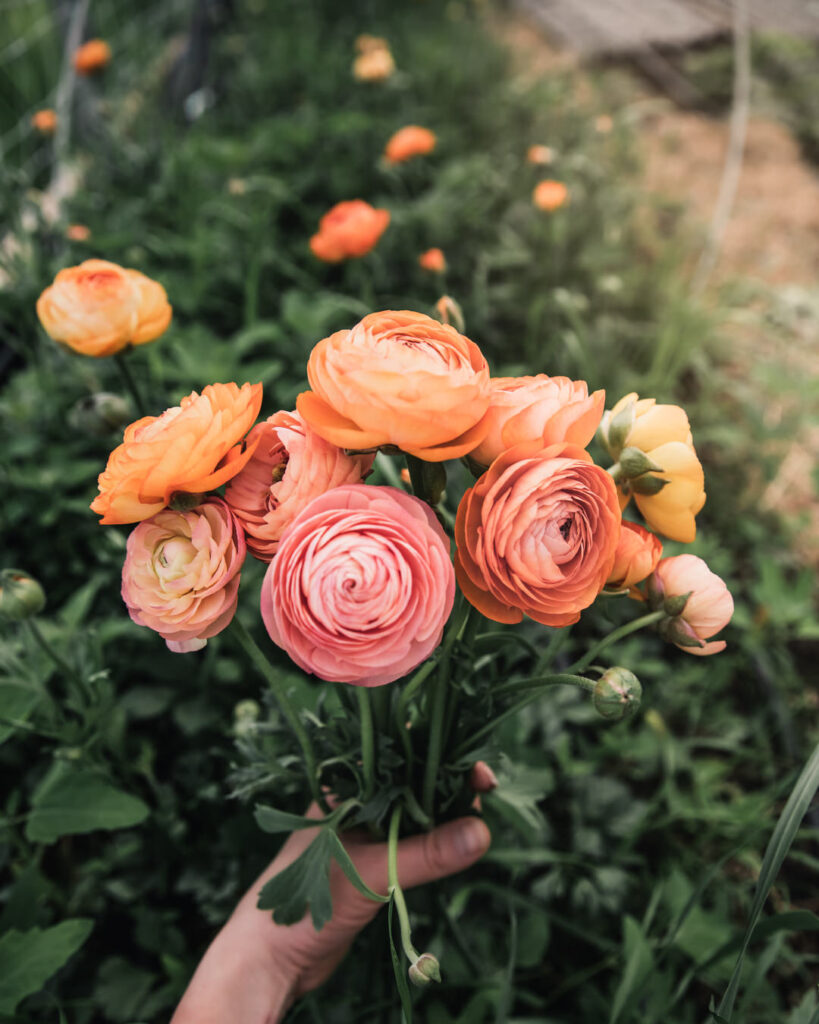
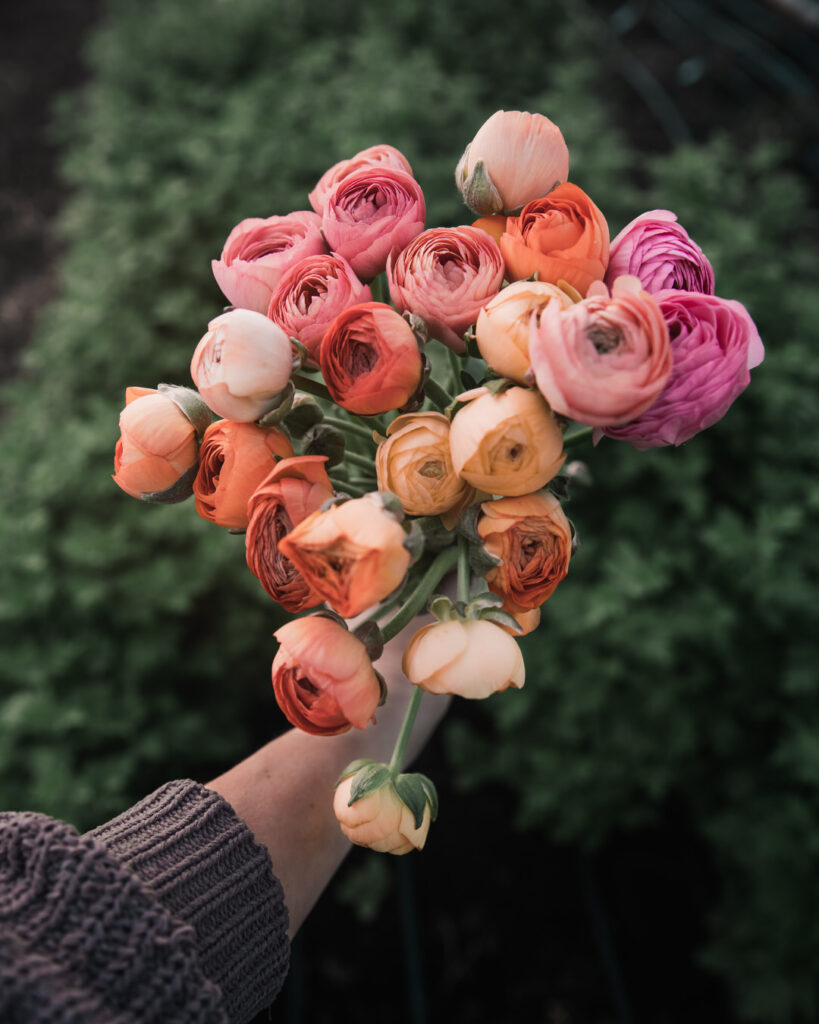
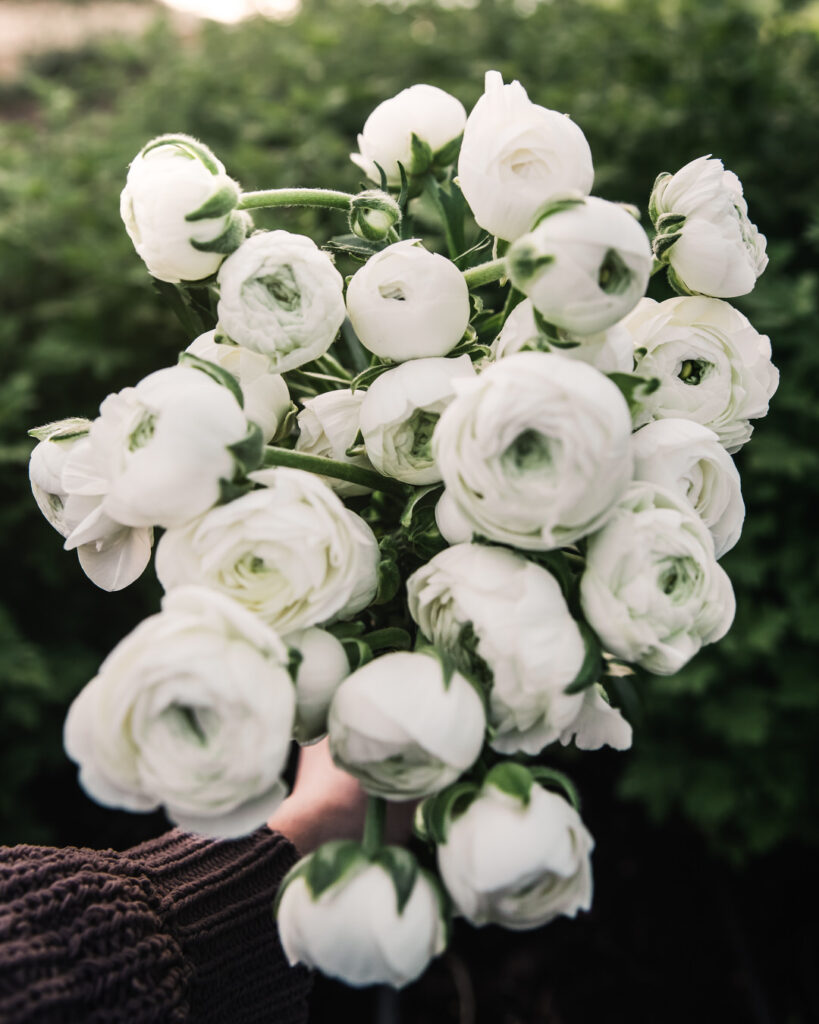
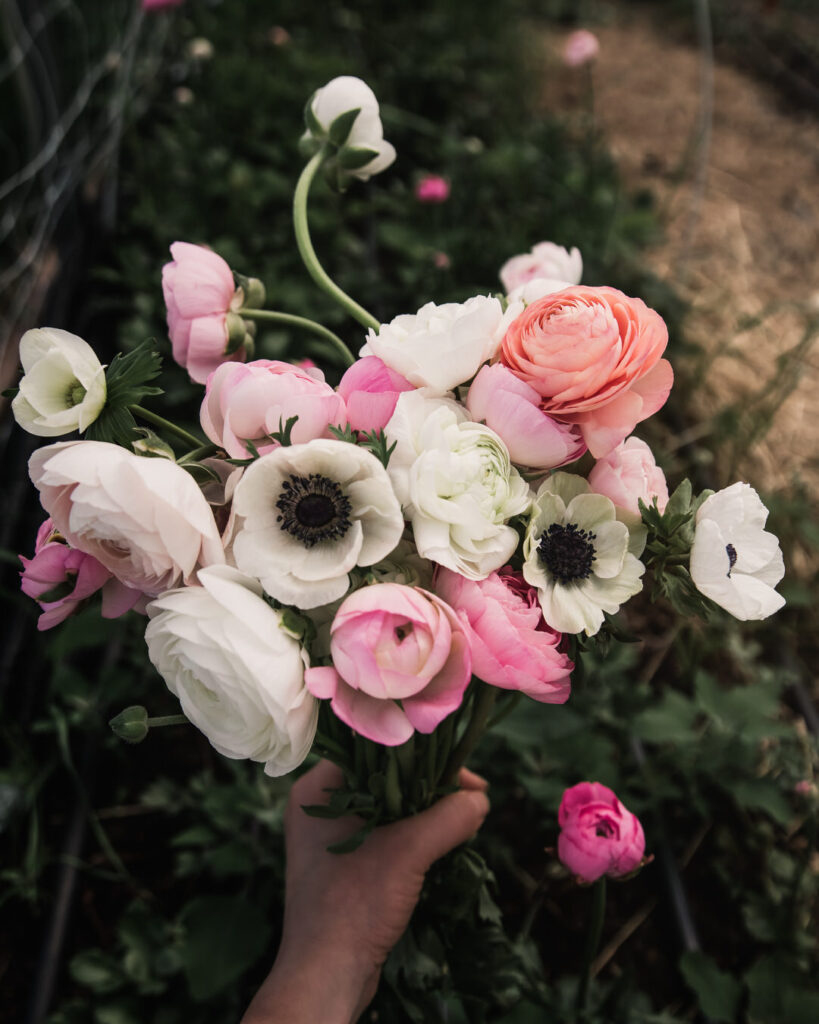
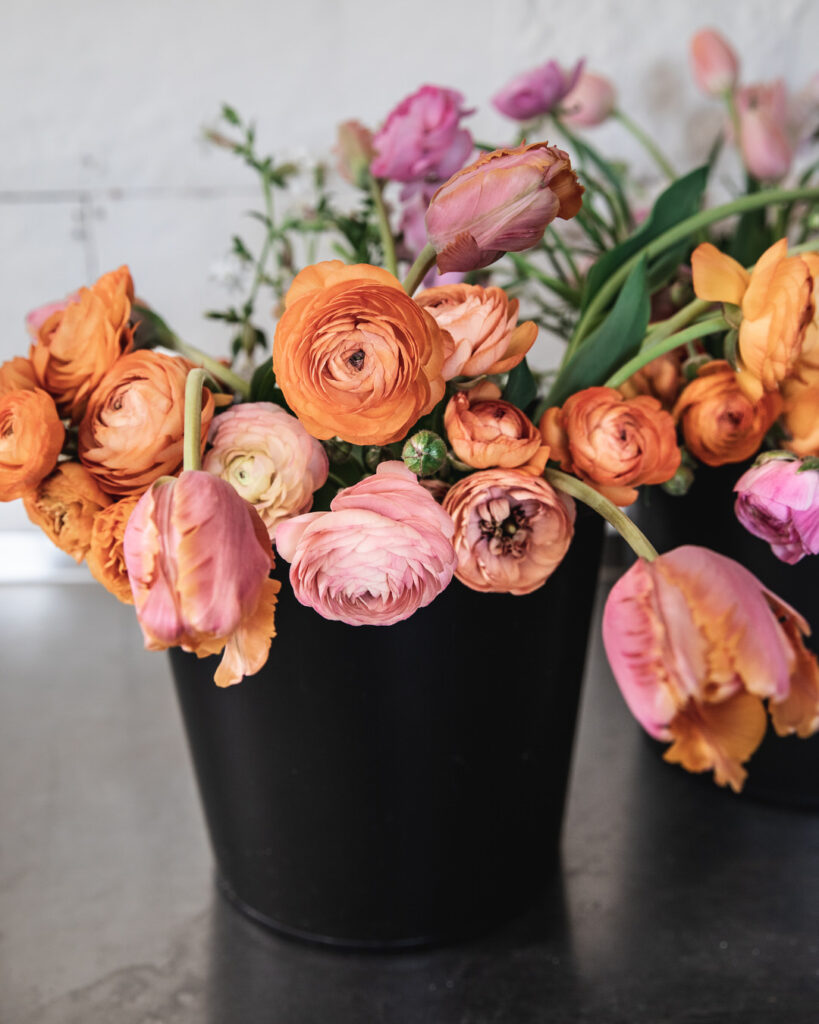
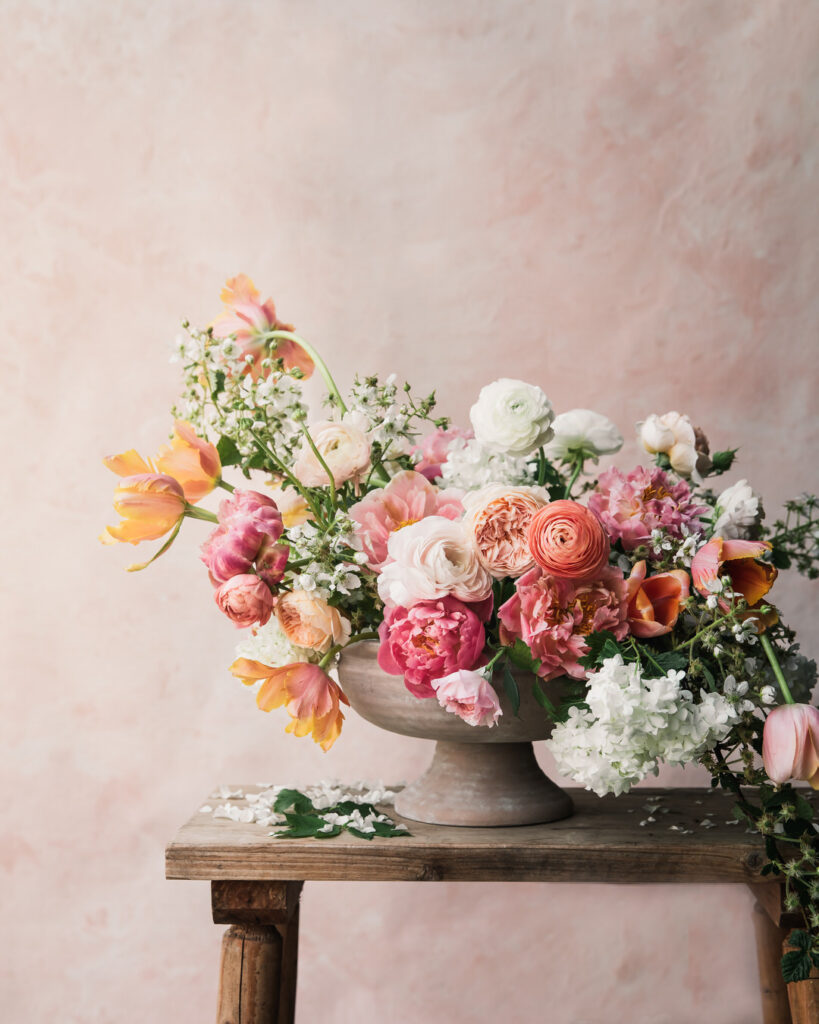
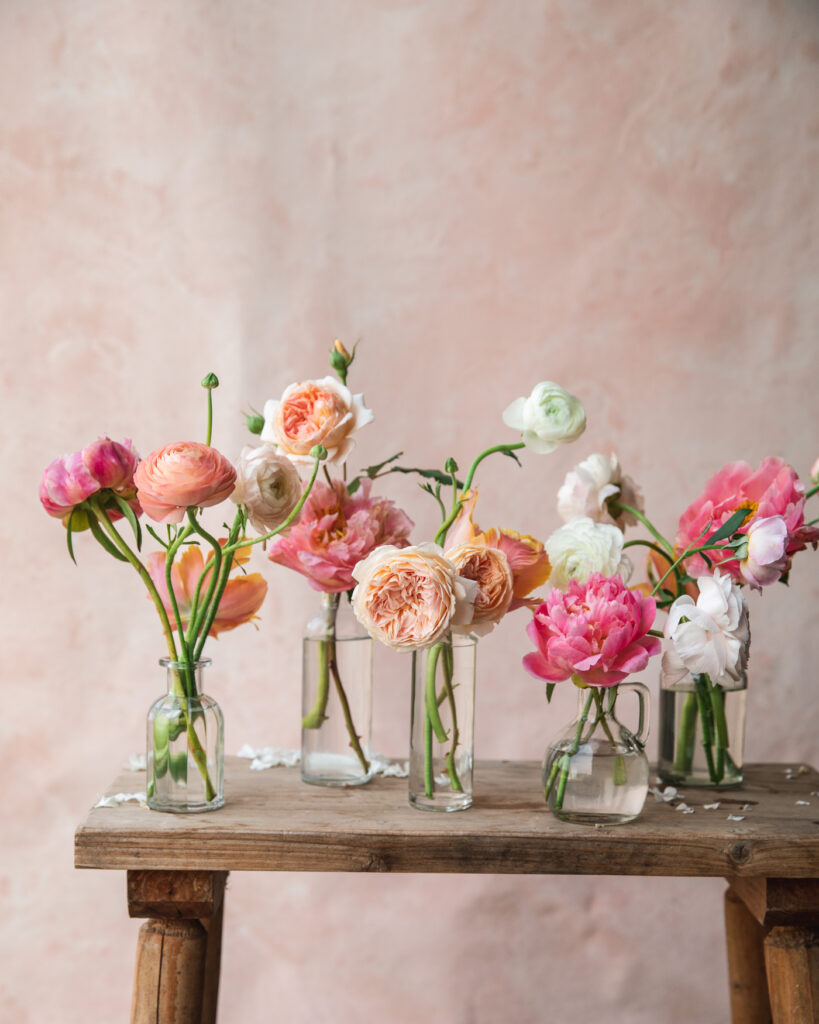
What I love most about ranunculus as a cut flower:
- Is there anything more juicy than an amazing ranunc?!
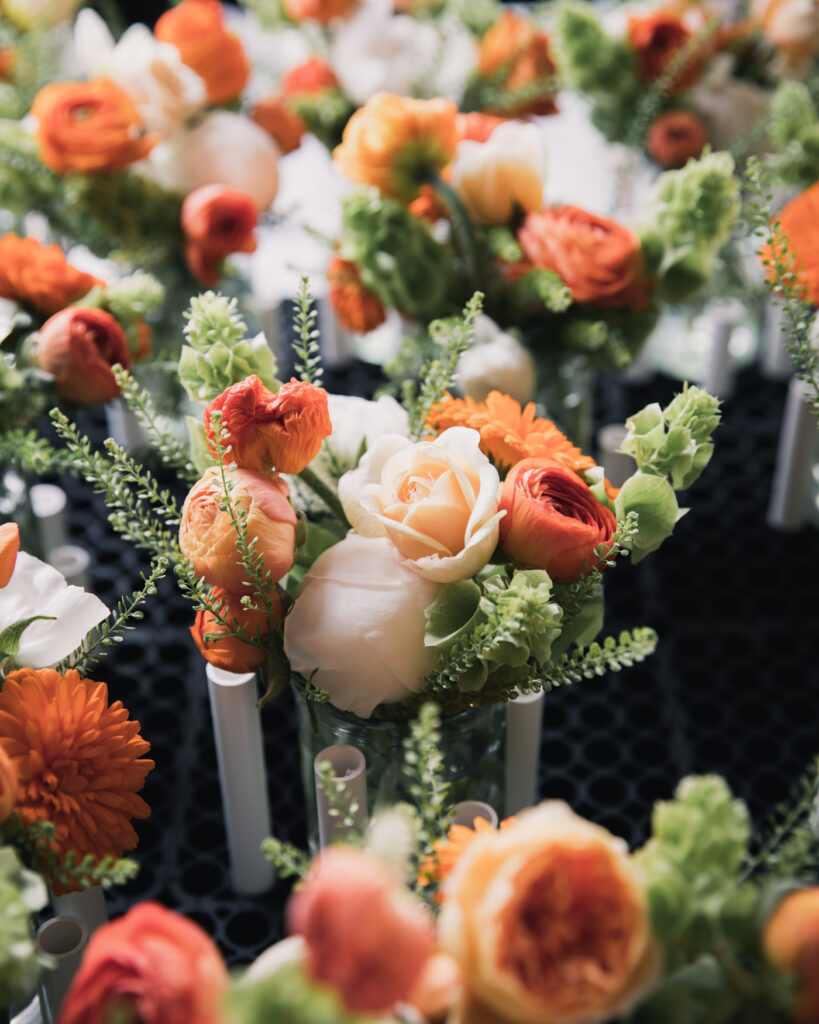
- Incredible for wedding work, making them awesome for design and florists
- Extraordinary vase life, making them fabulous for retail customers
- Spring flower when customers are hungry for flowers
- Romantic colors
- Premium flower
- Layers and layers of petals
- Incredible for design, even out of water
But every rose has its thorn, right? Potential shortcomings:
- Can be divas in the garden
- Prone to rot
- Short season
Propagation: N&B
Ranunculus are typically grown from corms. As noted earlier, when propagating ranunculus, we are trying to mimic their natural environment. For this reason, most growers soak their corms by submerging them in water in order to wake them up. Corms can be planted directly after soaking, though many growers choose to pre-sprout corms in a growing medium to even further their headstart. There are various schools of thoughts on exactly how long to soak, whether or not to use anti-fungal treatments, and what temperatures are best for presprouting, but here is an excerpt from the USU trials that does a great job summarizing the data:
“Dry ranunculus corms are typically soaked for 3 to 36 h to rehydrate before planting [13,16,35]. After soaking, some resources recommend pre-sprouting, by starting TRs (tubers roots) in a growing medium at a cool temperature for multiple weeks before planting, to achieve flowers 3 to 4 weeks earlier than non-pre-sprouted TRs [2,13]. Two to four weeks at 5 to 6 °C hastened ranunculus flowering but reduced total yield in a Japanese greenhouse study [35], while three weeks at 10 °C improved winter survival of ranunculus in a New York high tunnel and did not significantly impact yield [36]. Other recommendations for pre-sprouting ranunculus vary from 2 to 4 weeks at 2 to 5 °C [35,37,38] to 4 to 5 weeks at 4 to 10 °C [2,38]. With the inconsistencies in recommended pre-sprouting requirements, additional exploration is needed to create recommendations for growers that can deliver consistent results in harvest timing and yield” (USU).
Propagation: BTS
We both soak and presprout our ranunculus, depending on when we plant them.
For winter planting, I’ve only done one experiment, and there is more on this below. In this case, I soak corms and plant directly in the high tunnel in November to overwinter, without presprouting.
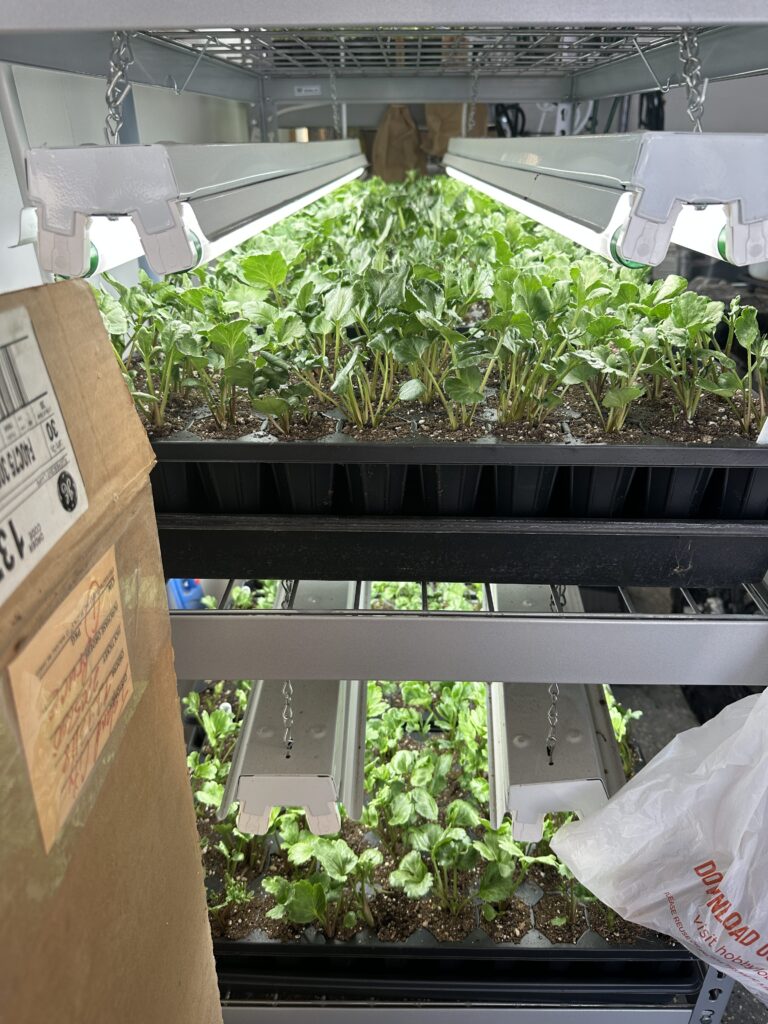
However, due to our climate, the majority of our crop is planted in the spring in our high tunnel. As soon as February hits, I soak those corms and then sow into 72 or 50-cell trays to grow on into seedlings before planting out in March. The reason for this is due to our climate and I believe it has a great deal to do with our success with ranunculus so far. See, most growers soak, presprout and plant out. However, our springs are so fluctuating, I’ve found it best to grow the corms on as seedlings and transplant them a little later.
The process goes like this:
First: Soak
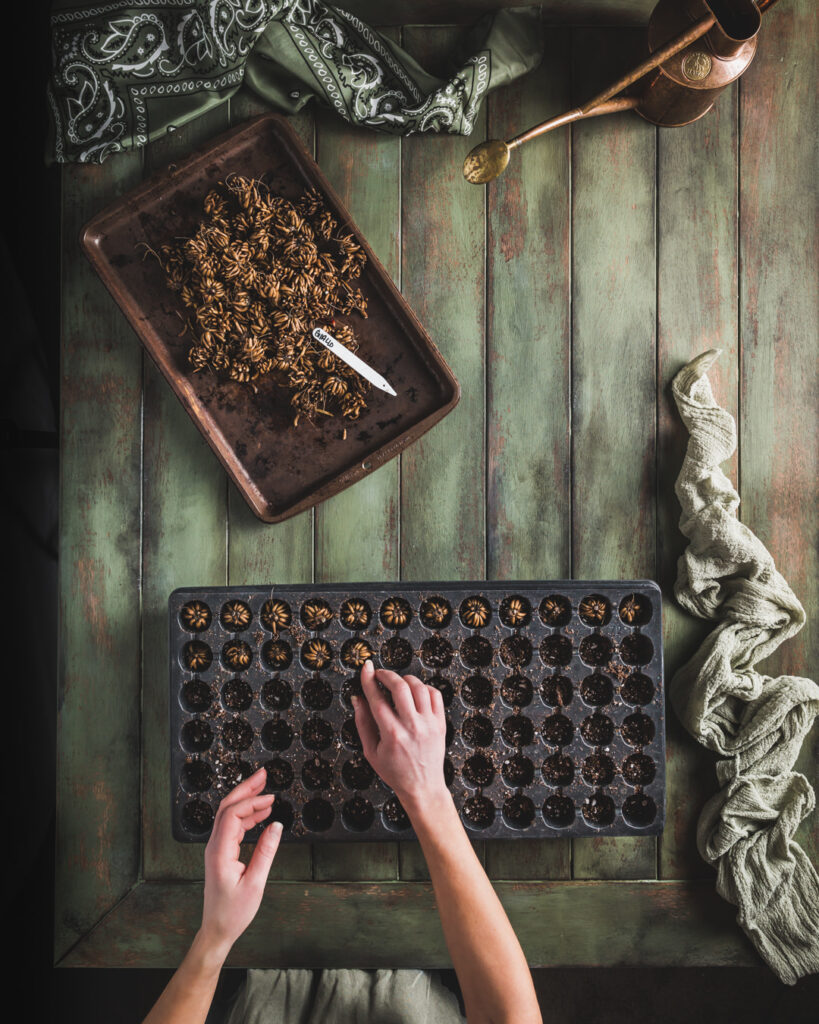
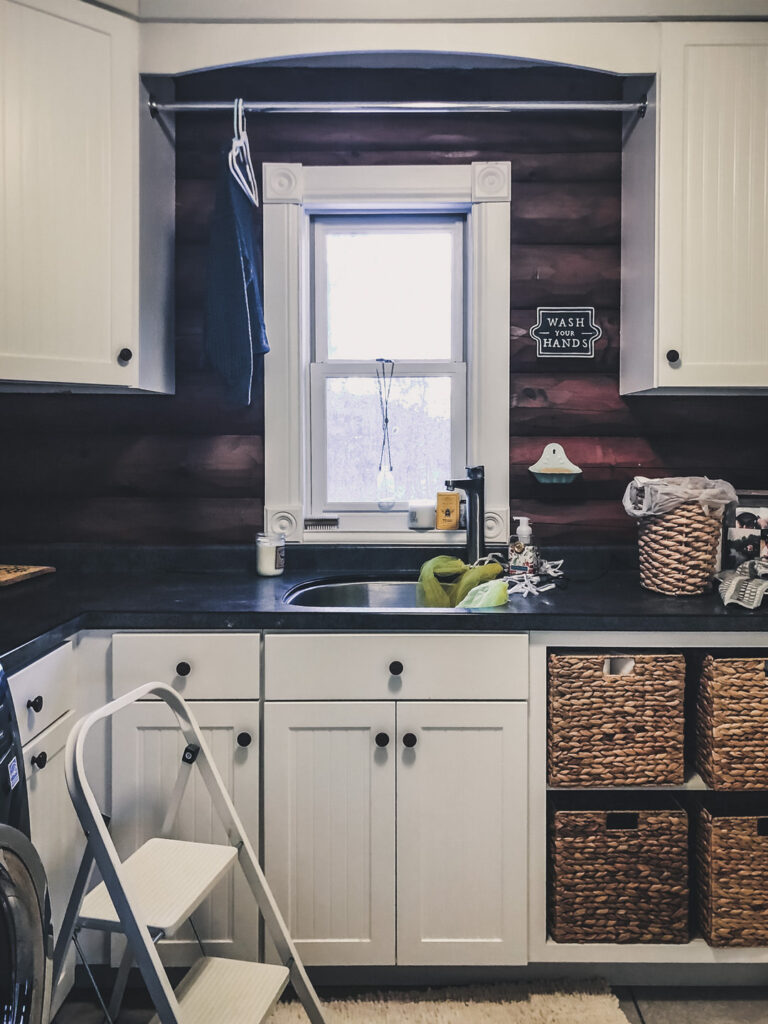
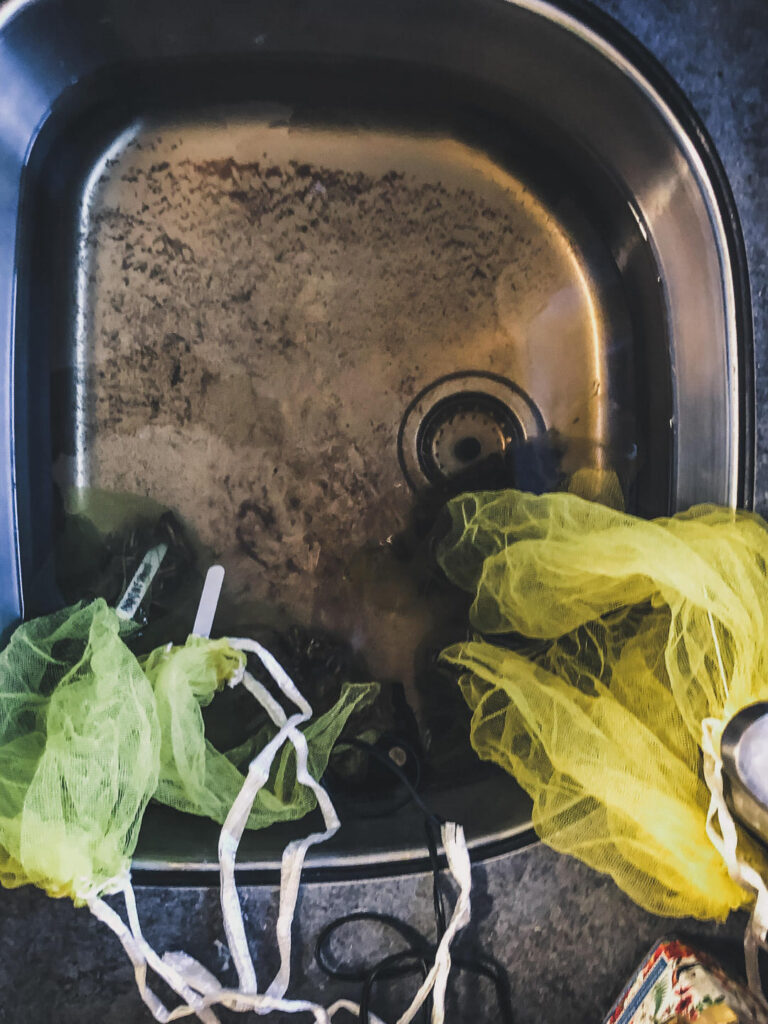
In February: I soak corms 2–3 hours in cool water, 4 absolute max. While some growers mention longer soaking times, I’m too freaked out they will rot. I don’t find longer soaking to be worth the risk of rot and they should be sufficiently plump by now (corms are *much* larger in size even after a 2 hours of soaking). I soak corms in a sink in our laundry room with a pump. We put each variety in yellow bulb bags with a label before soaking them. “Yellow bulb bags” are simply the bags that bulbs are often shipped in from wholesalers (we just repurpose them), but any mesh bag will do.
Most growers recommend oxygenating the water, so as not to drown them, but I’ve heard some do not. Because corms are expensive, I just do it. I use an aquarium pump that we already have on hand for distilling hydrosols. They are inexpensive and take a minute to set up. Alternatively, you can switch out the water or let the faucet drip.
Ranunculus are prone to disease, so many growers suggest using a fungicide at the end of the soaking. I haven’t always done this (mostly when I accidentally didn’t have any on hand, ha), but I prefer to err on the side of caution when possible, so I will use an OMRI-approved fungicide like Rootshield or Actinovate when I am being a good flower farmer.
Next up: Presprouting. Why pre-sprout?
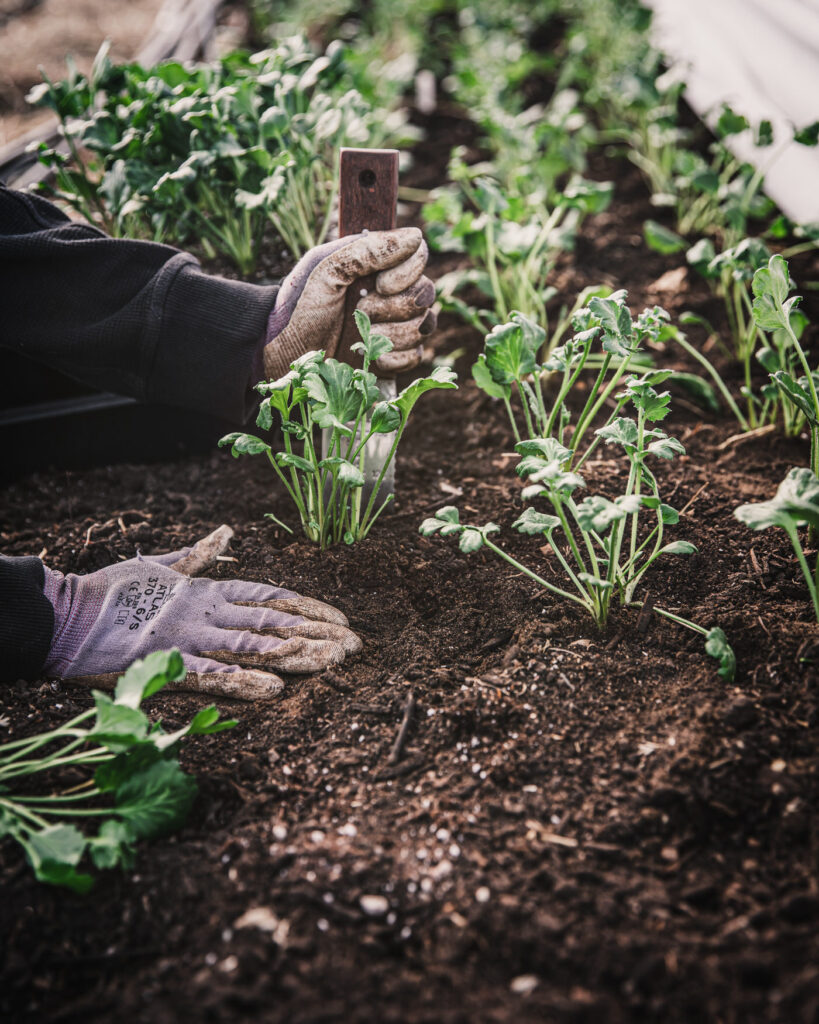
The truth is that you could simply plant the soaked corms right away. The main advantage of pre-sprouting is to ensure we’re only planting viable corms. In our climate, because our springs have such wild swings, we actually pre-sprout preferably in deep 50-cell trays. This way, they can be transplanted as small plants to give them a head start. I also like the cell trays in case there is an issue with rot because it’s isolated to that cell and does not spread.
There are many, many ways to presprout corms, but we use our normal soilless medium in cell trays (in that photo above I’m using a 72-cell tray because it’s what I had on hand at the time, but now I almost exclusively use deep 50-cell trays because they have more room). It should be damp but not wet (remember they are prone to rot).
At this point, most growers recomment putting them somewhere dark and cool (ideally between 40–50°F). I actually leave them in our basement for a day or two, which is around 68°F and then move them to our garage, which hovers between 40–50°F. Why? I dono, something about just-soaked corms going into our cold garage seems too shocking. I read about a study that first had them around 70°F for a week and then moved them to cool temperatures. They didn’t explain why, but that’s just what I do and my reasoning behind it.
When I move them to the garage, I simply stack them and then leave them alone. I may check every few days and mist . . . only MIST . . . if they seem super dry. The corms will begin to sprout in as little as a week, but they can take longer. It all depends on the variety and how cool the garage is (which just depends on the weather).
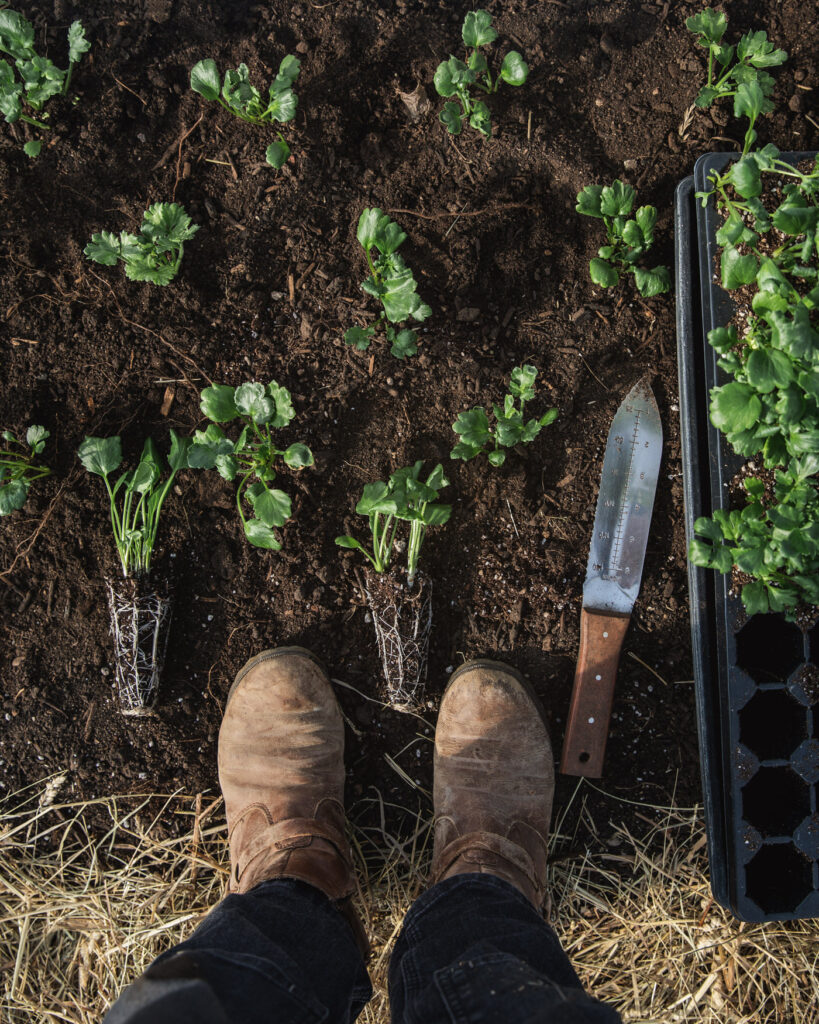
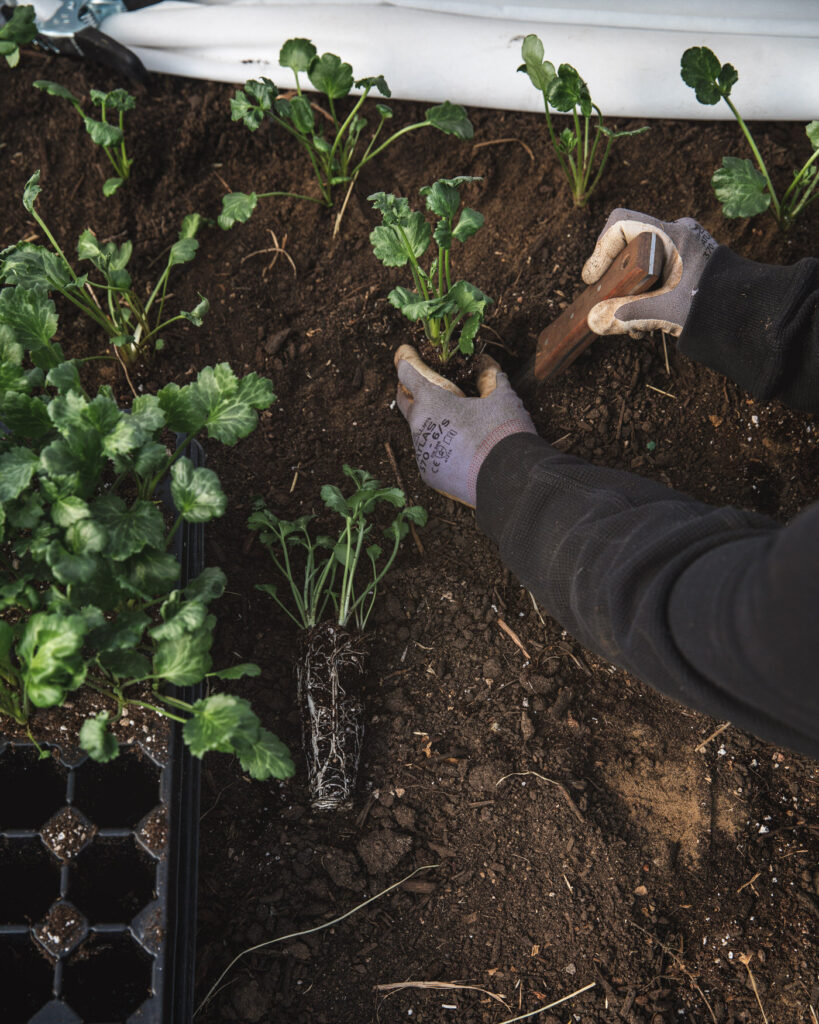
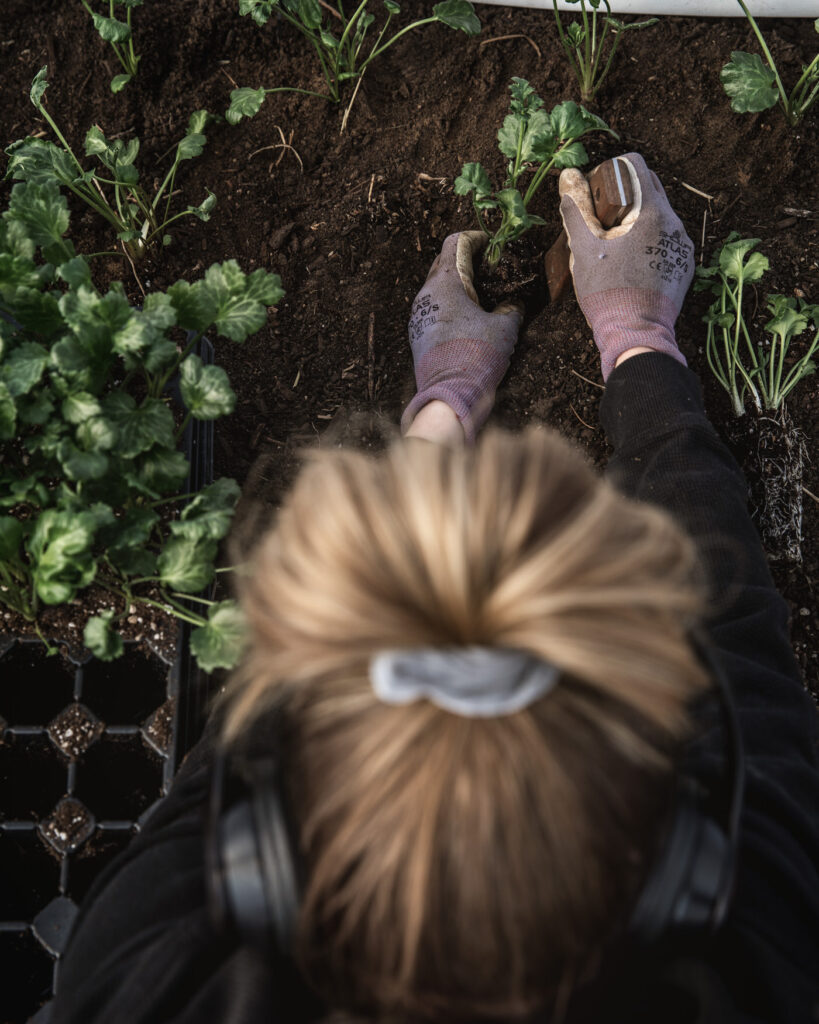
Finally, Grow on and Transplant.
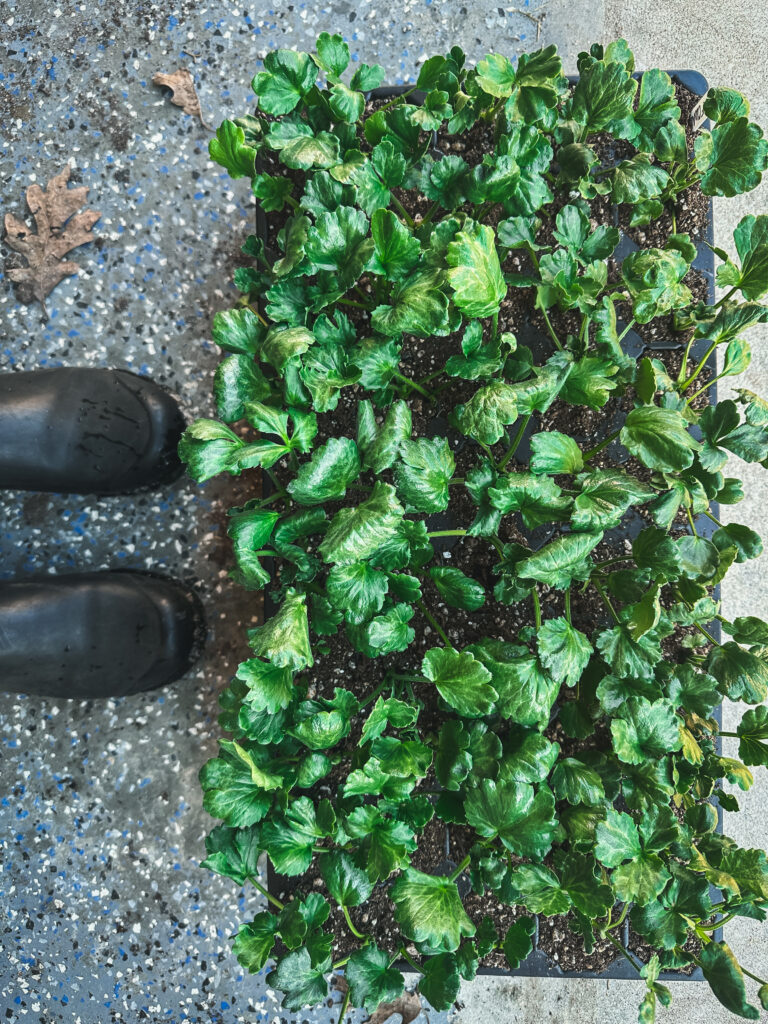
Once they sprout, they are ready to be transplanted. At this point, most growers transplant them out, but as previously mentioned, we let them grow on much like seedlings under grow lights. We’ll transplant once the weather is mostly favorable (knowing that ranunculus are pretty tough, definitely into 20sF), usually mid to late March.
Environmental Factors: N&B
Photoperiod
The highest percentage of corms flower when under short day treatments (12 hours or less) Although greater than 12 hours accelerates flowering and flower quality, yields may not be as high. Long days also result in greater corm production. At 14 hour-days or longer, fewer than 40% of plants flower (SCF).
Temperature
Ranunculus concentrate growth and flowering when the weather is cool and wet (but not so wet so as to rot corms). The optimum temperature range for growth and flowering of ranunculus is between 44–50F (7–9C) at night and 57–65F (14–18C) during the day. Above their upper temperature threshold of 70–77F (21–25C), the plants stop flowering, prioritize corm development, and enter dormancy. Concentrating ranunculus production when air temperatures range from 44–65F (7–18C), without risk of the soil reaching below 28F (−2C) will help growers maximize production (USU).
Site Selection
USU trials: ranunculus were either pre-sprouted or directly planted into a high tunnel (left bare or covered with low tunnels) or field (left bare or covered with mulch, a low tunnel, or mulch and a low tunnel) from November to April. Not surprisingly, high tunnel production fared best. However, it’s worth noting that the fall-planted crop in the field with insulation still optimized production:
“High tunnels advanced production by four weeks, nearly doubled total yield, and increased the proportion of quality (longer than 25 cm) stems by 50% compared to the field. Planting pre-sprouted TRs in the high tunnel in November delivered the earliest harvest (6 Apr.), highest marketable yield (286 stems per m2 ± 36 SE), and highest net returns ($54 per m2), with 39% greater marketable yield for ‘LaBelle’ than ‘Amandine.’ Insulation nearly doubled emergence and improved marketable yield by 49 stems per m2 ± 8 SE for November field plantings. Ranunculus production was optimized as a fall-planted high tunnel crop in the Intermountain West but may be fall-planted in the field with insulation, allowing growers to maximize production during more optimal, early-season temperatures.”
Throughout the season, high tunnel temperatures were managed by manually venting the structure based on field weather conditions. Low tunnels in the high tunnel and field were covered with fabric row cover (AG-50, 50.6 g·m−2, Arbico Organics, Oro Valley, AZ, USA), and manually vented when ambient air temperature was over 59F (15C). Mulch consisted of approximately 0.1 m of straw placed on the soil surface (approximately 2 kg·m−2). Based on air temperature monitoring, mulch was removed between March 1–15, low tunnels were removed between March 8 and May 11, field plots were shaded between April 23 and May 11, and high tunnel plastic was replaced with shade between May 5 and May 13 each year.
Environmental Factors: BTS
We grow all of our ranunculus in our high tunnel. In early spring, we constructed low tunnels over them with AG-70 fabric. Once temperatures rise, we remove the frost protection and install shade cloth.
Transplanting, Spacing, Support: N&B
According to SCF, it’s better to be conservative on spacing, but they recommend anywhere from 4–6″ spacing, while most growers recommend 6–9″. Most growers agree that ranunculus do not require support. Many growers choose to soak and pre-sprout their ranunculus corms, planting out the corms once roots start to form. Ranunculus should be planted 1–2 inches below the soil line. Interestingly, Heather from Boreal Blooms notes that planting corms too deep will only result in corm production (and little or no blooms). This makes sense though, peonies have the same requirements. I’d link the podcast episode, but I cannot find it (they may have gone strictly to patreon).
Transplanting, Spacing, Support: BTS
We space our ranunculus about 6″ apart and do not support them.
Successions: N&B
In the USU trials, ranunculus were either pre-sprouted or directly planted into a high tunnel (left bare or covered with low tunnels) or field (left bare or covered with mulch, a low tunnel, or mulch and a low tunnel) from November to April.
They report that succession planting of ‘LaBelle’ in high tunnels from November through January may allow growers to produce a consistent supply of flowers for wholesale markets from the beginning of April to the end of May before planting a warm season crop in June. High tunnel plantings after mid-February are not recommended as harvests beginning in mid-May or later are limited by superoptimal air temperatures by late June. For growers lacking the space for a high tunnel, combining non-presprouted, insulated November plantings and pre-sprouted March plantings supplies smaller yields of ranunculus for diversified marketing channels from the beginning of May to the end of June.
Heather from Boreal Blooms also reports successful fall production of ranunculus.
Successions: BTS
Last year, I did one winter planting of soaked corms in November and one transplant in late March.
Nutrition: N&B
USU fertilization: Phosphorus (P, guaranteed analysis 0N-20P-0K) and Potassium (K, 0-0-50) fertilizer applications were based on soil test results, and Nitrogen (N) fertilizer (46-0-0) was incorporated as a split application at a rate of 73 kg N ha−1 in November and again in spring when flower buds were visible.
Dowling and Love note that ranunculus are heavy N feeders.
Nutrition: BTS
I am sure that dialing in your fertilization game per crop is ideal, but we do not do that. We fertilize our fields organically based on soil tests, and we do not fertilize for each crop individually. I have an eBook that outlines exactly how we do this. I’ve made that available for you here.
Drainage & Irrigation: N&B
Much like dahlia tubers, the biggest concern early on with ranunculus is corm rot. After soaking, water only if conditions are extremely dry. Even when plants are young, be cautious of overwatering, though Dowling notes that once established plants prefer to be irrigated (much like dahlias). Heather from Boreal Blooms notes watering every other day when temperatures are extremely hot.
Drainage & Irrigation: BTS
At our farm, we have gossil-loamy sand, meaning that our soil is more sand than loam. It actually drains excessively to the point of leaching nutrients. Our biggest difficulty is keep plants irrigated, especially in dry spells. For this reason, we do have drip irrigation installed on all of our beds at the home farm. Because it can get super hot in our springs, I will irrigate more often during hot spells (even daily).
Pinching: N&B & BTS
Ranunculus should not be pinched.
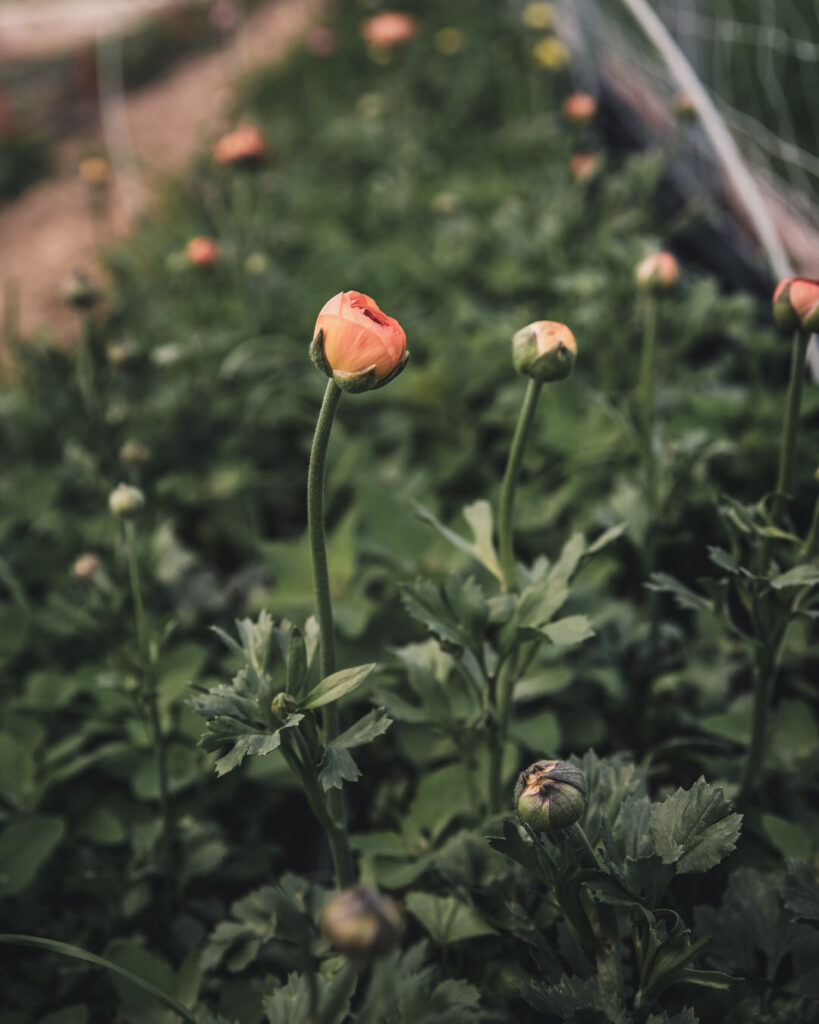
Bloom Period: N&B
Bloom period is highly depended on geographic location, growing environment, and fall versus spring production. While overwintered plantings take longer, ranunculus typically flower approximately three months after planting (USU).
For USU trials, high tunnels advanced production by four weeks. Planting pre-sprouted corms in the high tunnel in November delivered the earliest harvest (April 6). Yields of ranunculus typically range from three to six stems per plant, but high tunnel yields up to 12 stems per plant have been reported with stem lengths ranging from 20 to 50 cm (USU).
Bloom Period: BTS
We had our first ranunculus bloom in early May and they petered out mid- to late-June.
Overwintering: N&B
Most resources advise fall planting for ranunculus in USDA hardiness zones 7 and above, and spring planting for USDA hardiness zones 6 and below. However, as we’ve seen through these trials, there is reason to believe the limits can be pushed on this. Interestingly, the freeze tolerance of ranunculus is directly linked to their moisture level, with a minimum survival threshold of 24F–28F (−2 to −4C) for hydrated corms (80–90% water content).
The results of overwintering in the USU Trials can be seen in the table below:
I was shocked to see that even the un-mulched field plantings had 90% survival rate. That said, this could have been due to snow cover providing a natural source of insulation. Also, according to graphs in the paper, air temperatures appeared to stay at or above 0F, despite being in Zone 4/5. Remember that Hardiness Zones (or Planting Zones) are only based on average annual minimum winter temperatures. Zone 5 is -10F to -20F, while Zone 4 -20F to -30F. So, it’s worth noting that for these trials they had above average temperatures (but as you’ll see in in my Zone 4 Wisconsin, we did not).
Interestingly, the USU paper also mentions a Minnesota trial (USDA hardiness zone4), where ranunculus species mulched with 10 cm of hay survived the winter, while those without mulch did not, indicating that insulation can be used to modify soil temperature and improve the overwintering ability of ranunculus (though they do note it was a mild winter).
Overwintering: BTS
So, why go through the trouble of overwintering if it’s risky? Typically, fall plantings produce a superior crop, because spring plantings are limited by early summer heat. That said, ranunculus corms are not exactly cheap, and given the trial temps were quite warmer than what I’d likely experience (even in the *best* Wisconsin winter), this was definitely a risk. However, I like a good experiment, and I was completely OK losing every corm.
Here are some of my findings:
The good news: Despite hitting a low of of –12, most survived! I don’t have an exact number, perhaps someday I can do a full trial of my own. What’s even more, I did not even put a low tunnel over them until they emerged in the spring. However, I did put a THICK layer of hay over them, which I think was key (easily a foot of hay).
Once plants emerged, we constructed low tunnels and covered them with AG70 fabric.
Now, here comes the sad news. While many survived the winter, I still felt my spring plantings did better, but the reasons why might be remedied in the future:
First, I lost a *huge* amount to mice. They started mowing the beautiful green shoots right down to the ground, eventually tearing out the corms.
Two, I was not able to water enough. Due to our freezing temperatures, irrigation in later winter/early spring is all done by water tank strapped to a UTV. This wouldn’t be terrible, but reason three made watering difficult.

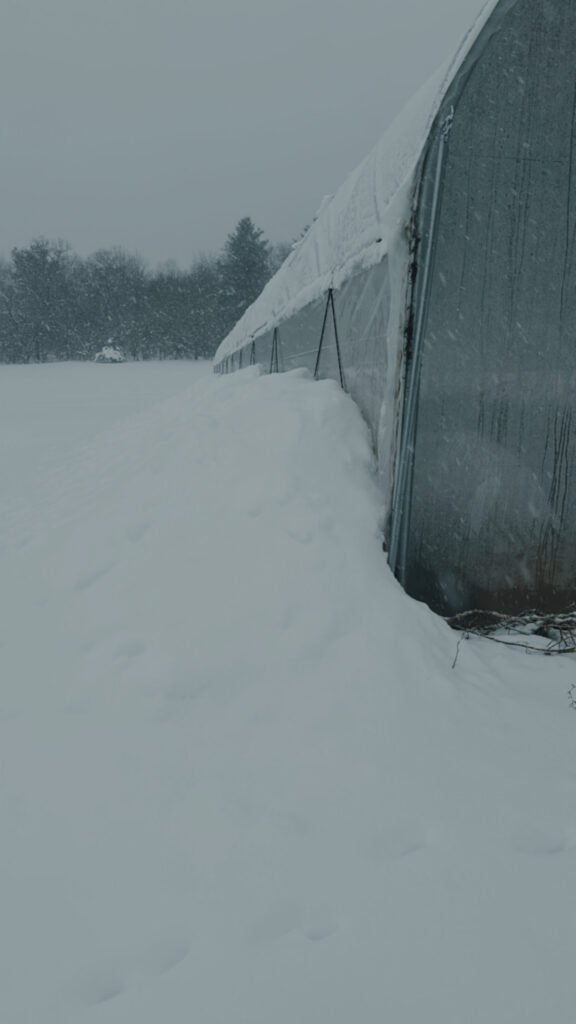
Three, snowfall. In the midst of winter, this provided a great deal of insulation in the high tunnel. However, it also barricaded the sides, meaning we could not ventilate the tunnel properly. While we were able to get the front door open, it wasn’t enough to cool things down (it sometimes reached 100F even in the dead of winter). We attempted plowing the snow away from the tunnel, but this was only mildly successful as it was like a snow/ice situation. And even when it was, another night of snowfall meant we were back to square one. Back to watering: the motor would have to be running to run the pump on the UTV or the battery would die, so without a lot of air circulation, this limited the amount of watering.
Four: Finally, we had wild fluctuations in temperatures (in one week we hit 90F and then it snowed 20 inches). This is not entirely unusual for our springs.
Despite all of this, some still made it, but the plants were set back far enough that the spring plantings caught up and surpassed them in quality. All that said, I was shocked how many survived over winter, leading me to believe this could be a viable option if we are able to improve ventilation and reduce pests.
Ultimately, what I think is key to actual survival is a thick layer of insulation, whether mulch, snow, tunnels, or a combination!
While it was interesting how cold the corms could withstand under the soil and thick mulch, another interesting thing I thought I’d share is just *how cold* the plants could get:
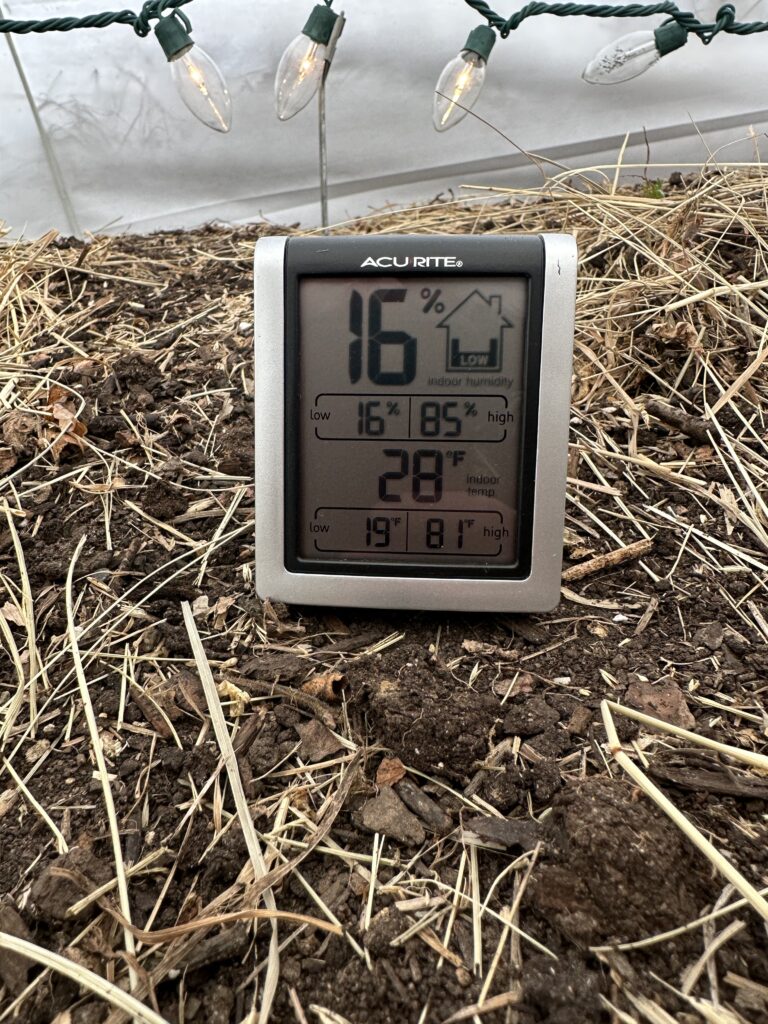
In March, our weather forecast was predicting temperatures as low as 5F. AG70 will protect maybe up to 8 degrees, so I was quite nervous about these low temps. Some kind folks on instagram suggested Christmas lights. We happen to have a plethora of old Christmas lights around the farm, so I rigged these up under the tunnel, and crossed my fingers.
It was actually a bit comical, because we had dinner at Matt’s parents that night, so did not realize just how bright the lights were in the tunnel until we got home. On our way home, I asked Matt if he thought we’d be able to see the Christmas lights in the tunnel . . . .
It was quite the spectacle. I can only imagine what our neighbors think.
However, the lights seemed to help! I didn’t look at the temps outside until it was already 7am (sunrise), at which point it was 7F, so no doubt it was colder than that. Our neighbor said he saw –10F in his truck while driving before the sun was up. The local news said that one of the closest towns was –10 to –12F. Extreme weather watch says the low was 0F. Hard for me to honestly say how low it got outside, as all I know is that I saw 7F at 7am. However, much to my surprise, the thermometer in the high tunnel said the lowest it got under the frost cloth was 19F and the plants that sprouted were just fine!
I’d occasionally post about this on Instagram stories, and I was surprised by the number of people who reached out in similar zones saying they had success overwintering ranunculus as well.
Harvest & Post-Harvest Treatment and Storage: N&B
Harvest stems when the buds are well colored and soft like a marshmallow, but not yet open. For longer storage, harvest a little earlier when buds have started showing color and are firmer to the touch. It’s important to note that flower do close at night. Expected vase life is 6 to 7 days in water and 7 to 10 days in preservative solution(Postharvest Handling).
For short periods, store ranunculus at 34–36F (1–2C) in preservative solution. For longer periods, store at 32–34F (0–1C) using good-quality water.
Harvest & Post-Harvest Treatment and Storage: BTS
I harvest just as described above. In spring, we keep our cooler at 35F, though I’m not typically storing ranunculus very long.
Pests & Disease: N&B
Ranunculus have some pest and disease problems, including Crown Rot, Southern Blight, mold, and in high tunnel production, thrips and aphids. As with most crops, prevention, crop rotation, and air circulation are key. For serious problems, refer to Johnny’s Pest and Disease Management, based on results from their research farm.
Pests & Disease: BTS
Thus far, our biggest issue with ranunculus have been the mice. I tried repellents, but ultimately ended up putting out traps.
Variety Selection: N&B
There are many varieties of ranunculus, but here are some that are popular among flower farmers. Some of the more popular ones include ‘Amandine,’ ‘LaBelle,’ and Tecolote’ series. It’s interesting to note that USU showed 39% greater marketable yield for ‘LaBelle’ than ‘Amandine’ series. However, Dowling noted that breeders are going to stop offering the ‘LaBelle’ series as the ‘Amandine’ series has shown superior. Amandine is often cited as having larger blooms and being more heat tolerant.
Another popular series are the Italian Ranunculus series. “The Italian Ranunculus collection is an improved alternative to the common Ranunculus. The genetic improvements consist of longer stems, increased productivity, and larger blooms with many more petals! They are also much more capable of thriving in a broader range of climates.” ~Dutch Grown
Then there are Butterfly Ranunculus, going back to the genes of the original botanic ranunculus. They are graceful single flowers grown in sprays.
Then there are tissue culture ranunculus, like the Clone series. These are propagated in a laboratory on tissue culture for cloning, creating more productive and disease free plants with larger, fuller blooms. While the Clone series are quite expensive, Half Clone offer a mix of tissue Culture and seed-generated reproduction, reducing costs while retaining many of the favorable qualities of Cloned Ranunculus.
When ordering wholesale, Dowling recommends having them shipped in August/September (even if you are not planting until Spring) and storing until warm and dry (again, this makes sense when we consider their natural habitat). They are typically shipped in mesh or paper bags and these are great for storage.
Variety Selection: BTS
Currently, I’m experimenting with numerous varieties. Eventually, I may wield the list down to tried and true favorites. For now, it’s too early for me to know which those are, ha! Currently, the majority of our ranunculus production consists of Italian Elegance, Amandine, and La Belle. I also splurged on some tissue culture ranunculus (Hanoi and Grand Pastel). I honestly doubt I’ll splurge on these most seasons, but my sister is getting married in June 2024, and I’m really hoping I can use these special flowers for her wedding.
We get our corms wholesale through Ball and Onings. If you only need a smaller quantity, we’re sharing some of our personal collection right now (don’t forget to use code FFY for 20% off 🙂 ).
Pricing: N&B
In 2021, the price for one bunch of ten ranunculus stems ranged from $12.50 to $26.00 at the Boston terminal market and $12.00 to $17.00 in Northern Utah (USU). Current Boston Terminal prices:
RANUNCULUS: MARKET STEADY. bunched 10s EC long 17.50 IS long 20.00 NENG long 24.00 NL long 17.50
Pricing: BTS
In 2023, our florist price for ranunculus was between $20–22 bunched.
Design: BTS Only
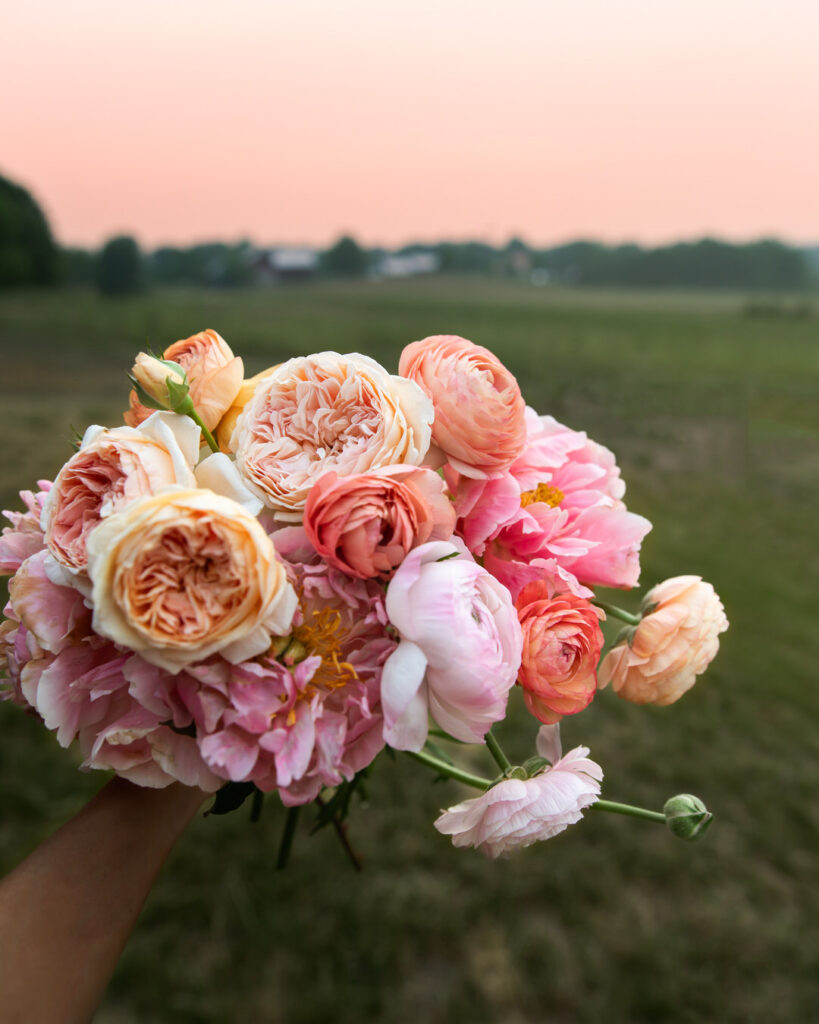
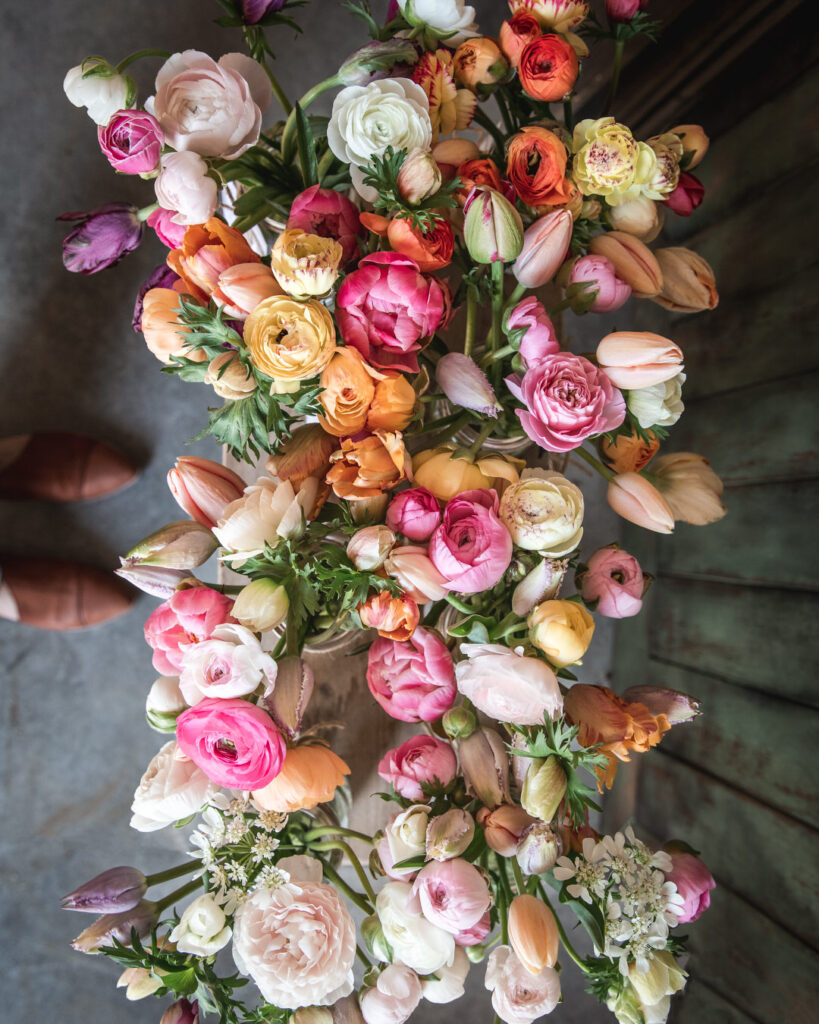
My biggest gripe with ranunculus is that I don’t have them all season long, that’s how much I love them for design work! They’re simply stunning and despite their delicate appearance, they are quite tough. They even work well out of water and I love them for wearables. They can be wired, wrapped, and glued.
Wrap Up
OK, my friend, that is IT for October’s Plant Profile. What do you think? Did you find some useful nuggets? Is there anything that’s unclear or you wish I would have covered? Or is your head spinning? No worries, you will get a copy of this before May goes live, so you can always refer back it. Tip: use the find shortcut (Ctrl+F on a PC or Command+F on a Mac to search for any word or term).
Have any questions or something you want to share with me or others? I know I say this ad nauseam, but I truly believe in the power of the collective and that we all have something unique and powerful to share, so please leave a question or share a comment below. We’re all better for it, and I thank you in advance!
Cheers pal!


Thanks so much for the helpful review!
Wondered if you have any experience or can share your research on corm saving?? Thank you!
Thanks, Marie, glad to hear it!
That’s a great question! We don’t save them at scale, it’s more of a happy accident, and I’ll save them. But I’ve been considering giving this a more-serious go, as from what I can tell so far, it’s fairly easy! More farms are doing this recently. Sunny Meadows Farm does this on a large scale and has even started selling their saved corms. Check out some of the process here.
There are two main reasons folks don’t save corms that are worth considering. One is that some varieties are patented (like the Clonis), so it’s illegal to save them. The other reason, at least as I understand it, is that you need to let the crop die back/yellow (and most folks are flipping beds for the next crop).
For us, when we’re flipping beds, I’ll find some corms that are worth saving. It’s not a well thought-out intentional process at this point (like the dahlias), but I’ve been surprised how big some corms are!
If you want to give it a serious go, I’d wait until the plants are dying back/turning yellow. Dig up and let the plants dry out a bit. Then I’d trim off any plant material and clean/trim the roots. Our soil is sandy, so most of the dirt just falls away. You want to let them dry out completely because they are prone to mold/rot. I would think a dusting of Rootshield or Actinovate could be an option (I believe both labels mention dusting of bulbs/corms), but I don’t have experience with this. Then just store them in a dry place. I’ve read to store both cool or warm (warm may sound odd since we’re used to dahlias needing to be stored cool, but if you think about ranunculus’ natural habitat, they go dormant during the dry/warm part of the year, so in theory it makes sense). I think either probably works (I keep them in our basement, which is cold during the summer and warmer during the winter just due to our heating/AC in the loghome)!
I hope that helps!!