The last stretch of winter is the perfect time to start seeds indoors for your garden. This post is jam-packed with how-to instructions, supplies, tips and tricks, and plenty more. Use the short-cut buttons above to jump straight to the printable instructions or read on for the details below.
While this post has a ton of info, sometimes I just want a list of exactly what I need. And I love it when there are links! If you like that too, I got you. I created a seed starting supplies list with sources and direct links to exactly what we use at PBF. You can get it here (it’s free–all you need is an email address!).
Although we only link to products we actually use on the farm, some links may be affiliate links. Read more about our affiliate policy here.
After our post on starting onions from seed, we received many questions about how to start seeds indoors via email and social media. I’m humbled anyone would ask, because let me tell you, I’ve been there. When I first started, I thought you needed a greenhouse or fancy equipment like grow lights to start seeds indoors, but spoiler alert! You don’t need any of that.
We’ve been starting seeds in our basement for years with nothing more than some dirt, pots, and shop lights. Although there’s a ton of info below, it’s really quite simple once you have it down. Here’s how we do it.
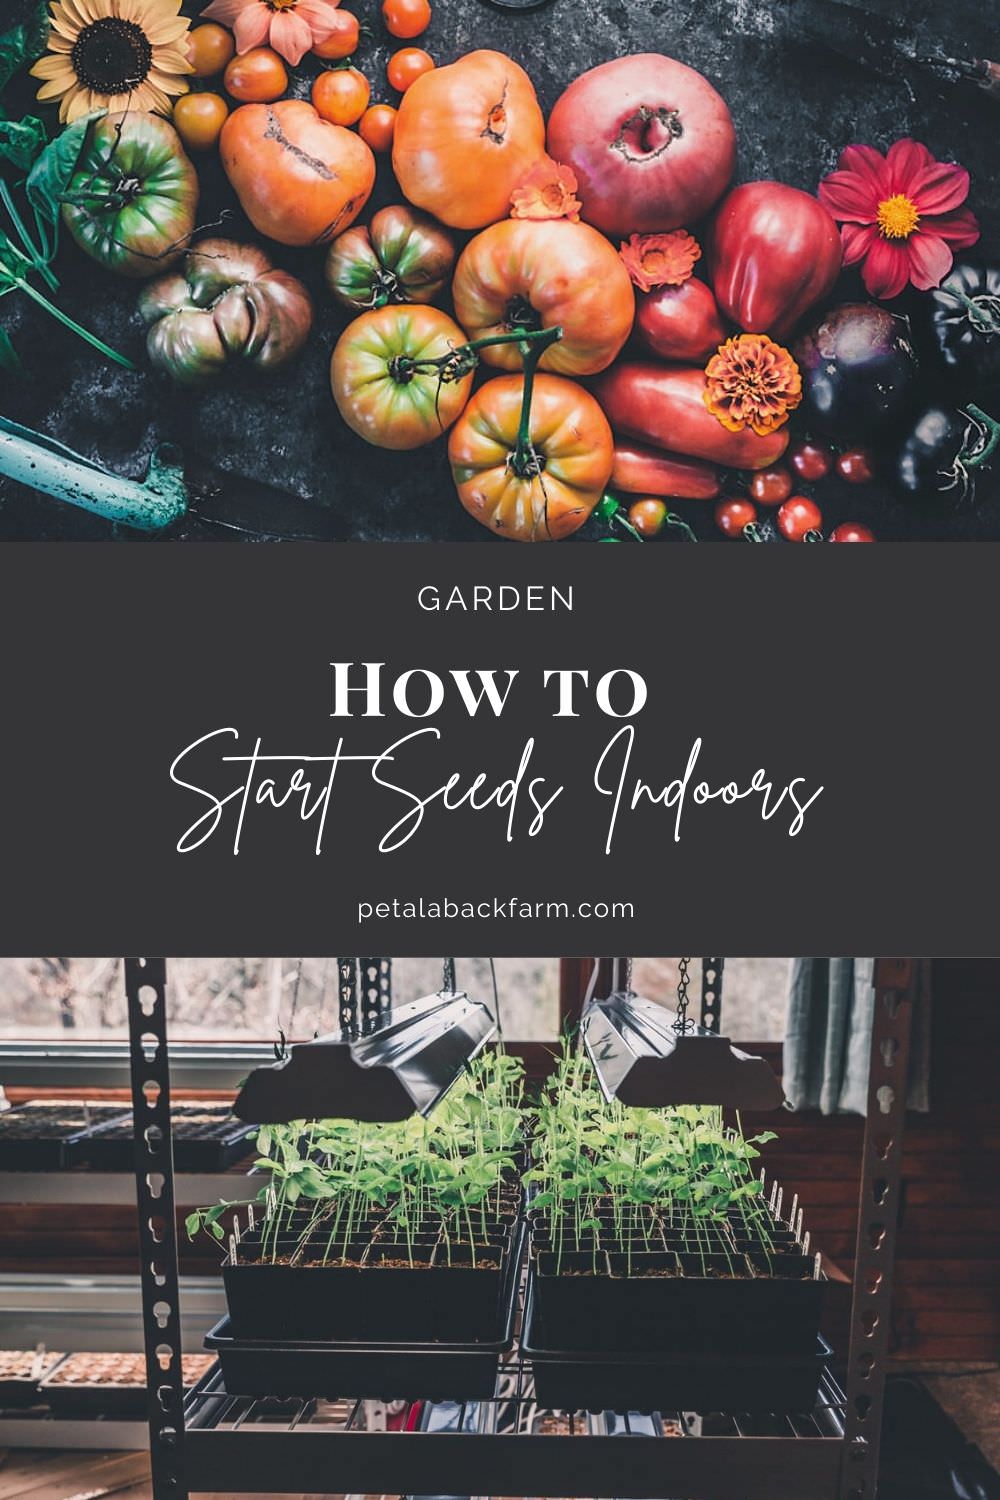
How To Start Seeds Indoors 101
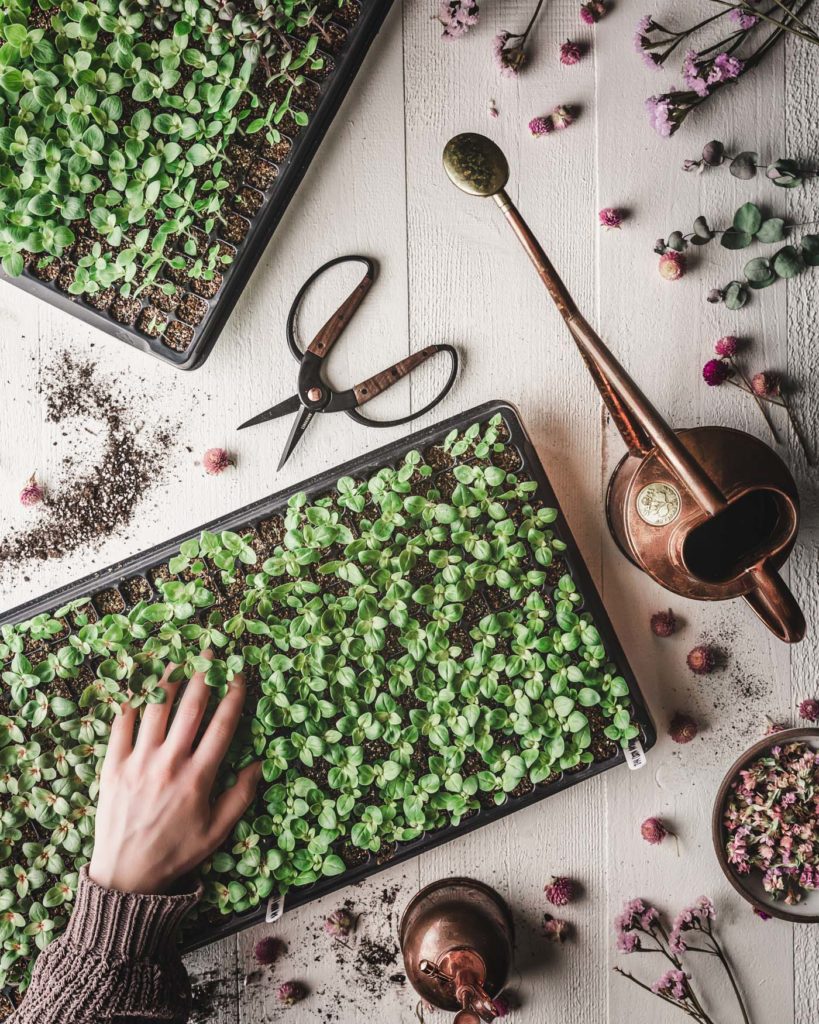
Starting your own seeds is so rewarding. Some of the benefits include getting a jump start on the season, choosing from a wider selection of varieties, filling up your garden with more plants for less money, and having your hands in the dirt in the dead of winter! First, we’ll talk supplies, then tips and tricks, and finally, step-by-step instructions.
Before you get started, you’ll need to gather your supplies. This list is broken down into the Basics and the Extras. The Basics are all you really need, but the Extras are some nice-to-haves if you’re ready to invest a little more into your operation.
How to Start Seeds Indoors: The Basics
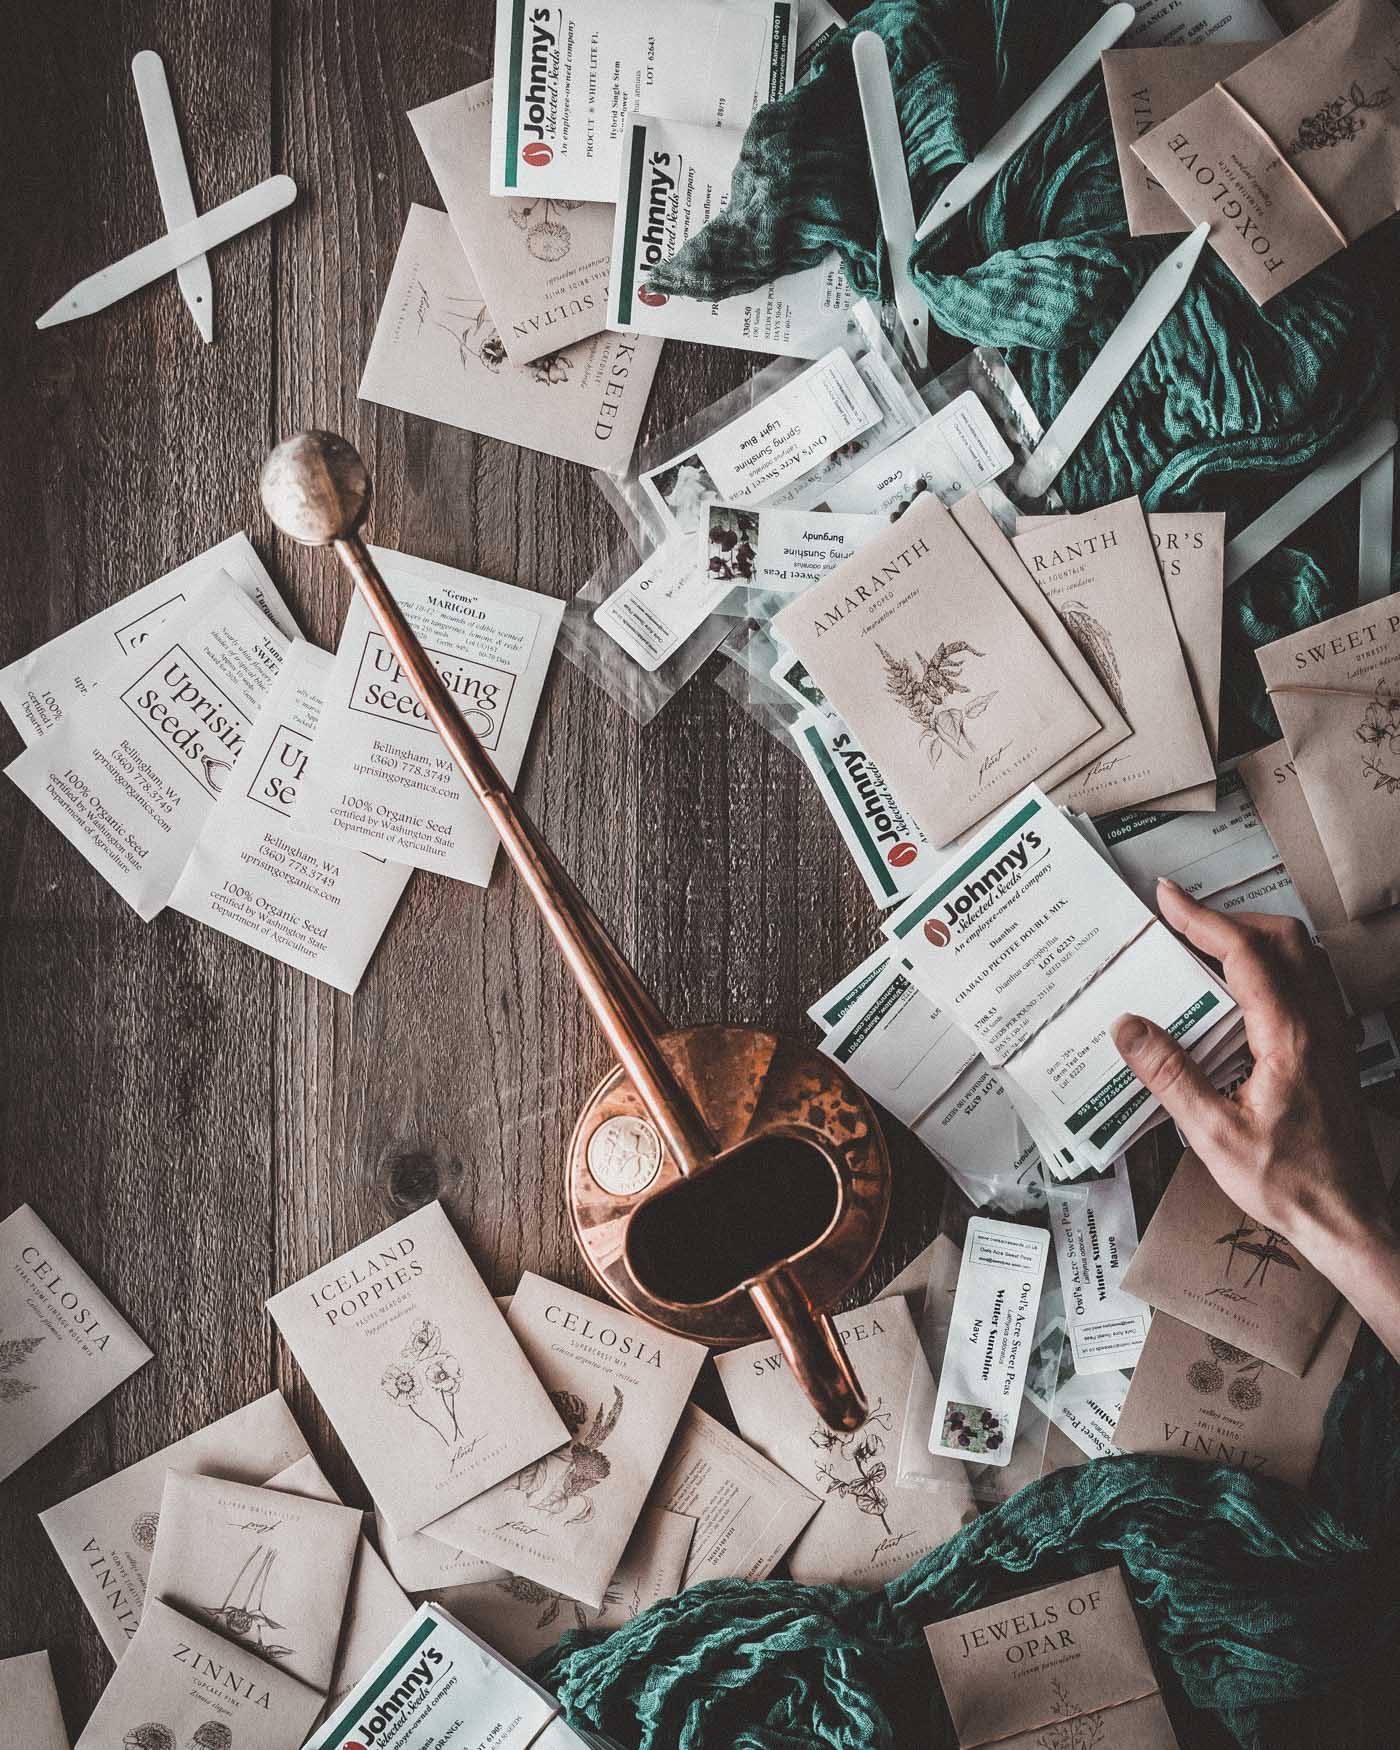
Seeds
This might sound obvious, but you’ll need seeds. If you’re not sure where to start, here are my 10 favorite places to order seeds.
Flats & Pots
When I first started out, I totally and unnecessarily stressed out about trays and pots. What do I use? Where do I get them? Which size? What material–Fabric? Plastic? Paper? Cowpot? Jiffy? I was lost in an an abyss of internet options.
If you enjoy going down internet rabbit holes, this is your topic. People use everything from recycled toilet paper rolls to egg shells to newspaper to nothing at all (soil blocks). There’s something for everyone. If you do not enjoy internet rabbit holes, know that you can pretty much use anything that holds dirt and has drainage, and you’ll grow great plants.
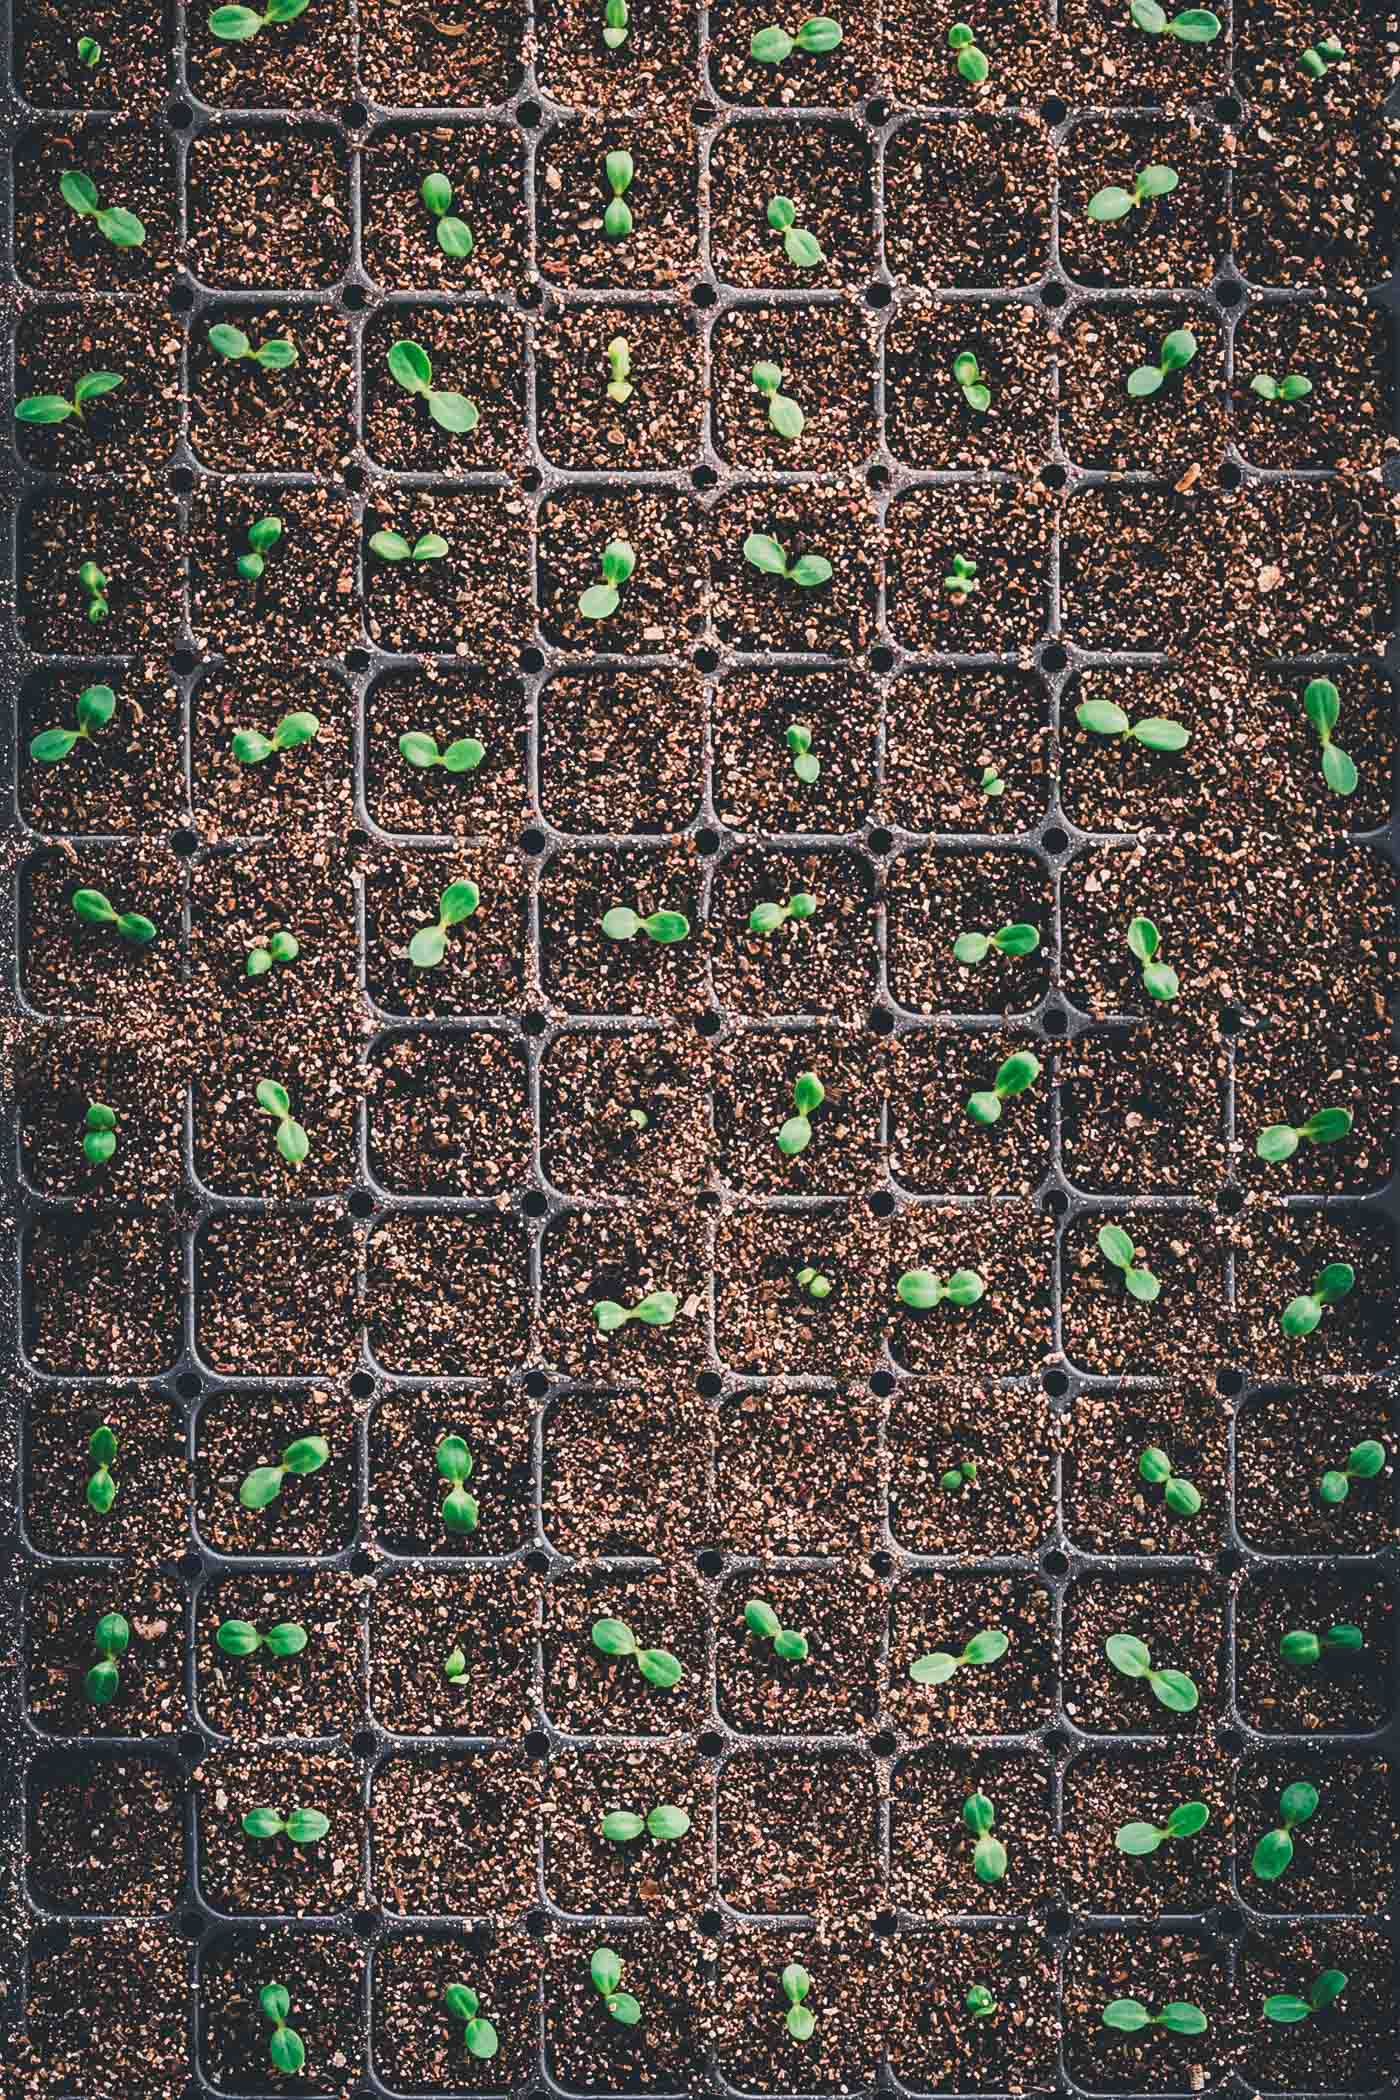
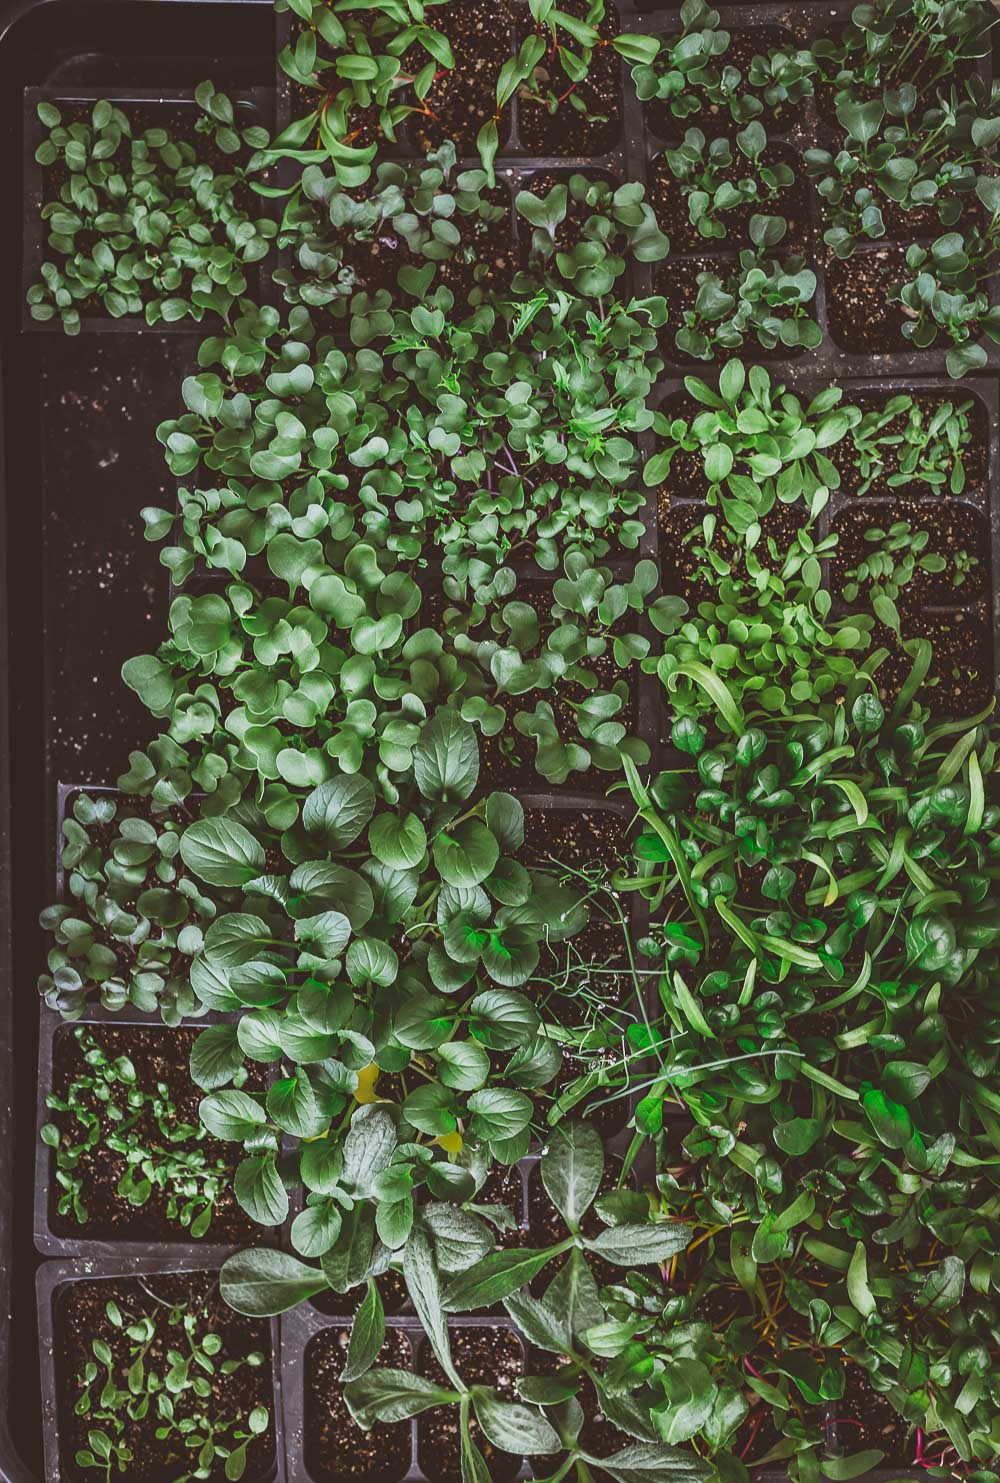
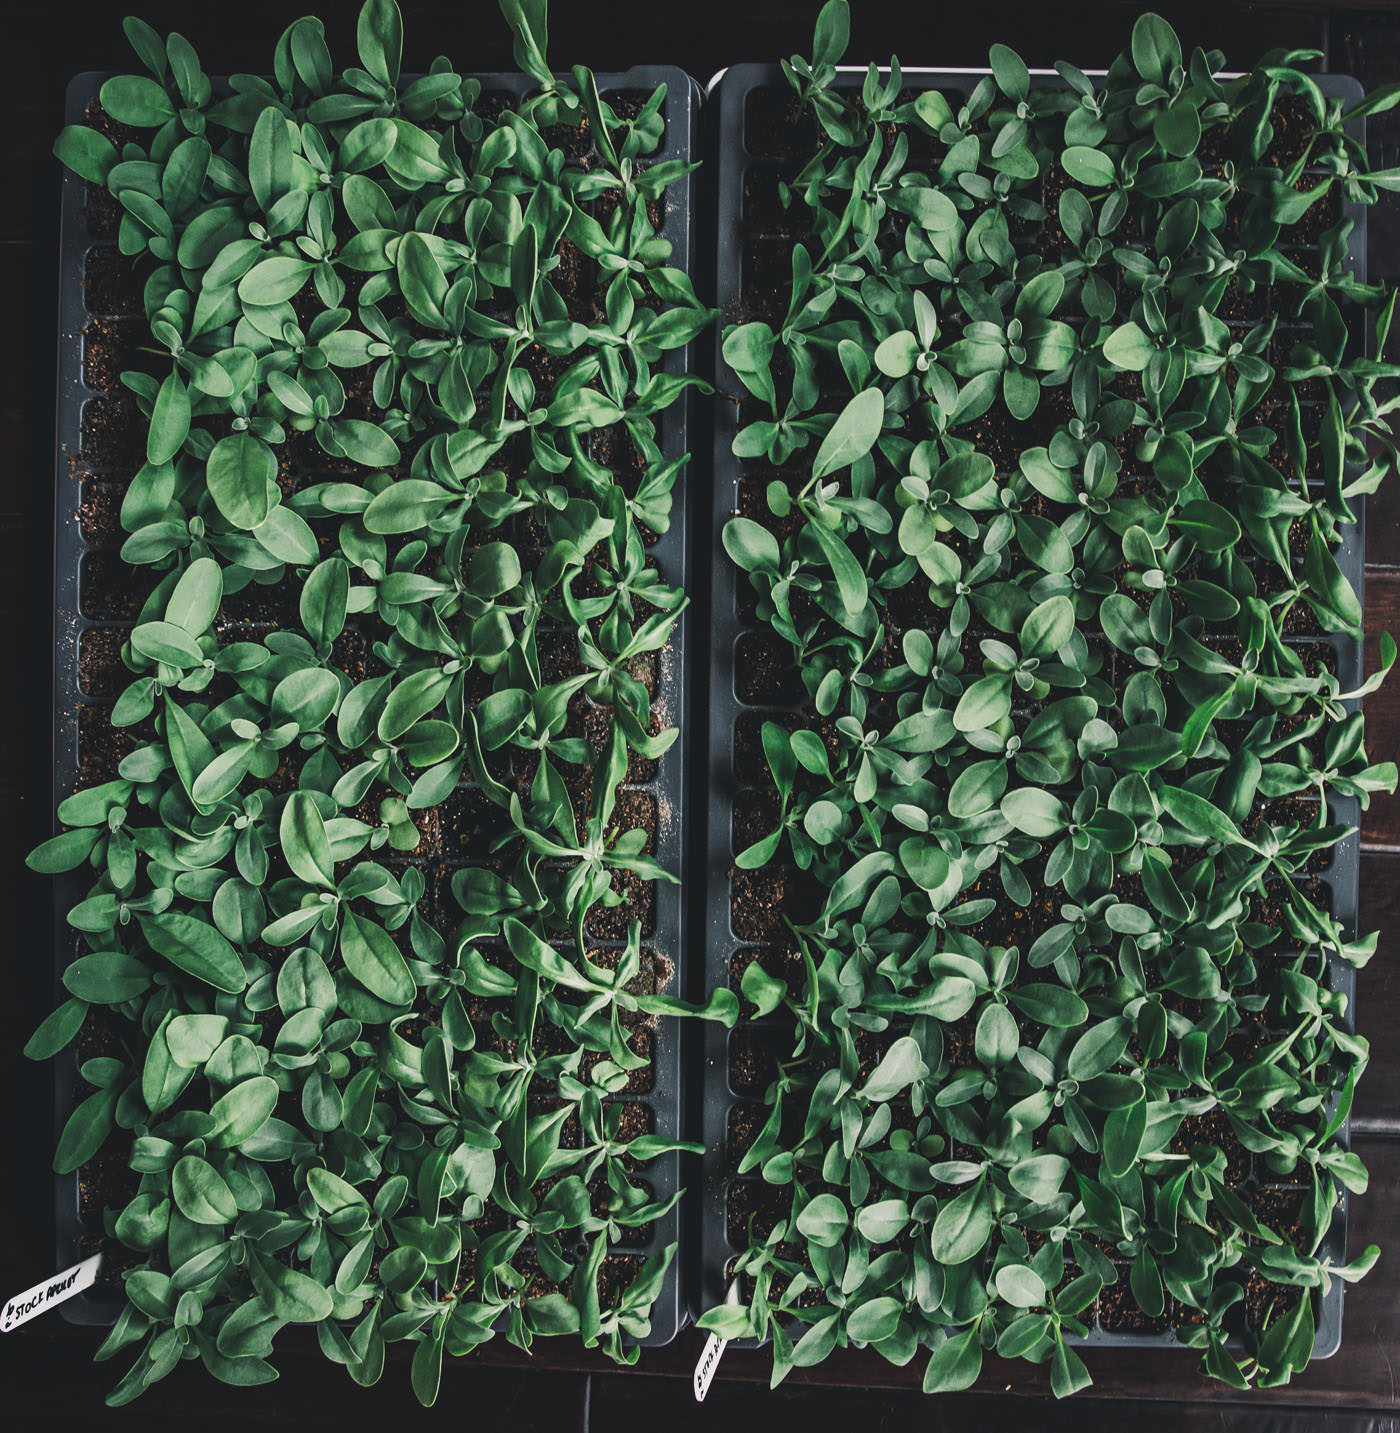
We prefer to use greenhouse plug flats and pots. They’re economical, uniform (i.e., more efficient), durable, reusable, and meant for growing great seedlings! We start almost everything in 72 or 128 plug fats. For plants we grow on a smaller scale, we use 6-cell deep inserts (i.e., when we do not need 72 tomato plants).
For potting up, we use coex pots. Over the years, we’ve leaned heavily toward potting up as few plants as possible because of the labor/resources involved. We only pot up the few that really prefer it like eucalyptus, peppers, and tomatoes.
Every winter, we take a road trip to Green Grove, our local supplier, to stock up on supplies. Before we purchased here, I ordered the same items through Greenhouse Megastore. They have a wide selection for all your growing needs (and often have free shipping–score!).
If you’re not sure where to start, and want a list of what we use, remember you can get our seed starting supplies list here (for free!).
Trays & Domes
Regardless of what you use for pots, you’ll want trays for a variety of reasons: bottom watering, collecting extra drainage, and carrying flats and pots. If you want to increase your germination rate, you’ll also want to increase humidity. You can accomplish this with something as simple as covering pots with plastic wrap, but I prefer using humidity domes over my trays.
Labels
Don’t forget to label your seedlings! You might think you’ll remember by using some clever device like planting them in alphabetical order (ahem), but it’s easy to mix things up in the whirlwind of spring. I’ve used everything from painter’s tape, popsicle sticks, and plastic labels. Use whatever gets the job done.
Soilless Growing Media
Once you have your pots and trays, you need to fill them with a growing media. When I first started out, the term soilless mix really threw me for a loop. Hopefully, I can save you some of the same confusion.
Soilless growing media, like peat moss, perlite, vermiculite, and/or coconut coir, are combined together as a soilless mix for starting seeds. While you can certainly use the soil in your yard, a soilless mix is preferable because it’s generally cleaner of harmful bacteria and fungi, lighter in weight, and retains moisture, while also improving drainage.
You can buy soilless growing media separately and mix your own, but I prefer to leave that to the professionals. When I first started growing, I scoured the internet and agonized over what was “thee best” soilless mix. I’ve tried everything from Johnny’s 512, a handful of the Pro-Mixes, Lambert Organic, The Seed Catapult, Sungro Sunshine Mix #4, Sungro Sunshine Mix #1, and on and on. I honestly can’t say that I notice a huge difference in plant quality when all is said and done.
Now, I don’t stress it and stick to whatever I can get locally, and I hope that gives you licensing to not stress it either. Buying local is generally much cheaper than shipping a large bag of dirt. Reach out to your local nursery or garden store and ask what they have for starting seeds.
If you can’t find anything local, check out the ones I listed above online. Unless you are sowing into super small cell trays or plugs (128, 288, etc.), any of these work. If you’re working with small cells, see “Germination Mixture” in the Extras.
Shop-Light Setup
Once seeds sprout, they need bright light to stimulate growth. Unfortunately, the natural light in most homes is not strong enough. Fortunately, you don’t need fancy or expensive grow lights to get the job done. Regular fluorescent or LED lights work great, as long as you’re able to hover them a few inches over the seedlings.
We use 4-foot wide, two-light shop fixtures, that come with chains/S-hooks for hanging, with either fluorescent or LED tube light bulbs. The reason for both is simply because of the type of fixture that was on sale at the time. Matt scored some fluorescent shop light fixtures on sale for like $11 at Menards last year! Some fixtures are only compatible with certain bulbs, so make sure to read the packaging and only use the correct bulbs. I say this as someone who has shattered an LED bulb by putting it in a fluorescent fixture (facepalm).
Some growers get really specific with light temperatures (opting for a mixture of warm and cool). I find that anything within a range of 4,000–6,000K has a suitable spectrum for starting seedlings that will ultimately live outside. So, I buy whatever they have on sale in that range. If you’re like, say what? The light bulbs will have this information on the package (i.e., they’ll say something like T8 Tube Light Bulb Natural Daylight 5000K).

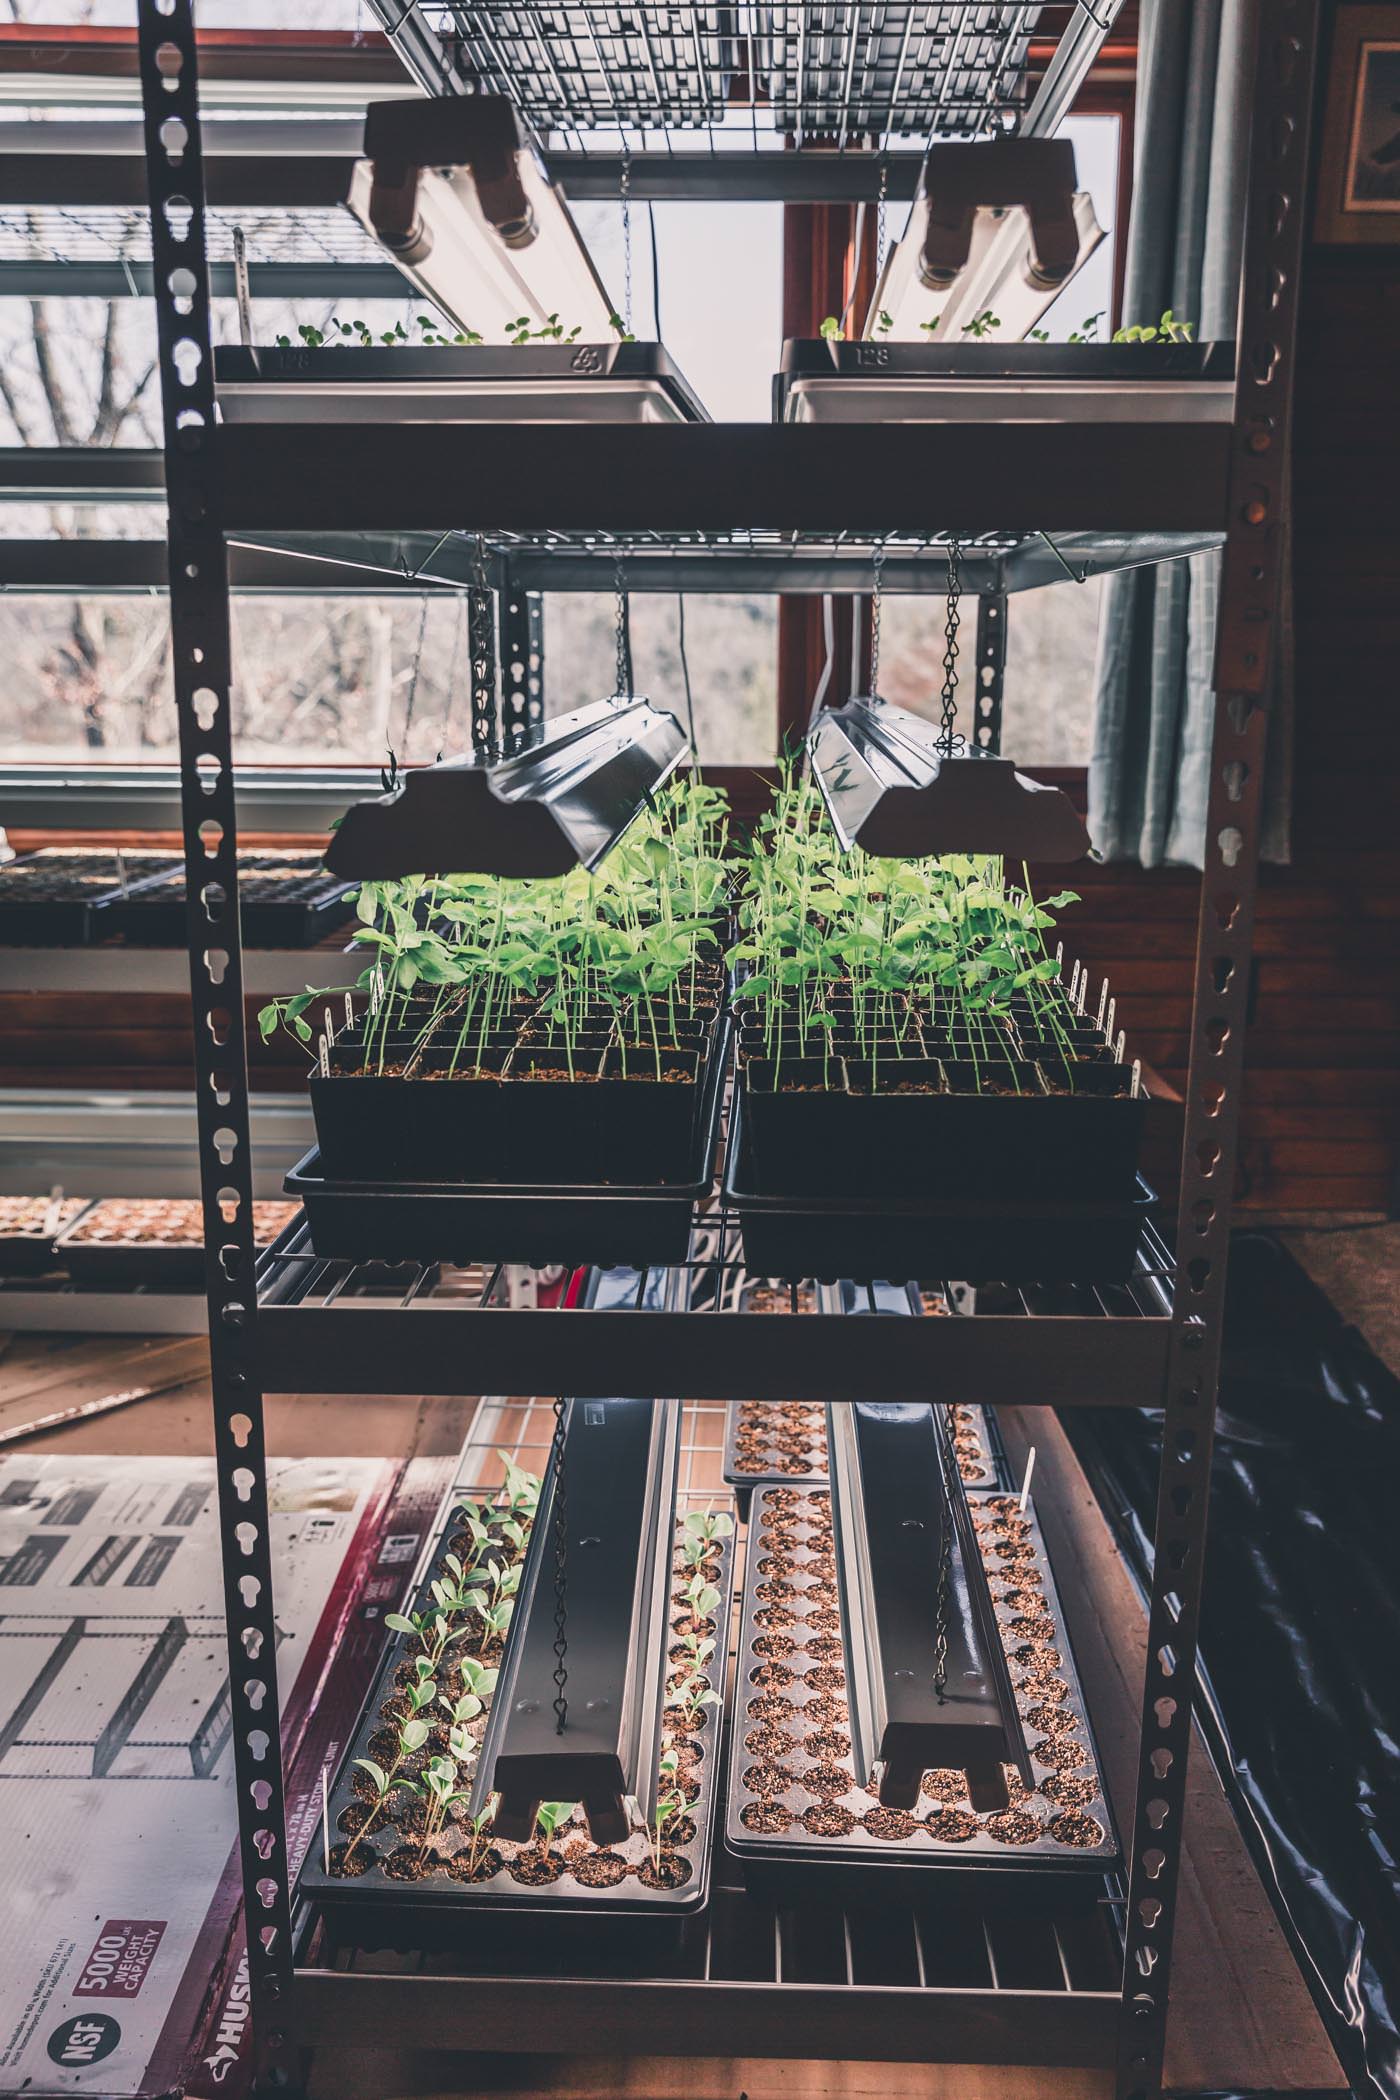
Once sprouted, the seedlings need to be just a few inches below the lights. To accomplish this, we rig up 4-foot wide shelving units with the shop lights. We snag the 4-foot husky shelves from Home Depot whenever they go on sale. You can combine units to create narrower spacing between shelves. They’re heavy duty, so we can use them in the garage or pole shed afterward.
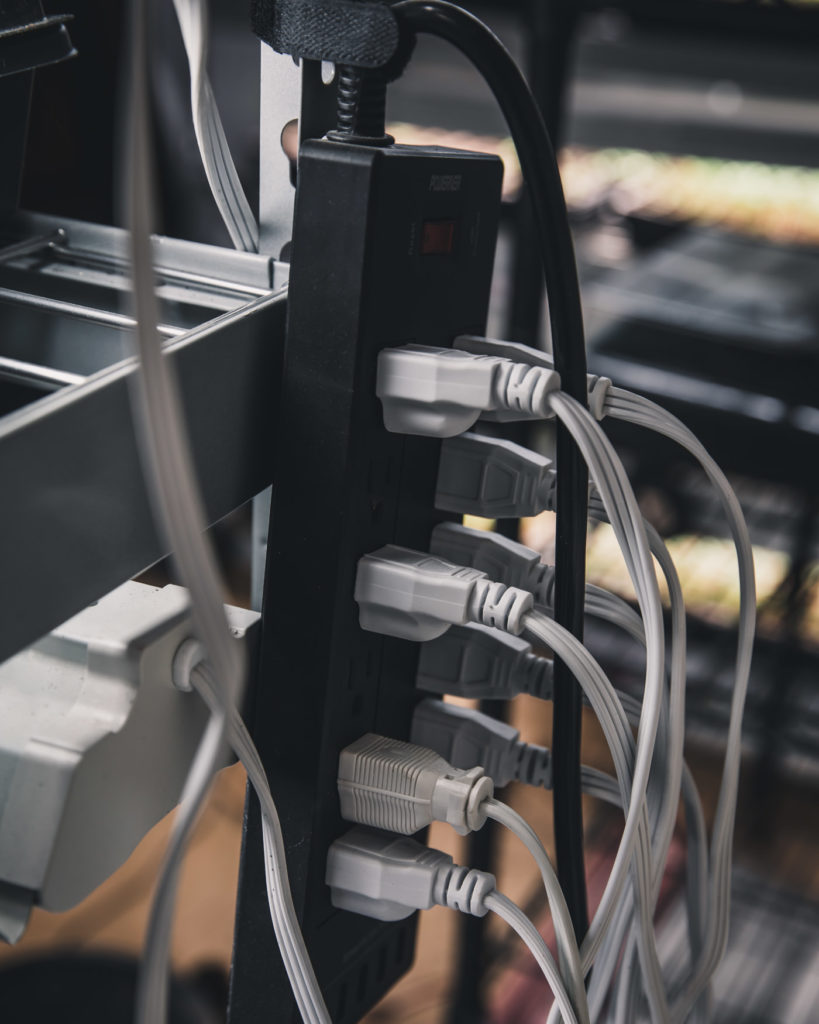
Once assembled, we place trays on the shelves below and hang the shop lights from the shelf above. The chains/S-hooks that came with the shop lights are easily adjusted to the height of the plants as they grow. We put our lights on timers for 14–16 hours per day (e.g., timer plugs into wall, power strip plugs into timer, lights plug into power strip).
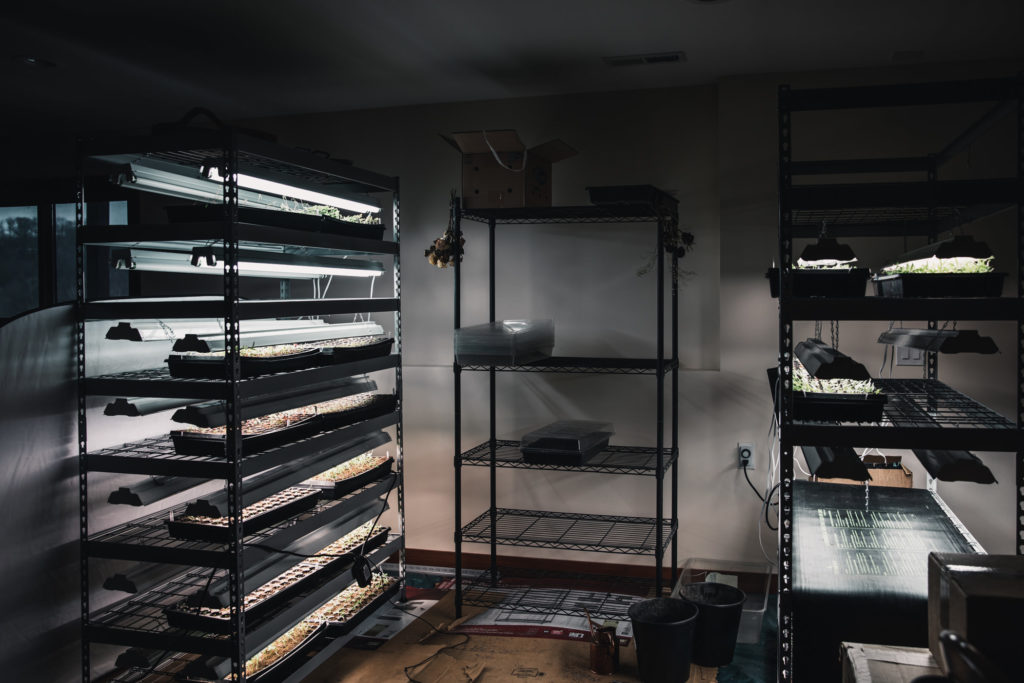
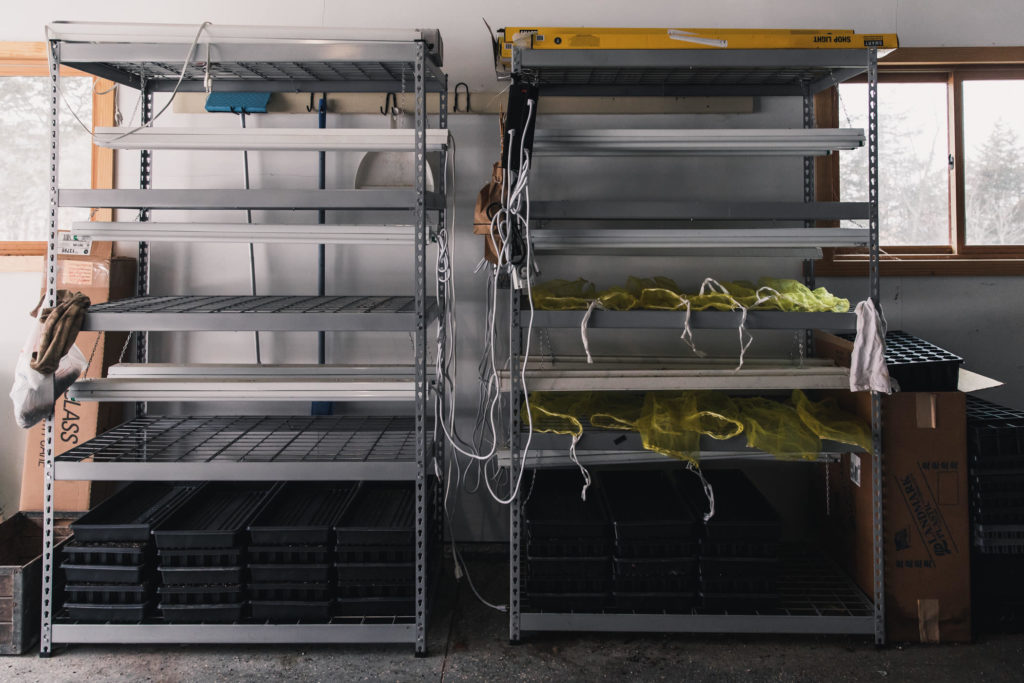
We have two separate seedling setups. One in our basement, which is warm (68F and even warmer under the lights). The other setup is in our garage, which stays much cooler, but above freezing. Right now, it’s hovering between 40–50F. The reason for this is that some seedlings like warmer temperatures, while others prefer cooler temperatures. And some seedlings, like lisianthus, have major issues if they are exposed to high temperatures at seedling stage.
So, we sprout all seeds in the basement, but once sprouted, some seedlings are moved to the garage if they prefer cooler temps. Most reliable seed companies will include this information on their seed packets (and this is what I refer to). Some of the most important ones to move to cool temperatures soon after emergence are lisianthus and sweet peas. At some point, though, all seedlings are moved to the garage to begin hardening off (and because I run out of space!).
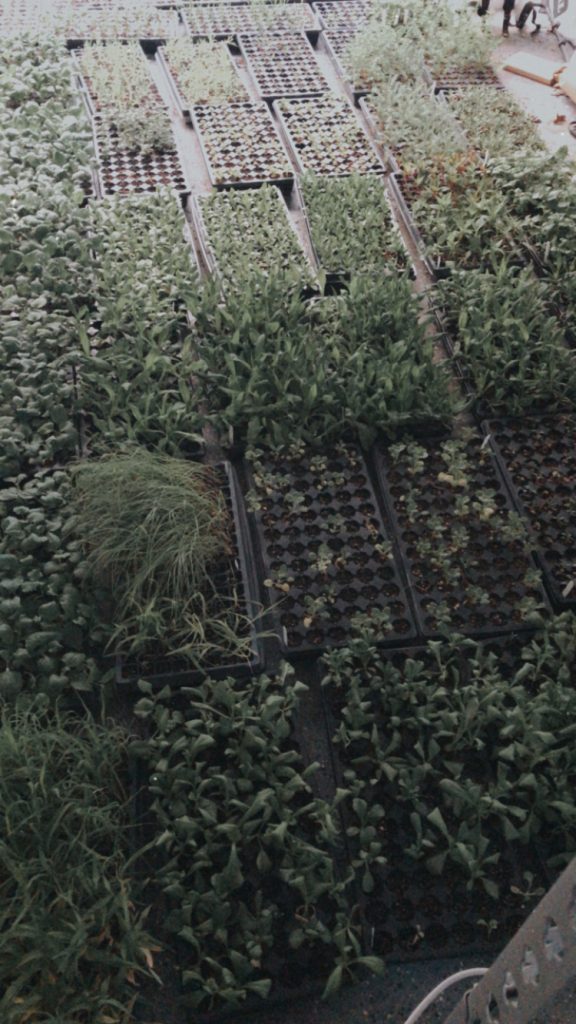
The monstrosity that is our garage before transplanting
How to Start Seeds Indoors: The Extras
Although the basics are all you really need, here are some extras. If this feels like a lot of information, feel free to skip it. But if you’re up for more, I find these extras are worth it.
Heat Mat & Thermostat
As long as you’re able to place your seeds in an area that stays above 65F, supplemental heat may not be necessary. However, if your setup is somewhere cooler, a heat mat and thermostat are wonderful. A little extra heat usually speeds up germination, especially for heat lovers like peppers, tomatoes, and basil.
Keep in mind that some plants don’t like heat, but their seed packets should indicate optimum temperatures for germination and growing on. I only use heat mats for germination. Once seeds sprout, I remove them from the heat mats.
Tidy Tray
I love this tray from Greenhouse Megastore for moistening soilless mix and filling trays/pots.
Germination Mixture
For smaller seeds and plug flats, like 288, a finely-textured medium is ideal. These are usually made up of the same material as your typical soilless mix, but they’re screened/sifted to produce a finer texture that’s dreamy to work with. Companies typically label these for germination.
Mycorrhizal Fungi Inoculant
The term mycorrhizae refers to a group of fungi that form a symbiotic relationship with a plant by attaching to its roots. While attached, they send out a vast network of hairlike structures called hyphae into the soil. This forms an enhanced, absorptive surface area, which boosts a plant’s ability to take up water and nutrients.
Almost all land plants form symbiotic associations with mycorrhizal fungi, and many plant species depend on them for growth and survival. While most soils contain mycorrhizal fungi, they are often very low, especially in depleted soils like our old, conventional crop field. Soil fertility is our number one challenge here at the farm.
Because of this beneficial relationship, many growing media producers include mycorrhizae in their growing mixes. However, if they do not, you can purchase a mycorrhizal fungi inoculant separately and add it to your soilless mix when filling your trays.
For most people, this step is not necessary to grow great plants. Mycorrhizal fungi might already be in your soilless mix and are very likely already in your soil on some level. Because we’re dealing with soil that’s seriously devoid of life, we want to increase nutrient/water uptake and biodiversity wherever we can.
The soilless mixes we’re able to get locally don’t always have mycorrhizae, but we are able to get the inoculant locally, so we do! If you want to include this extra, choose an inoculant that has at least some endomycorrhizal fungi species, as more plants utilize endo vs ectomycorrhizal fungi.
Fine Vermiculite
You may recall that vermiculite is one of the soilless mediums typically found in soilless mixes. So, why buy it separately?
After sowing seeds, I find it easier to cover them with fine vermiculite versus the soilless mix. It also holds moisture and is easier for the seed to sprout through due to its light texture, aiding in germination. Totally not necessary, but definitely nice to have. We also mix it with wildflower seeds for broadcasting into the pollinator prairie.
Liquid Seaweed and Fish Emulsion
Once seedlings get bigger, they enjoy some nutrients. According to the label instructions, water seedlings with a fish/seaweed emulsion once per week. This can be kind of smelly, ha. Don’t say I didn’t warn you.

How to Start Seeds Indoors: Tips & Tricks
General Guidelines
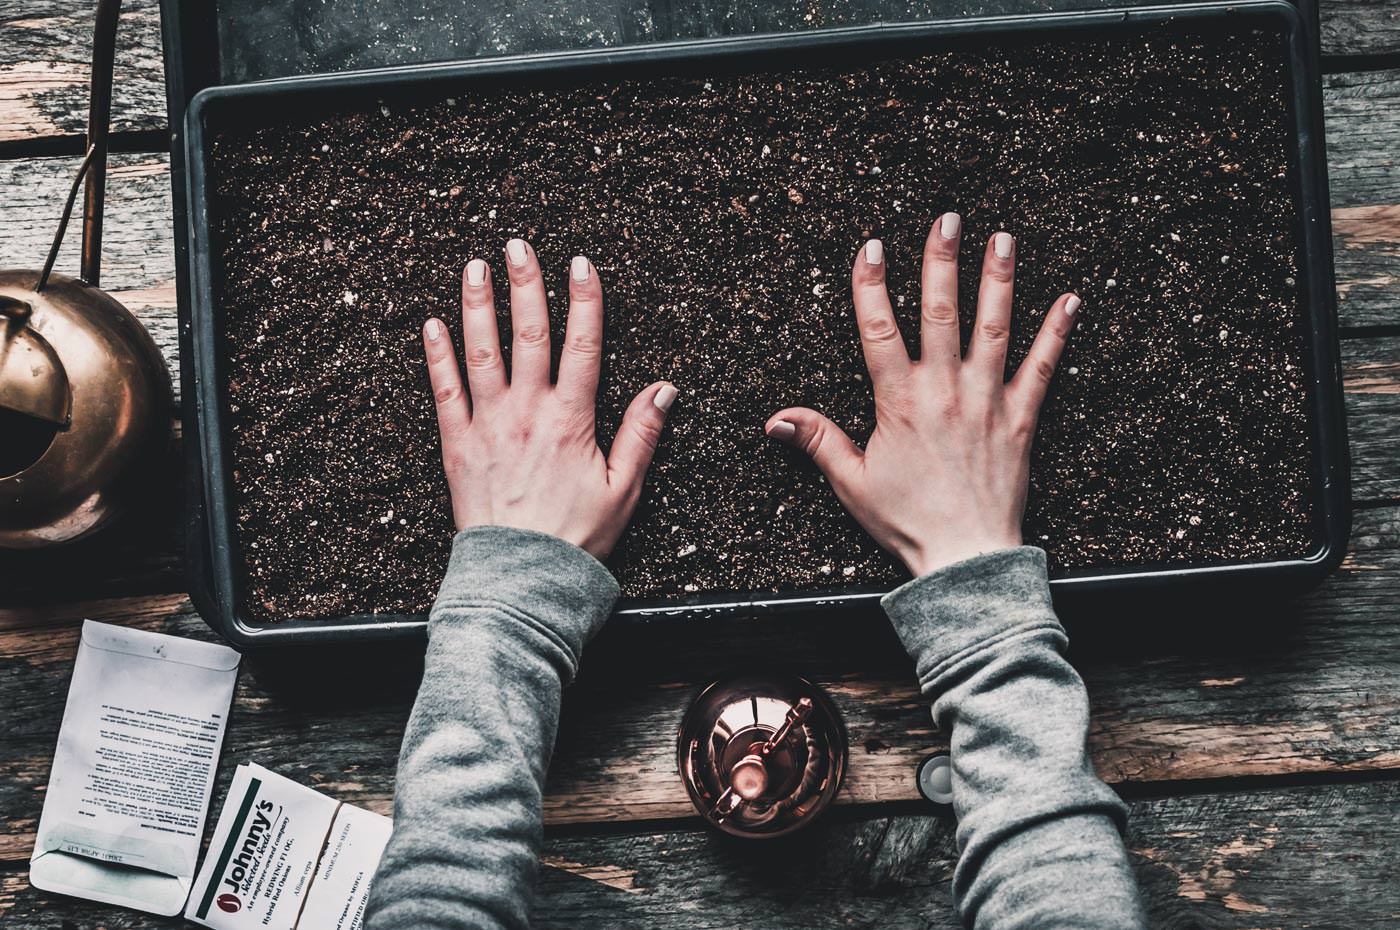
As a rule of thumb, plant seeds twice as deep as they are big. The surrounding air should be at least 65F or above. They like to be consistently moist but not drenched. Bottom watering (placing seed trays in a bottom tray with water for about a half hour to soak up) instead of overhead watering prevents newly-sown seeds from washing away.
Rules Are Meant to be Broken
Although these general guidelines work for most seeds, these rules don’t always apply. Some seeds should not be covered because they require light to germinate. Some seeds, like hot peppers, prefer a really warm environment; while others, like Bells of Ireland, will speed up germination if they’re introduced to cold prior to sowing.
Reliable seed companies usually include this information on the seed packets, so be sure to read them prior to planting. Seed packets also typically list germination rates. We aim for one to two seeds per cell, but we’ll add more if germination rates are low for particular varieties. Johnny’s site has growing and germination info with each listing. I’m constantly referring back to their website!
Dealing with Super Tiny Seeds
Finally, some seeds are super small. We’re talking the size of a grain of sand here. There are a few ways to deal with this.
You can broadcast in an open tray instead of cells (we do this for onions). For others, like snapdragons and poppies, many people have success using a toothpick (and licking it or dipping it in water as a way to pick up the seed on the end of the toothpick). I’ll be honest, that way drives me nuts.
Matt came up with the best way we’ve found yet to deal with small seeds. Take a regular, old Post-It Note (the kind that has a sticky end). Fold it in half so the sticky ends stick together–this is where you’ll hold it.
Then, while holding the sticky end together, open the non-sticky sides, so that the crease in the non-sticky end serves as a mini seeder. Pour seeds in this open crease, and use a toothpick (or something similar) to scoot the seeds down the crease and into the tray. Kind of silly, but it’s faster than trying to pick each one up with a toothpick for us.
Now that we’ve broken down all the supplies, you’ll find the printable step-by-step instructions below.


How to Start Seeds Indoors
Materials
- Seeds
- Soilless mix
- Plug flats and/or cell inserts
- Trays
- Domes
- Labels
- Shop-light setup
- Liquid Seaweed and Fish Emulsion
- Mycorrhizal Fungi Inoculant, optional
- Fine Vermiculite, optional
- Heat mat, optional
- Thermostat, optional
Instructions
- Before planting, read the back of seed packet for special considerations (germination rate, depth, temperature, light, etc.).
- Moisten soilless mix so that it’s damp but not sopping wet. When you squeeze it, it should retain its shape, but not drip, and break apart easily when poked. Mix in Mycorrhizal Fungi Inoculant at this time (optional).
- Fill plug flat or cell inserts with soilless mix. Once full, pick up and tap on the table/ground to settle the mix in. You can use something long and flat, like a wooden stake, to skim extra dirt off the top if necessary.
- While the soilless mix settles in, add your label(s).
- If seeds are larger, poke a hole in each cell. In general, plant seeds twice as deep as they are big. Super-small seeds can be sown right on the surface.
- Cover with soilless mix or a dusting of fine vermiculite.
- Fill an empty tray with water and set the plug fat or cell insert in the tray, so the cells can soak up water from the bottom. Remove once evenly moist (half hour or so).
- Place in an empty tray and cover with a humidity dome.
- Place tray in warm room that stays above 65F or on a heat mat with the thermostat set to 70F (or recommended temperature on seed packet).
- Check seeds daily, opening domes to prevent too much moisture. If soilless mix dries out, repeat bottom watering.
- Once 75% seeds have sprouted, remove dome from tray and remove tray from heat mat (if using). Place under shop lights set on a timer for 14–16 hours per day. Lights should be directly over the seedlings, just a couple inches above them. Raise the lights as the seedlings grow so they maintain this distance.
- Check seedlings daily, they can dry out quick! Water when necessary but avoid over-watering (media should not be soggy).
- As seedlings grow, they benefit from a boost of nutrients. According to the label instructions, add the recommended amount of fish/seaweed emulsion to your watering can, and drench seedlings.
- Once seedlings begin to outgrow their trays, either pot them up or plant them outside (if the weather allows). Before planting outside, seedlings should be “hardened off” in order to acclimate to outdoor weather conditions and avoid transplant shock. Set trays outdoors, starting with smaller increments and increasing time as you go. Pay attention to weather conditions and keep in mind that the soilless media will dry out quicker than when inside in mild conditions.
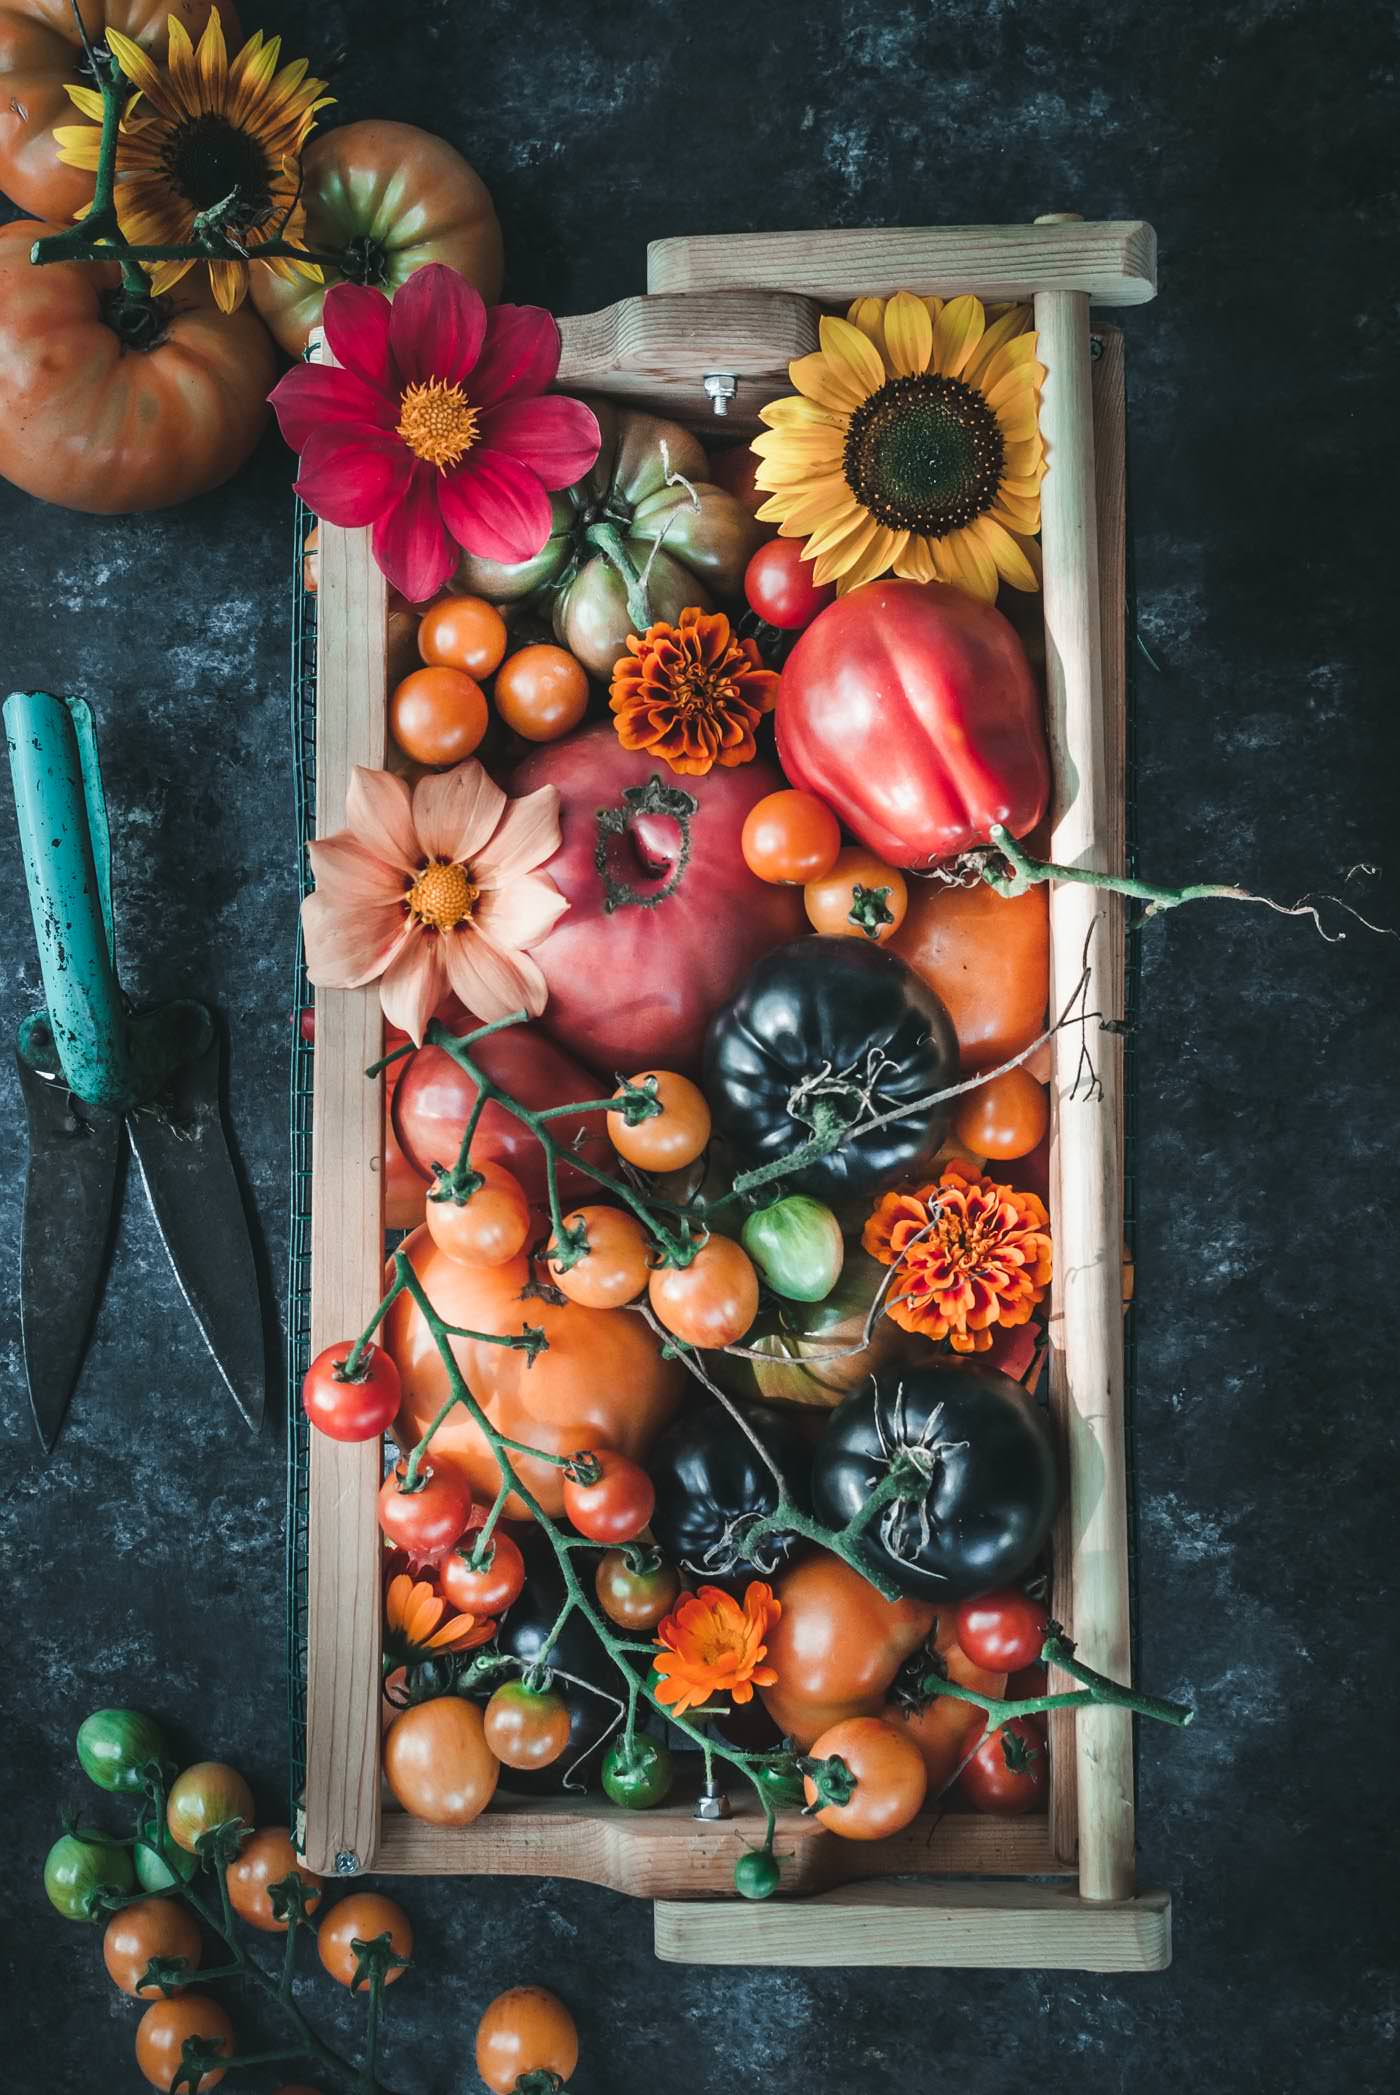
- Once weather allows, transplant seedlings in their final spot, watering in deeply and nurtured for the first few weeks as they establish.
Notes
Do you start your own seeds indoors? Let us know how you do it!
Did you find this helpful? If so, we’d love it if you shared it with your pals.
P.S., if you want even more in-depth articles, be sure to check out our BTS membership Flower Farmer’s Year.


[…] what to do with your beautiful bounty of seeds, check out our post on how to start seeds indoors here. I also created a list of our seed-starting supplies. You can get it for free here (all you need is […]
[…] the thermostat set to 75°F. For more information on how to start seeds indoors, check out this blog post. We also created a Seed-Starting Supplies Checklist (it’s free! all you need is an email […]