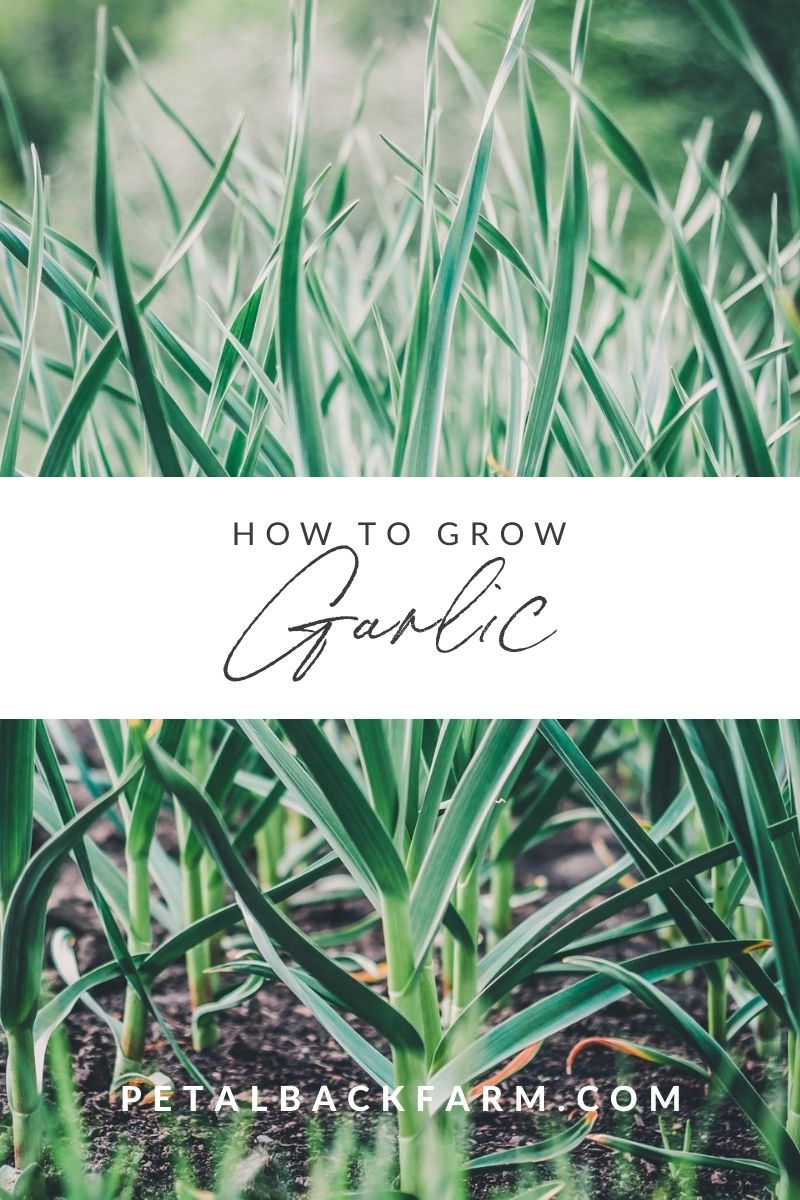
Learn how to grow garlic for an endless supply. Read on for details, or use the shortcut buttons above to jump straight to the printable instructions.
Garlic (Allium sativum)
Did you know that you grow garlic by planting the individual garlic cloves from a head of garlic?
Yep, instead of choppin them up for your favorite dish, you can plant them! Each individual clove will grow into an entirely new head of garlic in about 9 months (if planted in the fall).
The best thing about growing garlic is that it’s a self-sustaining system. After harvest in the summer, save your largest bulbs to plant again in the fall. Cat’s meow, right?
You can easily grow garlic in most areas, but there are a few tips that will ensure success like variety, time of year, and optimal soil conditions. These are all outlined below.
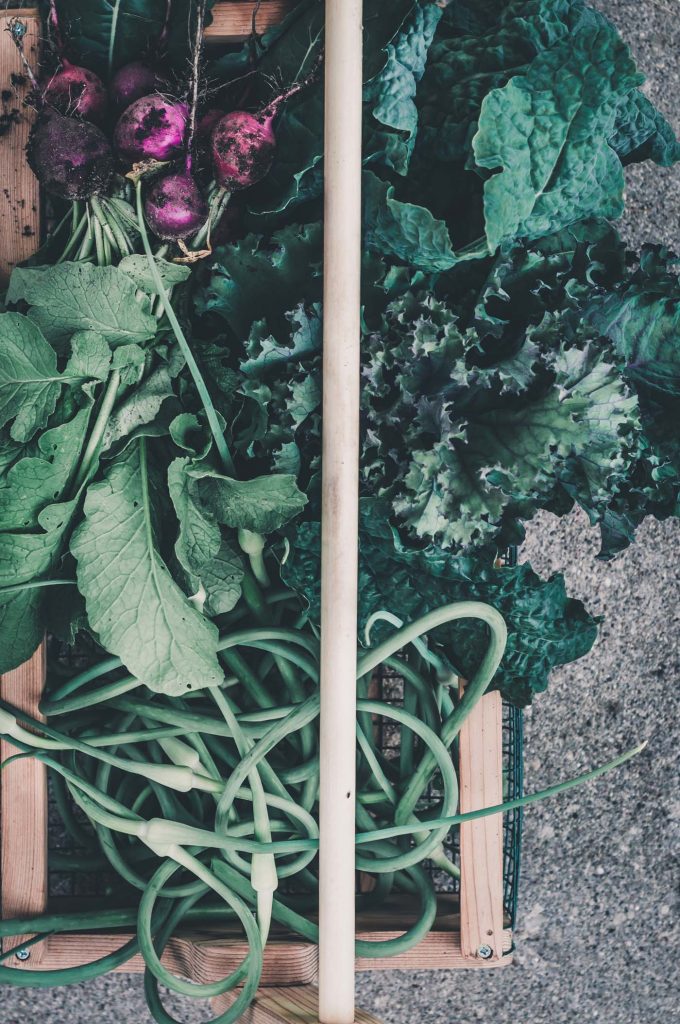
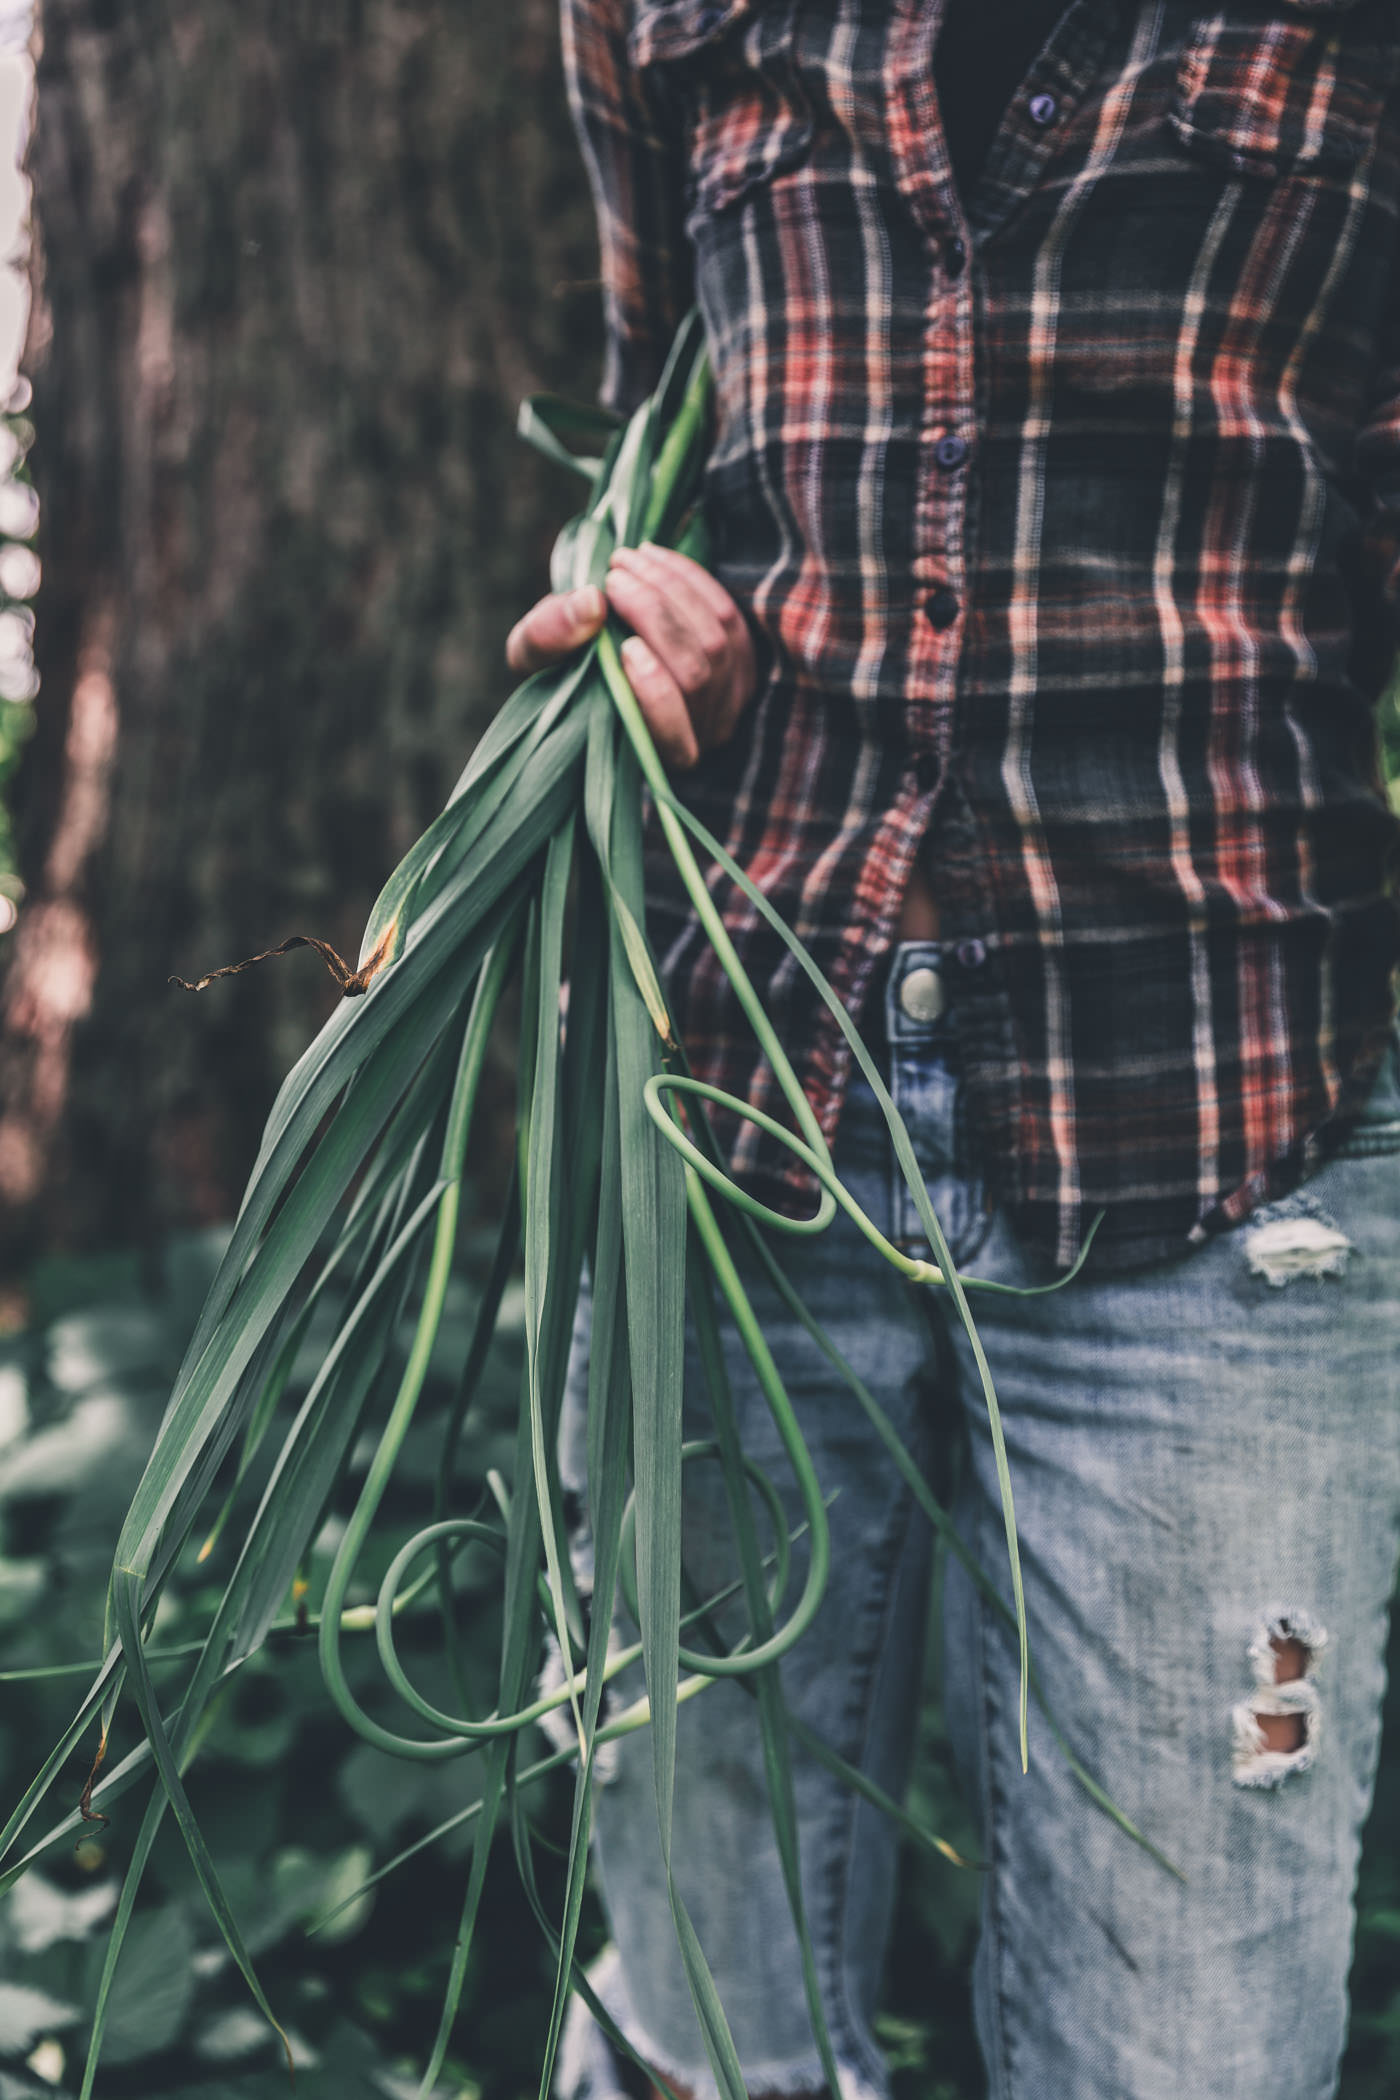
Harvest garlic scapes (left) in the spring and bulbs (right) in the summer.
How to Grow Garlic
While the full steps are in the printable instructions below, here are a few extra details you might find helpful.
Plant garlic in the fall for a summer harvest. While it’s possible to plant in the spring, bulbs will be smaller. Ideal timing is three to five weeks before the ground freezes hard in the fall.
In Zone 4 Wisconsin, this is typically mid-October, though I’ve planted as late as early November. In mild climates, you can wait to plant until December.
Garlic prefers well-draining, fertile soil (pH 6.0–7.0) in full sun. Avoid locations prone to standing water, as it will cause bulbs to rot. Choose a location that did not have garlic or onions (allium family) growing the previous season.
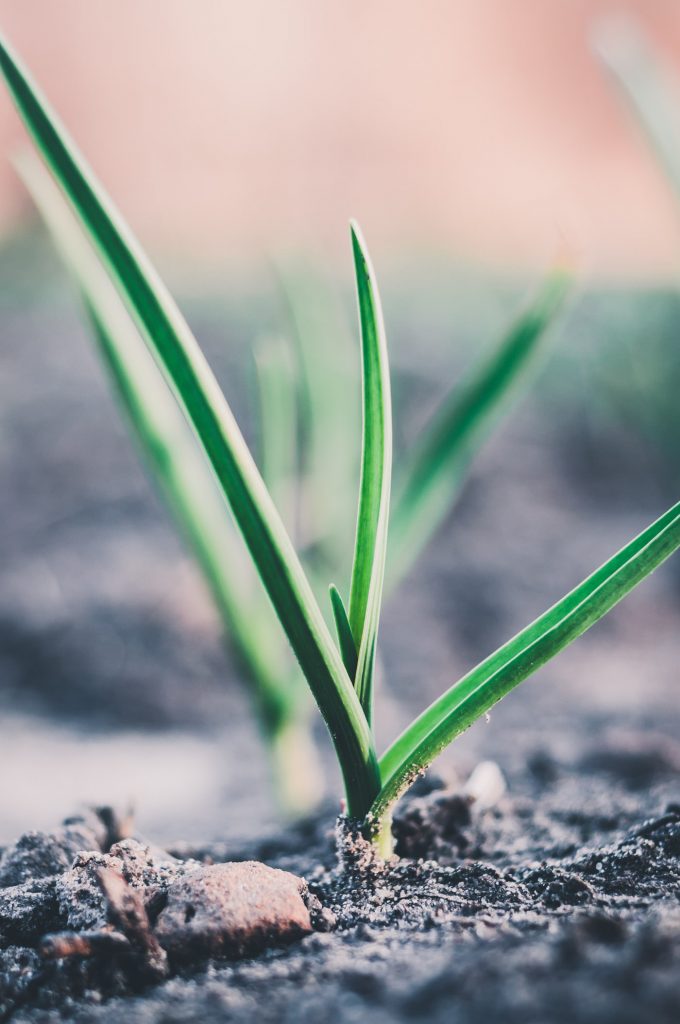
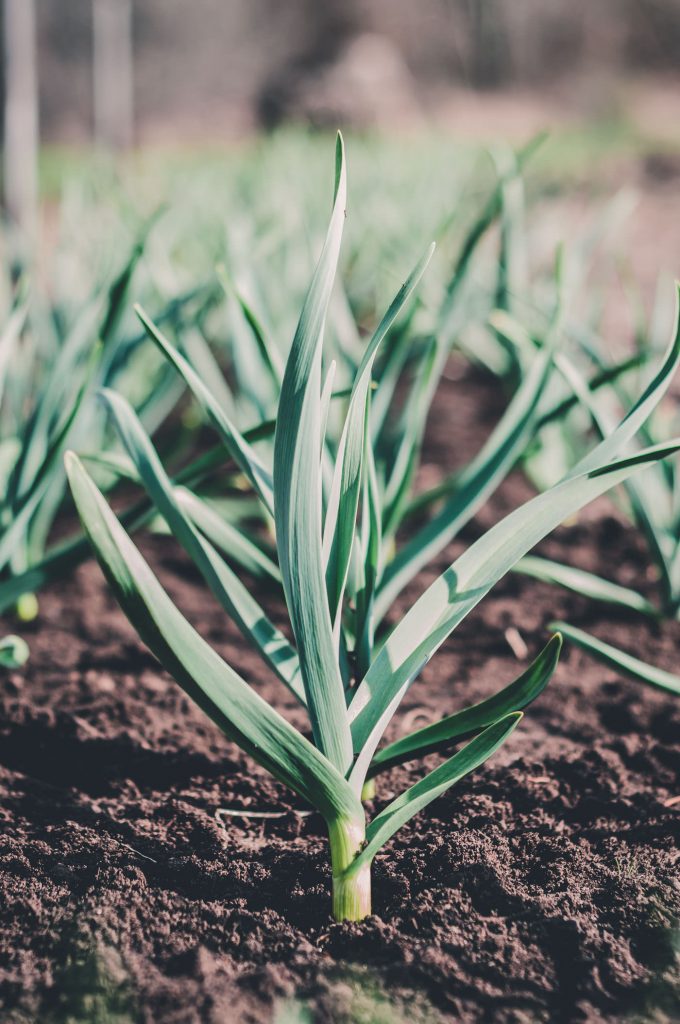
Baby garlic sprouts!
You could technically harvest the one on the right for “green garlic.”
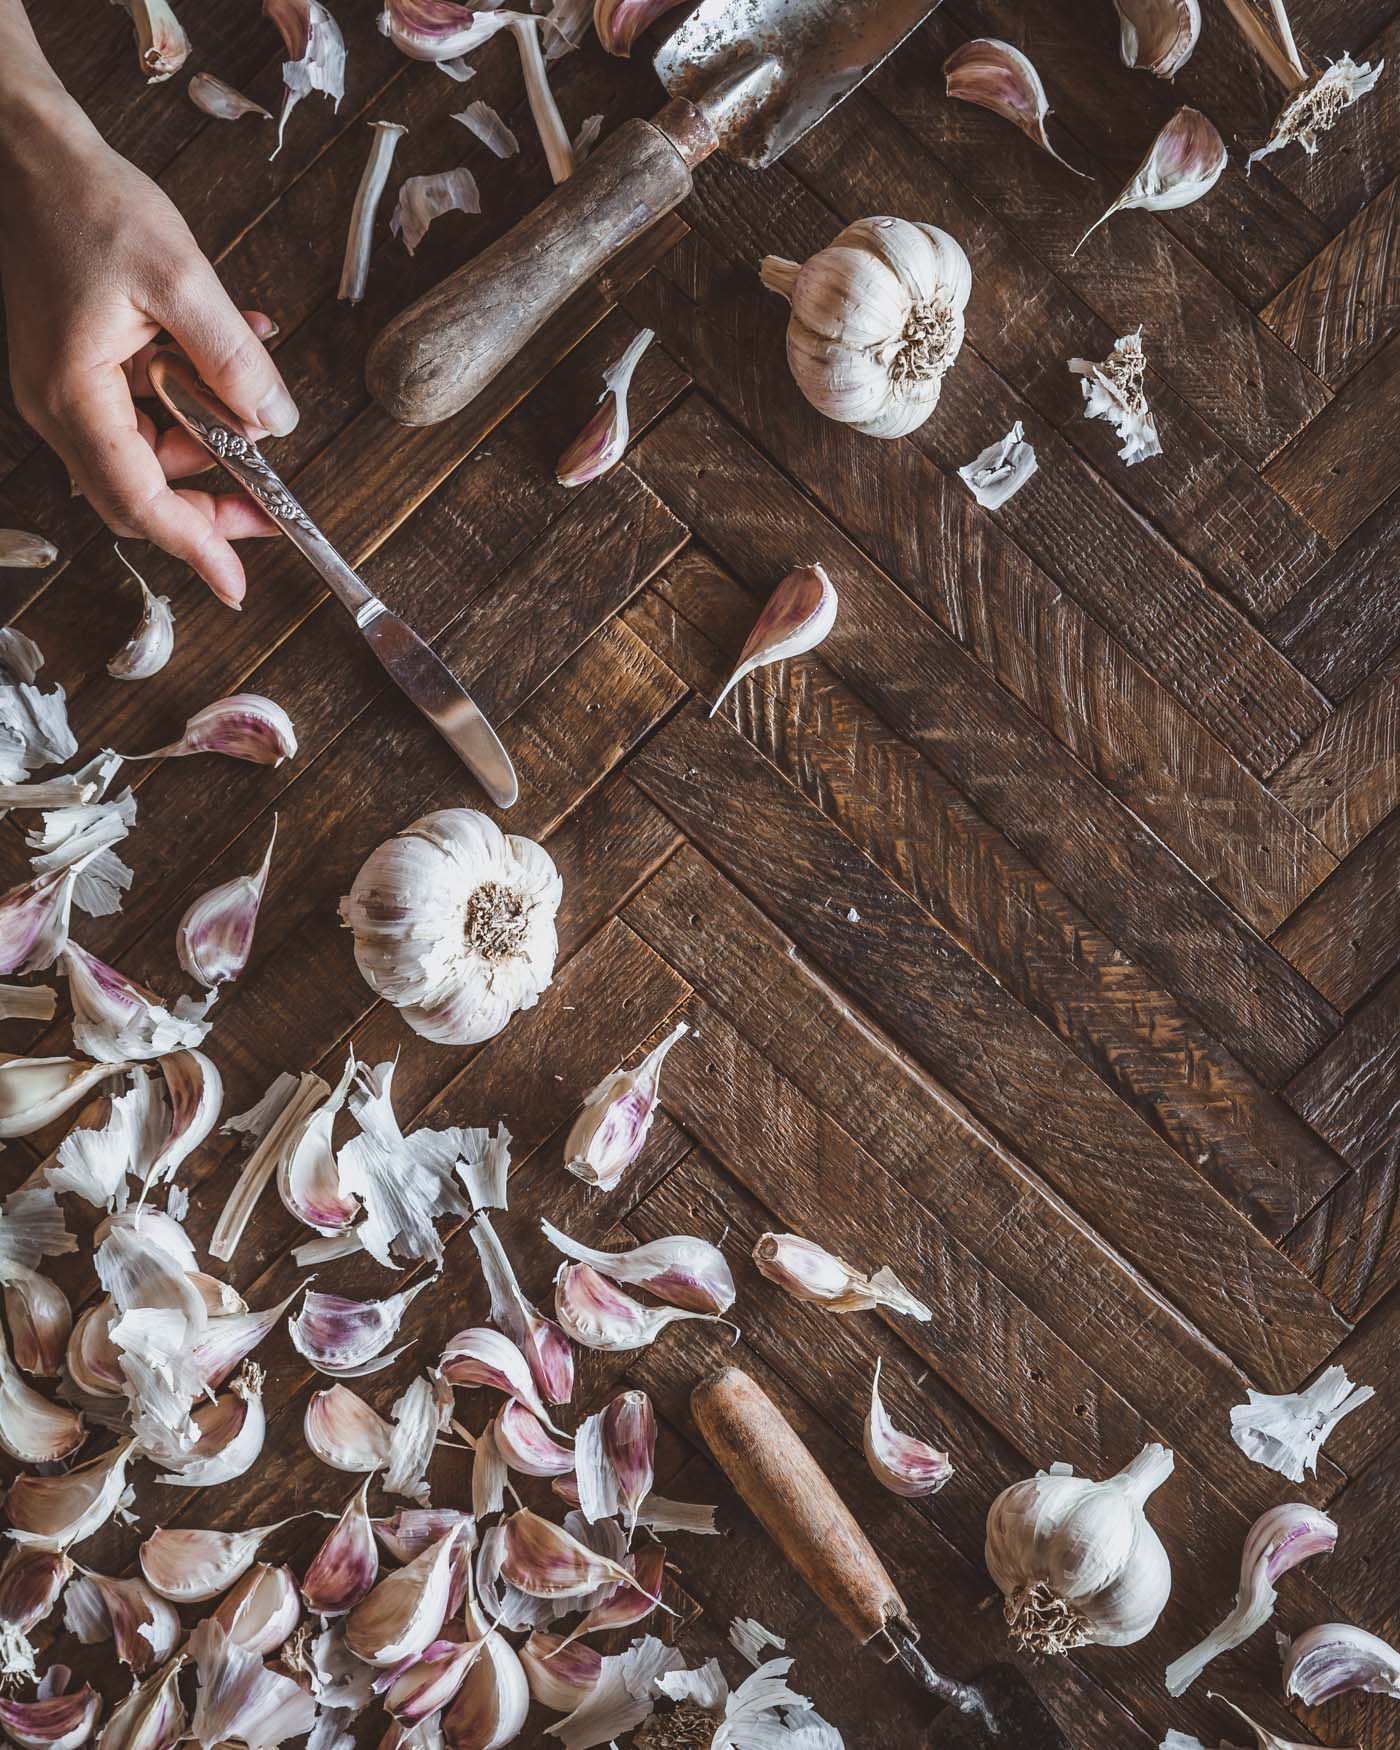
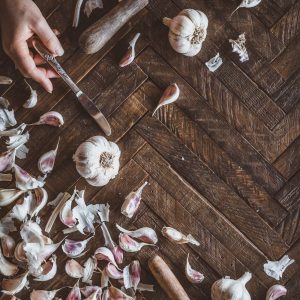
Separating and Soaking Cloves
When separating cloves from the bulb, I try to keep the paper wrapper in tact, but don’t stress if it comes off. It happens, and I haven’t noticed a difference in quality come harvest time.
I always sterilize/fertilize soak my garlic cloves, because I feel like it gives them a little extra nutrients for our long, harsh winters. It’s outlined below, but know that this step is completely optional. You can also read more about it here.
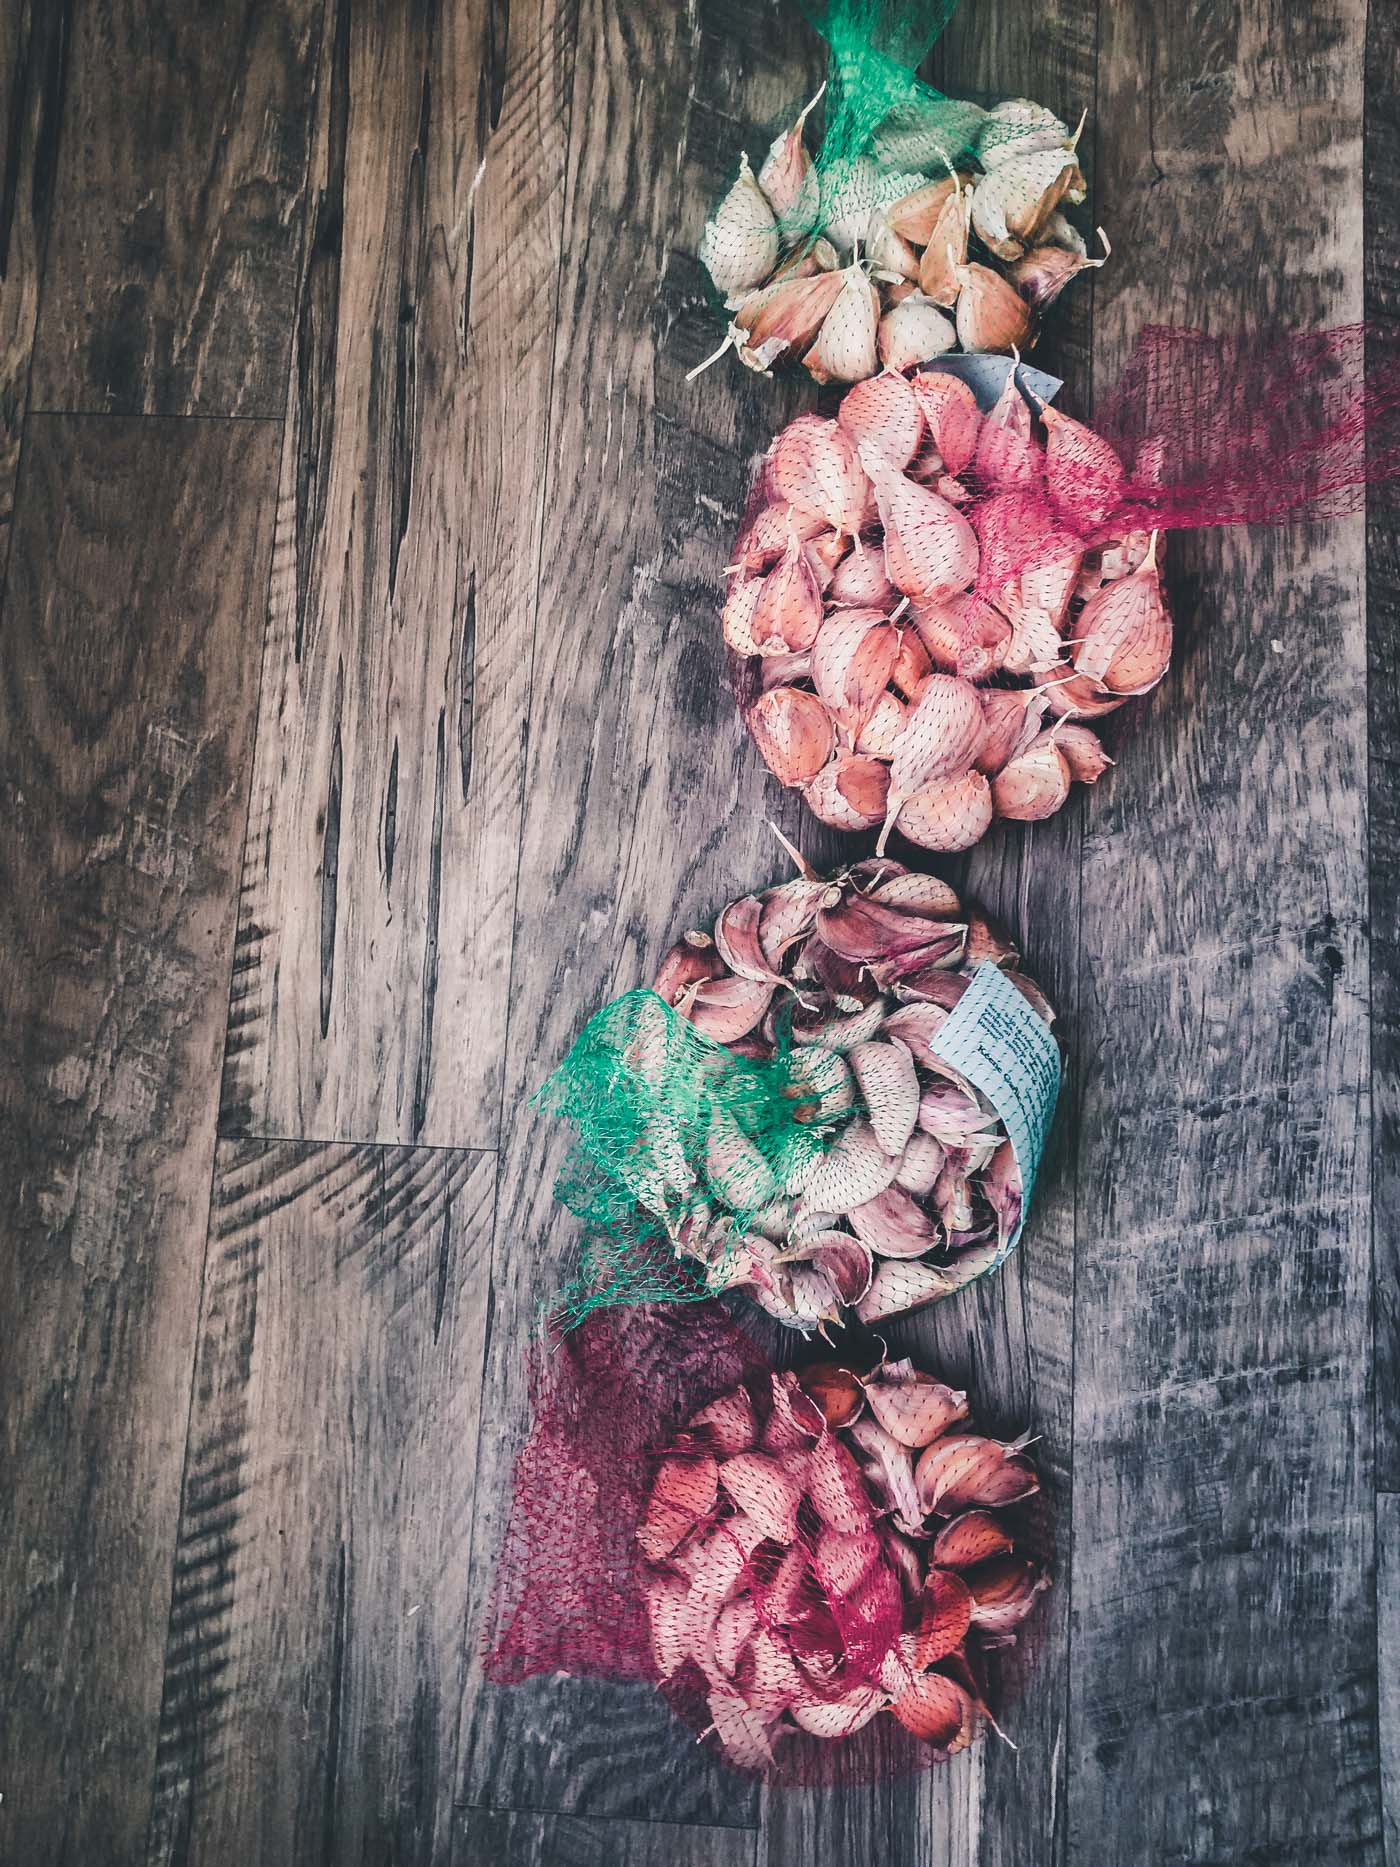
Sourcing Garlic
While you can quite literally grow the garlic you buy from the grocery store, I don’t recommend it. I recommend sourcing garlic from a grower, so you can choose varieties well-suited to your taste, needs, and location.
For example, some varieties do better in harsh winters, like ours. Some store longer than others. Some have a mild flavor, while others are quite spicy.
We get our garlic from Keene Organics, and they have all kinds of information about the many different varieties. They are still taking orders and ship SUPER fast (like Amazon Prime fast).
Hardneck vs Softneck Garlic
Garlic is classified into two categories: hardneck and softneck. The main difference between hardneck and softneck varieties is that hardneck varieties have a flowering stalk that grows through the center.
This flowering stalk is called a garlic scape, and it is insanely delicious! Garlic scapes are harvested in spring, which is a real treat after a long winter.
While softneck varieties generally store the longest, hardneck varieties tend to do better in cold climates (and still store 6-9 months for some varieties). For these reasons, we grow hardneck varieties.


Delicious garlic scape curly cues
Favorite Garlic Varieties
Some of our favorite varieties are Music, Pehoski Purple, Georgian Crystal, Killarney Red, and Chesnok Red. Note that Porcelain varieties (like Music and Georgian Crystal) tend to store the longest.
Does Size Matter?
Yes! In the case of garlic, size does matter. The bigger the clove, the bigger the bulb it will produce. This is another reason to buy from a grower. I always buy the “jumbo” size from Keene Organics, and then reserve our largest bulbs at harvest time to re-plant in the fall.
How to Grow Garlic
Materials
- Garlic bulbs (read above for variety recommendations)
- Soil amendments*
- Mulch (optional)
If Soaking (Optional)
- Bucket
- Hydrogen peroxide, isopropyl alcohol, or vodka
- Fish emulsion
- Baking soda
Instructions
- Plant garlic in the fall, 3-5 weeks before the ground freezes.
- Choose a location with well-draining, fertile soil (pH 6.0–7.0) in full sun. If you haven't already, prepare soil with amendments/compost based on soil needs.*
- Separate cloves from each garlic bulb/head, being careful not to damage the cloves. For hardneck varieties, I like to use a butter knife to split the center stalk, and then pull apart the head into two pieces, and remove the cloves from there. It's OK if paper wrapper comes off.
- If soaking, put cloves in bucket and soak in hydrogen peroxide, isopropyl alcohol, or vodka for 15 minutes. Strain and return cloves to bucket. Add a glug of fish emulsion (like 1/4 cup) and 1 tablespoon baking powder. Fill with water to cover cloves. Let soak for 1 hour or overnight.**
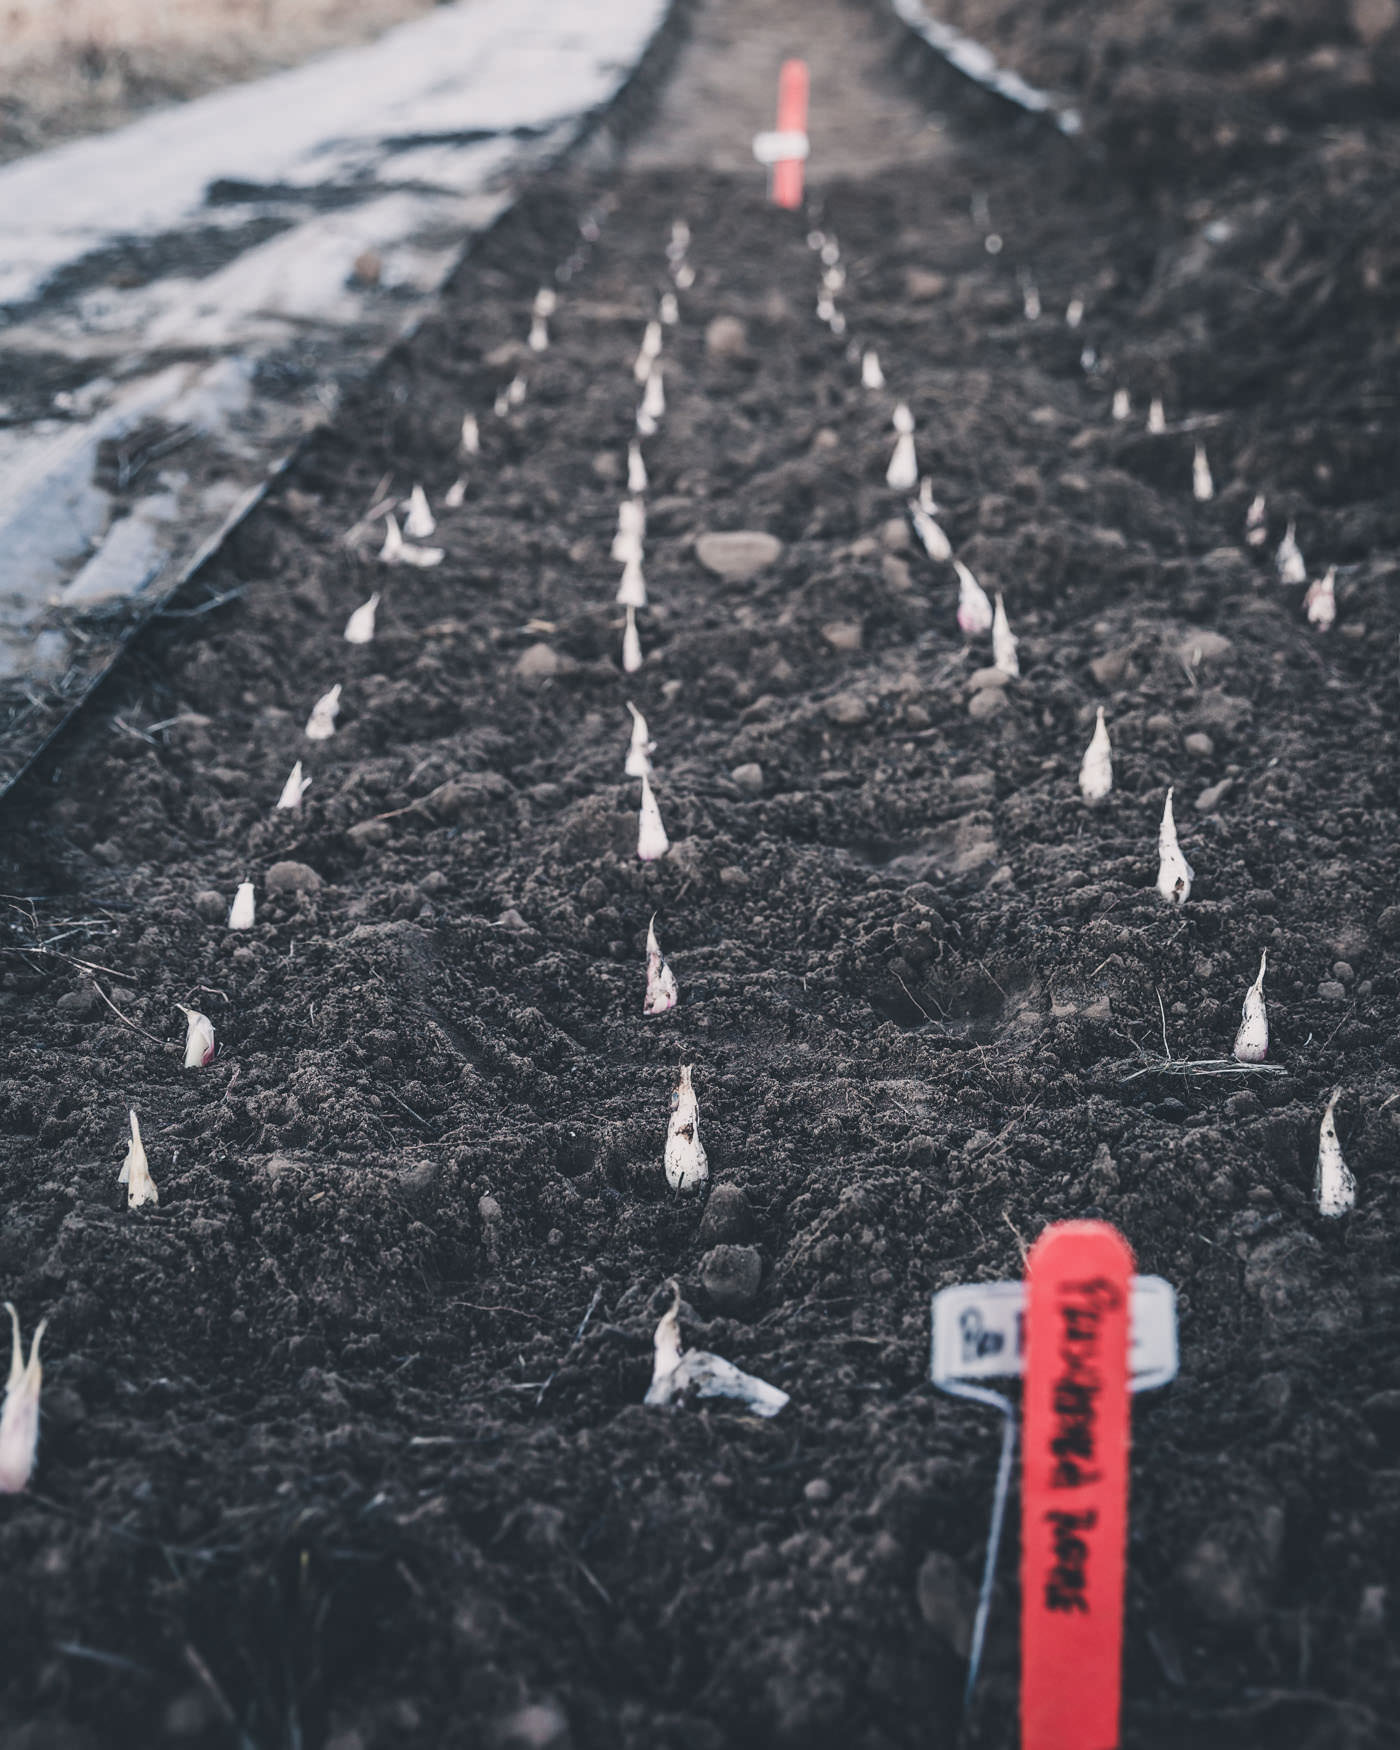
- Push cloves into the soil pointy side up, root side down about 2–3″ deep and 6″ apart, in rows 10–12″ apart. For our 4-foot wide beds, I plant four rows.
- Cover with about 1″ of soil over the clove tips.
- Add 3–6″ of mulch over the top, if you prefer.
- If you have mulch and/or snow cover, your garlic will not need to be watered over the winter. Only water in spring if it's particularly dry.
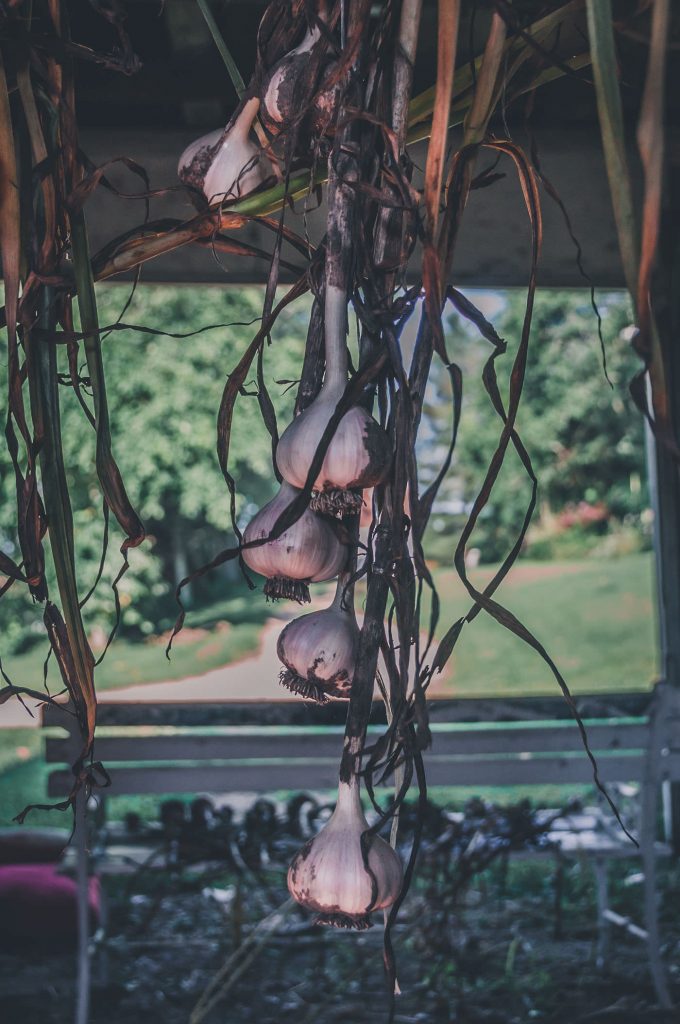
- Harvest garlic scapes in spring and bulbs in summer. Bulbs are ready to harvest when bottom 3–4 leaves turn brown.
Notes
Garlic is by far one of my favorite things to grow. Have you ever grown garlic?
Did you find this information helpful? If so, I’d love it if you shared it with your pals.


cLICK FOR Comments +