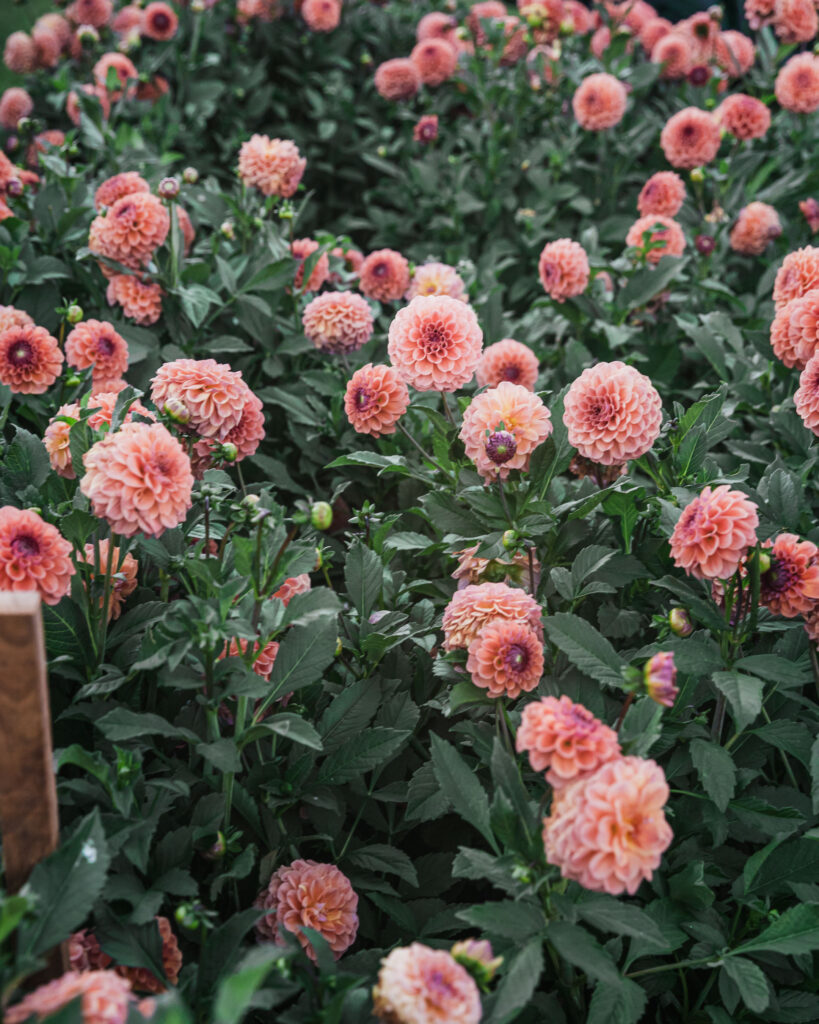
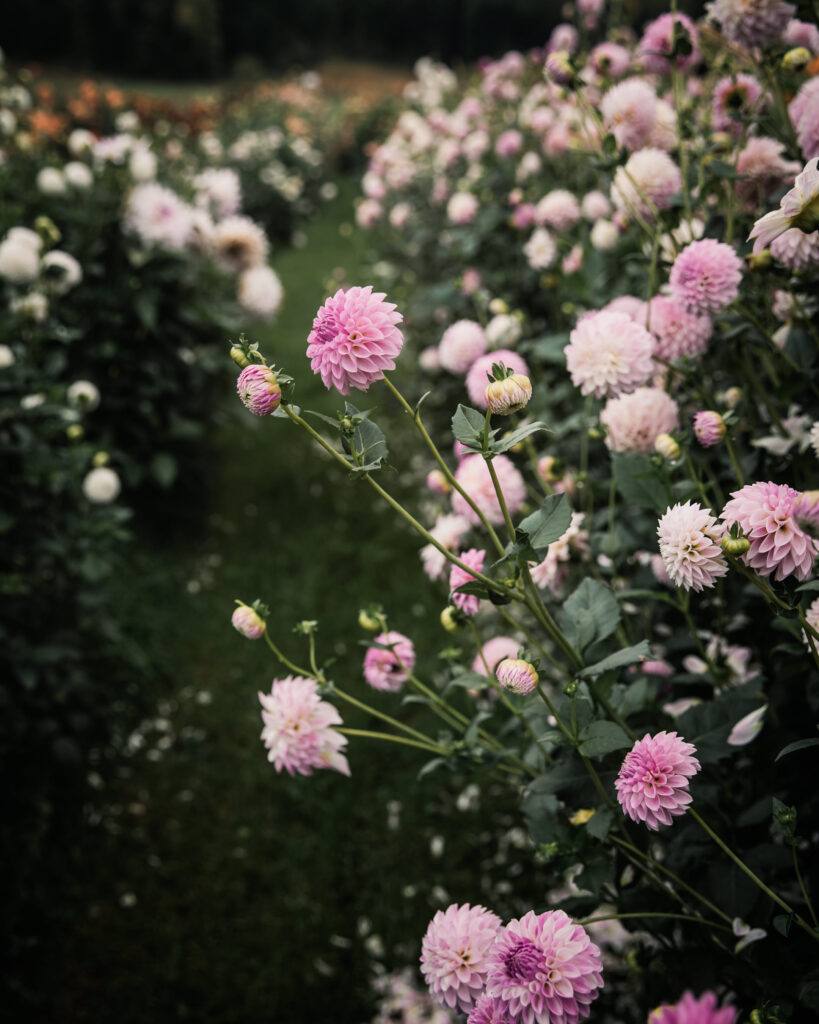
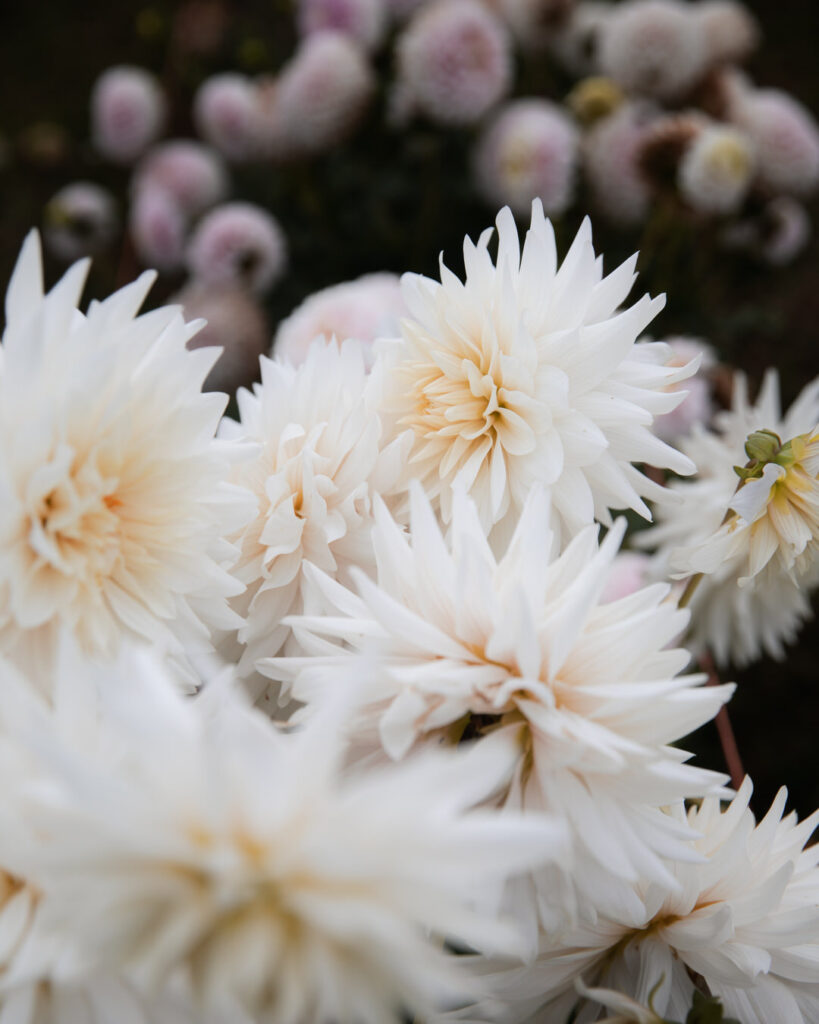
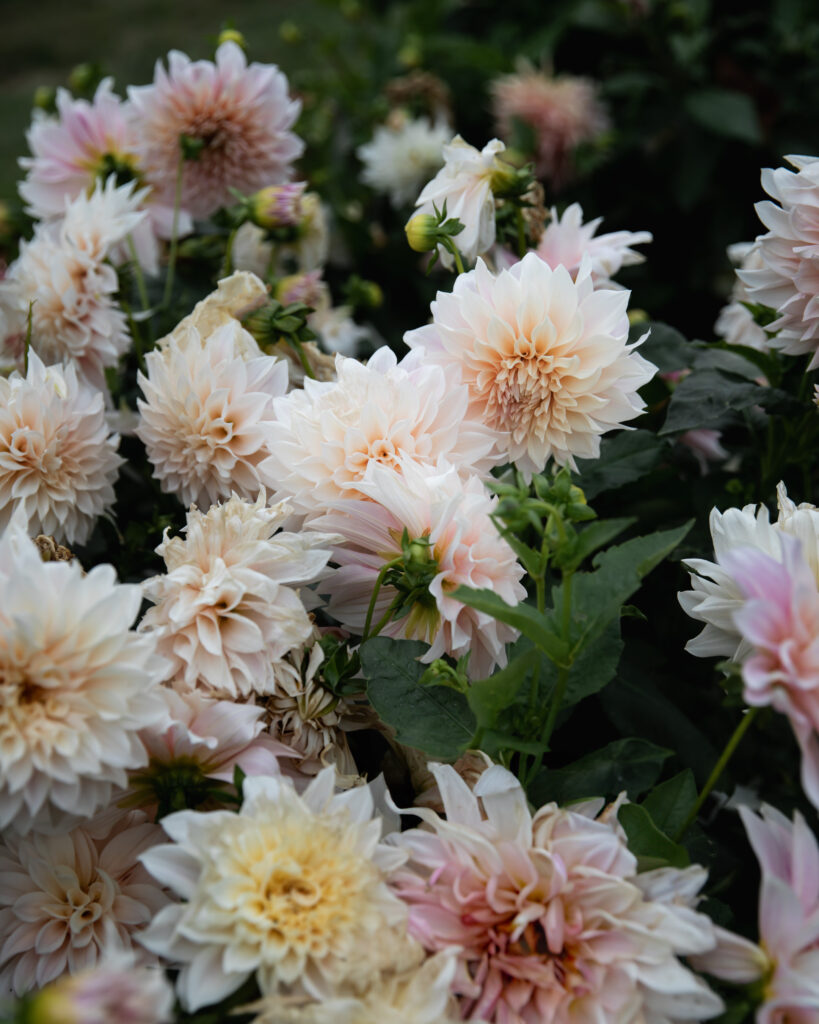
Dahlia tubers arriving on the farm is basically my Christmas morning. I totally freak out. I don’t know what it is about these goofy little weirdos, but I absolutely adore them.
Maybe you do too. Or maybe you saw a pretty picture of a flower, impulse-purchased a tuber, and now you’re like: “What the heck do I do with this thing?”
Been there. In fact, my first year growing dahlias, I impulse-purchased over 200 varieties😳. Why? Well, if I’m being honest . . . because they were pretty😬. I had no clue if dahlias would even grow well in our climate, but I’m sort of a “fail fast, learn faster” kind of person.
Our first season? Mediocre at best. I made a lot of mistakes. But fast forward, and now dahlias are the top crop on our flower farm. So, you could say we’ve learned a lot (and received a lot of tuber deliveries over the years).
Let’s dive in.
Step 1: Open Your Package Immediately
Look, we get it. Packages get lost in the chaos of life and Amazon deliveries. Is it the end of the world if you don’t open your tubers right away? No. But should you? Yes. Absolutely. Here’s why:
1. Tubers are living plant material.
They need to breathe and be kept in a proper environment—especially away from freezing temps. They may have traveled a long way, and temperature fluctuations during shipping can lead to condensation. Unpack them to let them breathe a little.
2. Inspect them ASAP.
Make sure your tubers are viable and in good condition. Not sure what to look for? Check out this post on tuber inspection. Most suppliers (including us!) have a limited window for reporting issues. Policies are usually agreed to at purchase (yep, that note at checkout mattered!), but you can always revisit them if needed. You can find our all of our policies here. It’s industry standard, and hey—we even got kudos on it from renowned-breeder Kristine Albrecht, which made our flower nerd hearts happy.
3. Say hello to your new little friends! Then decide what to do with them.
Once they’ve passed your inspection, it’s time to figure out if you can plant them now or if they need a nap (aka storage) until your climate is ready.
Step 2. Determine If You Should Store or Plant Your Dahlia Tubers
Tubers are usually shipped in spring (and sometimes fall) depending on the supplier. Once they arrive, your main job is to figure out: Can I plant them now, or do I need to store them for later?
Rule #1: Dahlia tubers cannot freeze.
If they freeze, they’ll turn to mush. So don’t plant until after your last frost and once soil temps hit 60°F.
How to Find Your Last Frost Date
Simple! Just search “last frost date [your zip code]” or check out this site. Once that date has passed and your soil is warm enough, you’re good to plant.
🧊 Tip: Even though our last frost is mid-to-late May, I sometimes plant a week or two earlier if the weather looks promising—since we bury tubers 4–6 inches deep, the soil offers natural insulation. BUT excessive rain? Hard pass.
Rule #2: Avoid planting during excessive rain.
Wet conditions can rot tubers, so wait it out if the forecast is soggy.
Step 3. If It’s Not Time to Plant: Let’s Talk Storage
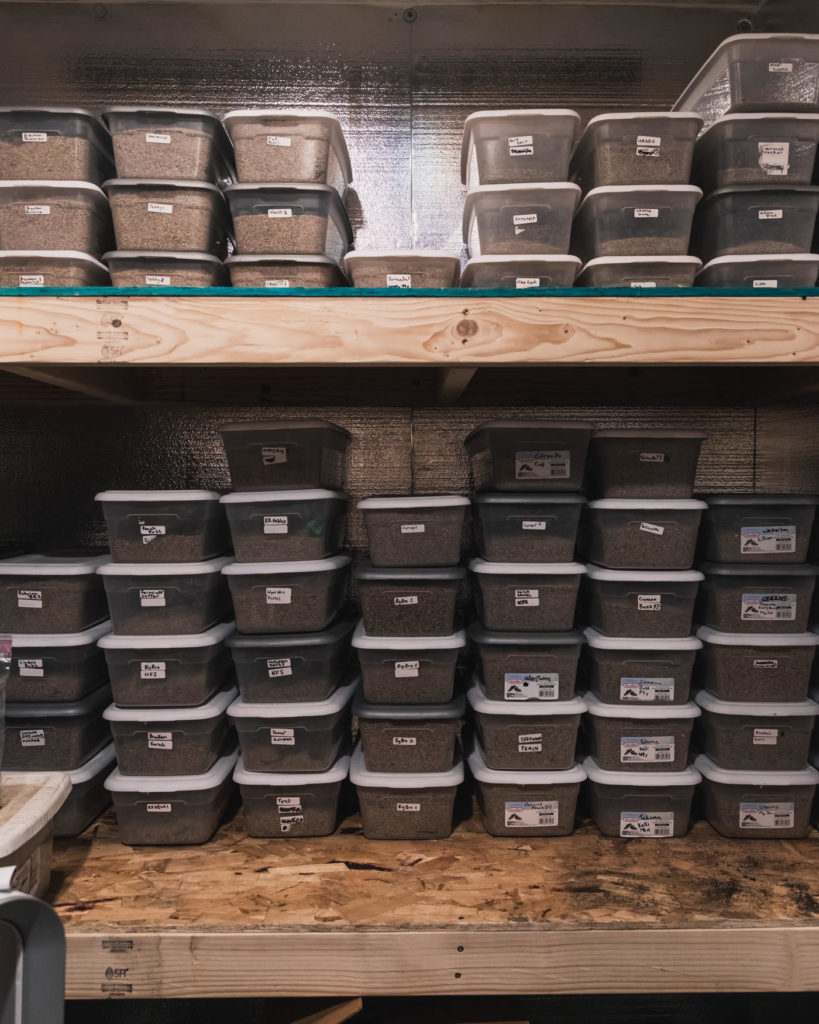
Storing dahlia tubers properly is crucial. Tubers can freeze, dry out, or rot—so storage matters. Once you’ve inspected and accepted them, it’s your job as the grower to keep them cozy until planting.
Long-Term Storage (Over a Month)
Aim for a root cellar vibe:
- Temperature: 40–50°F
- Humidity: 70–90%
- Stable conditions are key
While future posts will be dedicated to tuber storage, here’s the skinny: We use dollar-store plastic shoe boxes that we drilled with ventilation holes and store tubers in vermiculite. These are stored in a temperature- and humidity-controlled room. Before we had this setup, we just used the garage—as long as it didn’t freeze. Do what you can with what you have and check regularly.
👉 Tubers stored too wet = mold and rot.
👉 Tubers stored too dry = shriveling and desiccation.
A little shriveling is OK—just don’t let them go full raisin.
Short-Term Storage (Less than a Month)
If you only need to store tubers briefly:
- You can store as listed above OR store them in a slightly warmer space (around 60°F+) to encourage them to “wake up.”
- If not taking cuttings, we store in the same vermiculite bins, just at warmer temps.
- Remember: regular checks are your best friend.
You can also pot them up to give them a head start (or to take cuttings), but these are more-advanced techniques.
⚠️ Important: Improper storage, potting up, or planting your tuber typically voids refund policies unless there’s a non-grower-related issue (like incorrect variety). Basically, once it’s in growing medium, it’s officially yours.
Bonus: Why Pot Up?
Potting up has perks:
- A jumpstart on the season
- Early root development, which can reduce rot in wet conditions (since we now have active roots taking up water)
- A chance to take cuttings if you’re feeling fancy (more on that in future posts!)
But again—moisture control is critical. Remember that dahlia tubers are prone to rot if too wet and desiccation if too dry, so you’ll need to make sure your growing medium is at the appropriate moisture level. Too wet = rot. Too dry = sad tuber. If green growth emerges, don’t transplant until all danger of forst has passed. Light frost will zap those leaves, even if the tuber survives.
Step 4. Time to Plant? Heck Yes!
If your weather is right and your soil is warm—go for it! For more details on planting, be sure to check out these helpful posts:
- How to Plant Dahlias: Seeds, Tubers, Cuttings (COMING SOON)
- Dahlias 101: Beginner’s Guide to Growing Dahlias (COMING SOON)


cLICK FOR Comments +